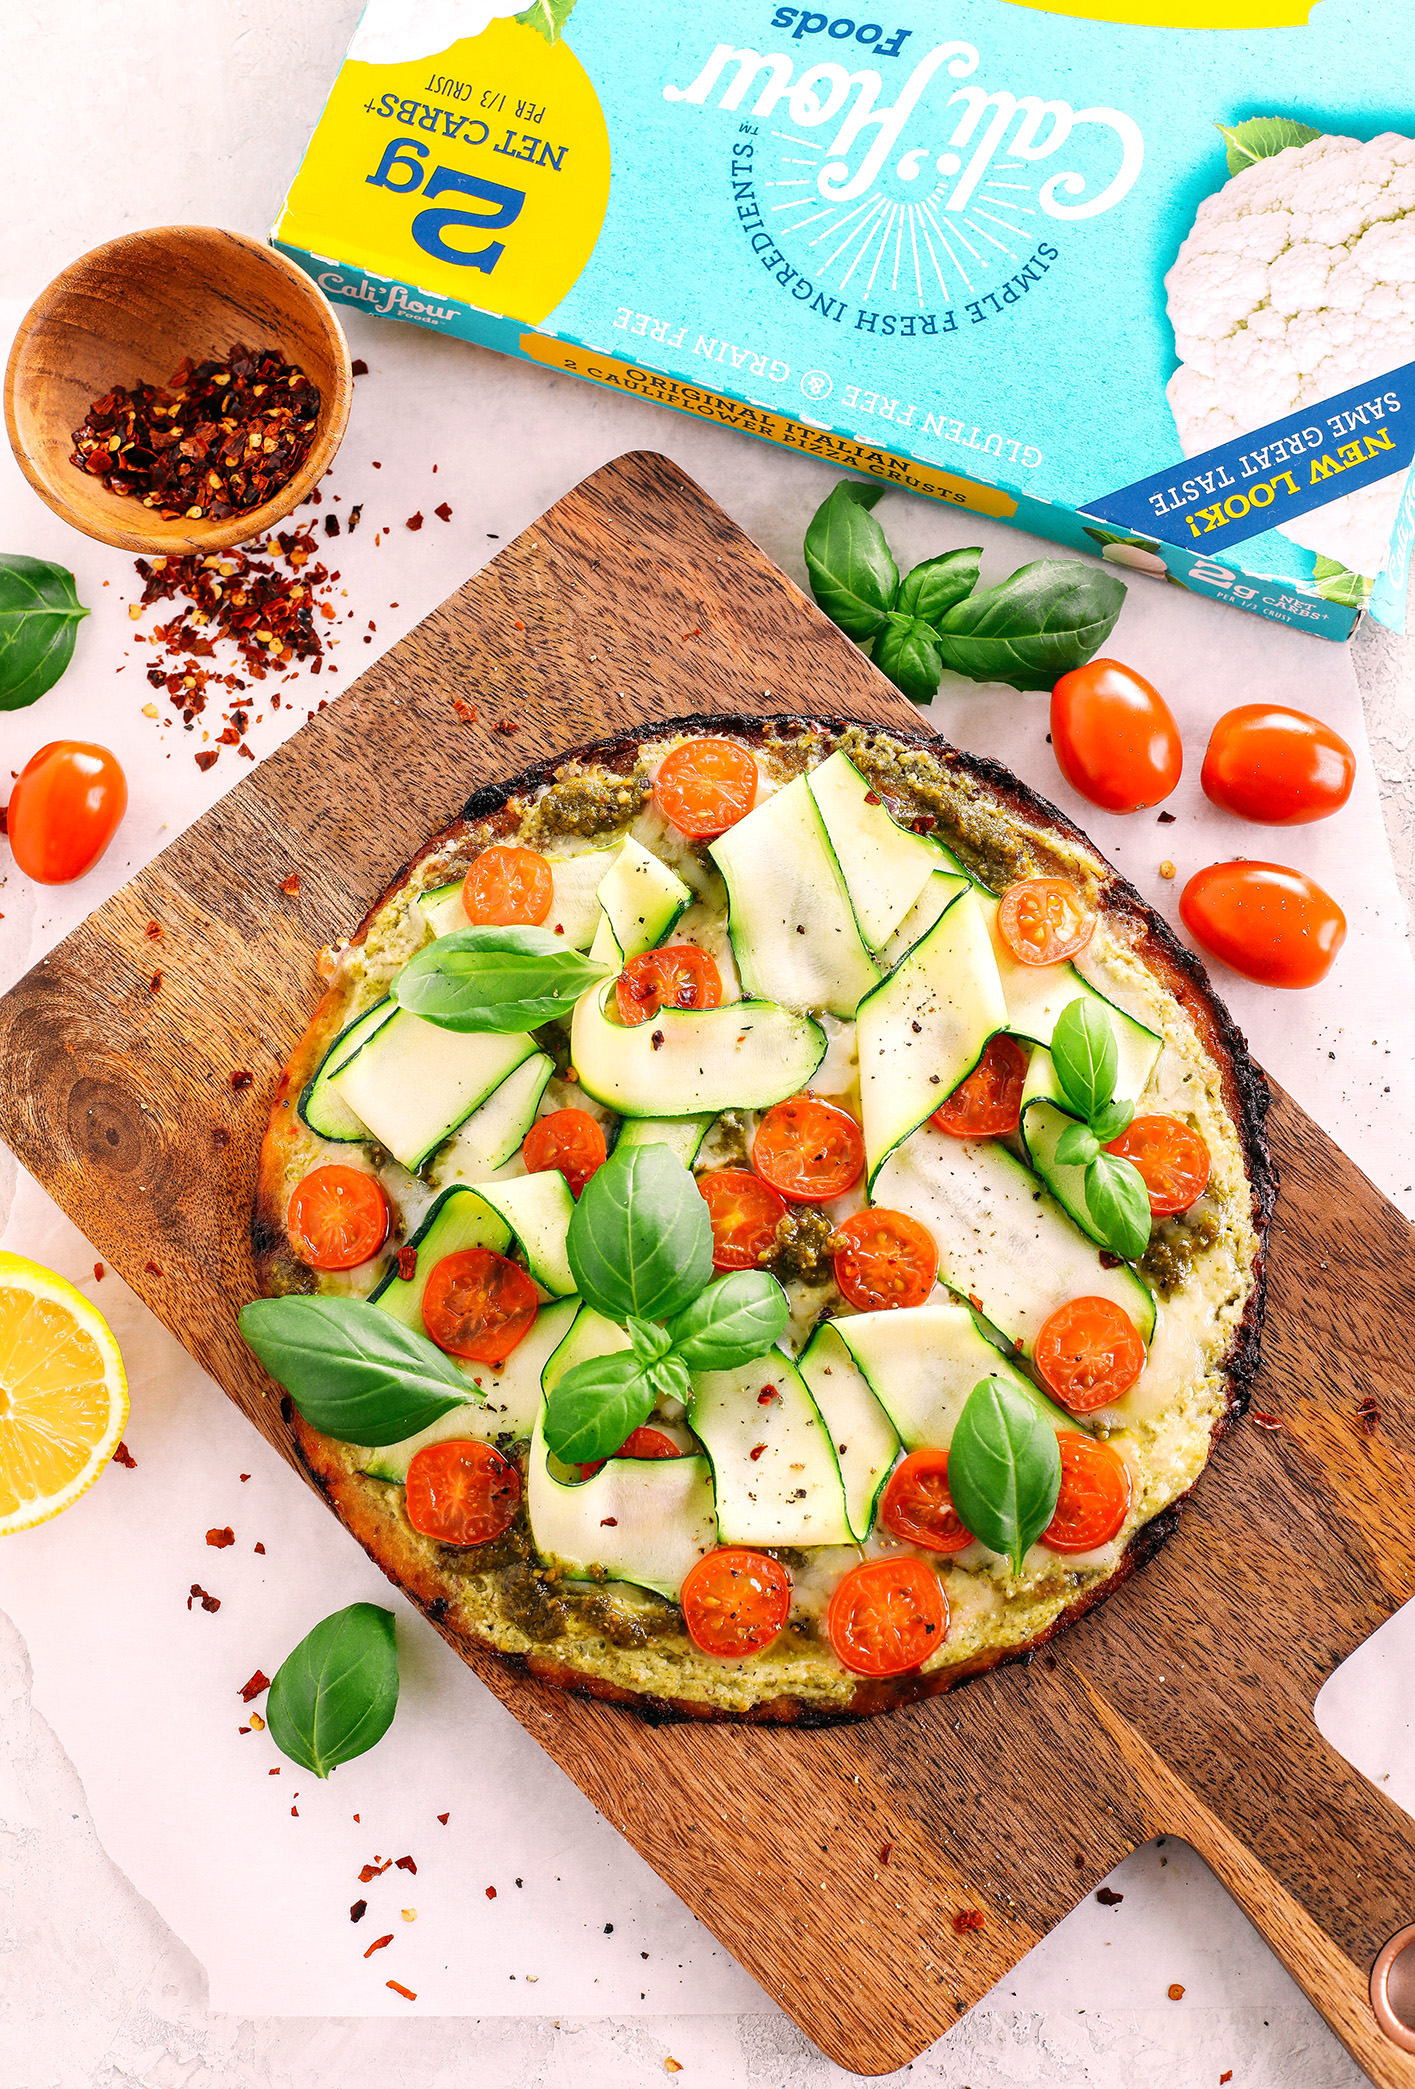
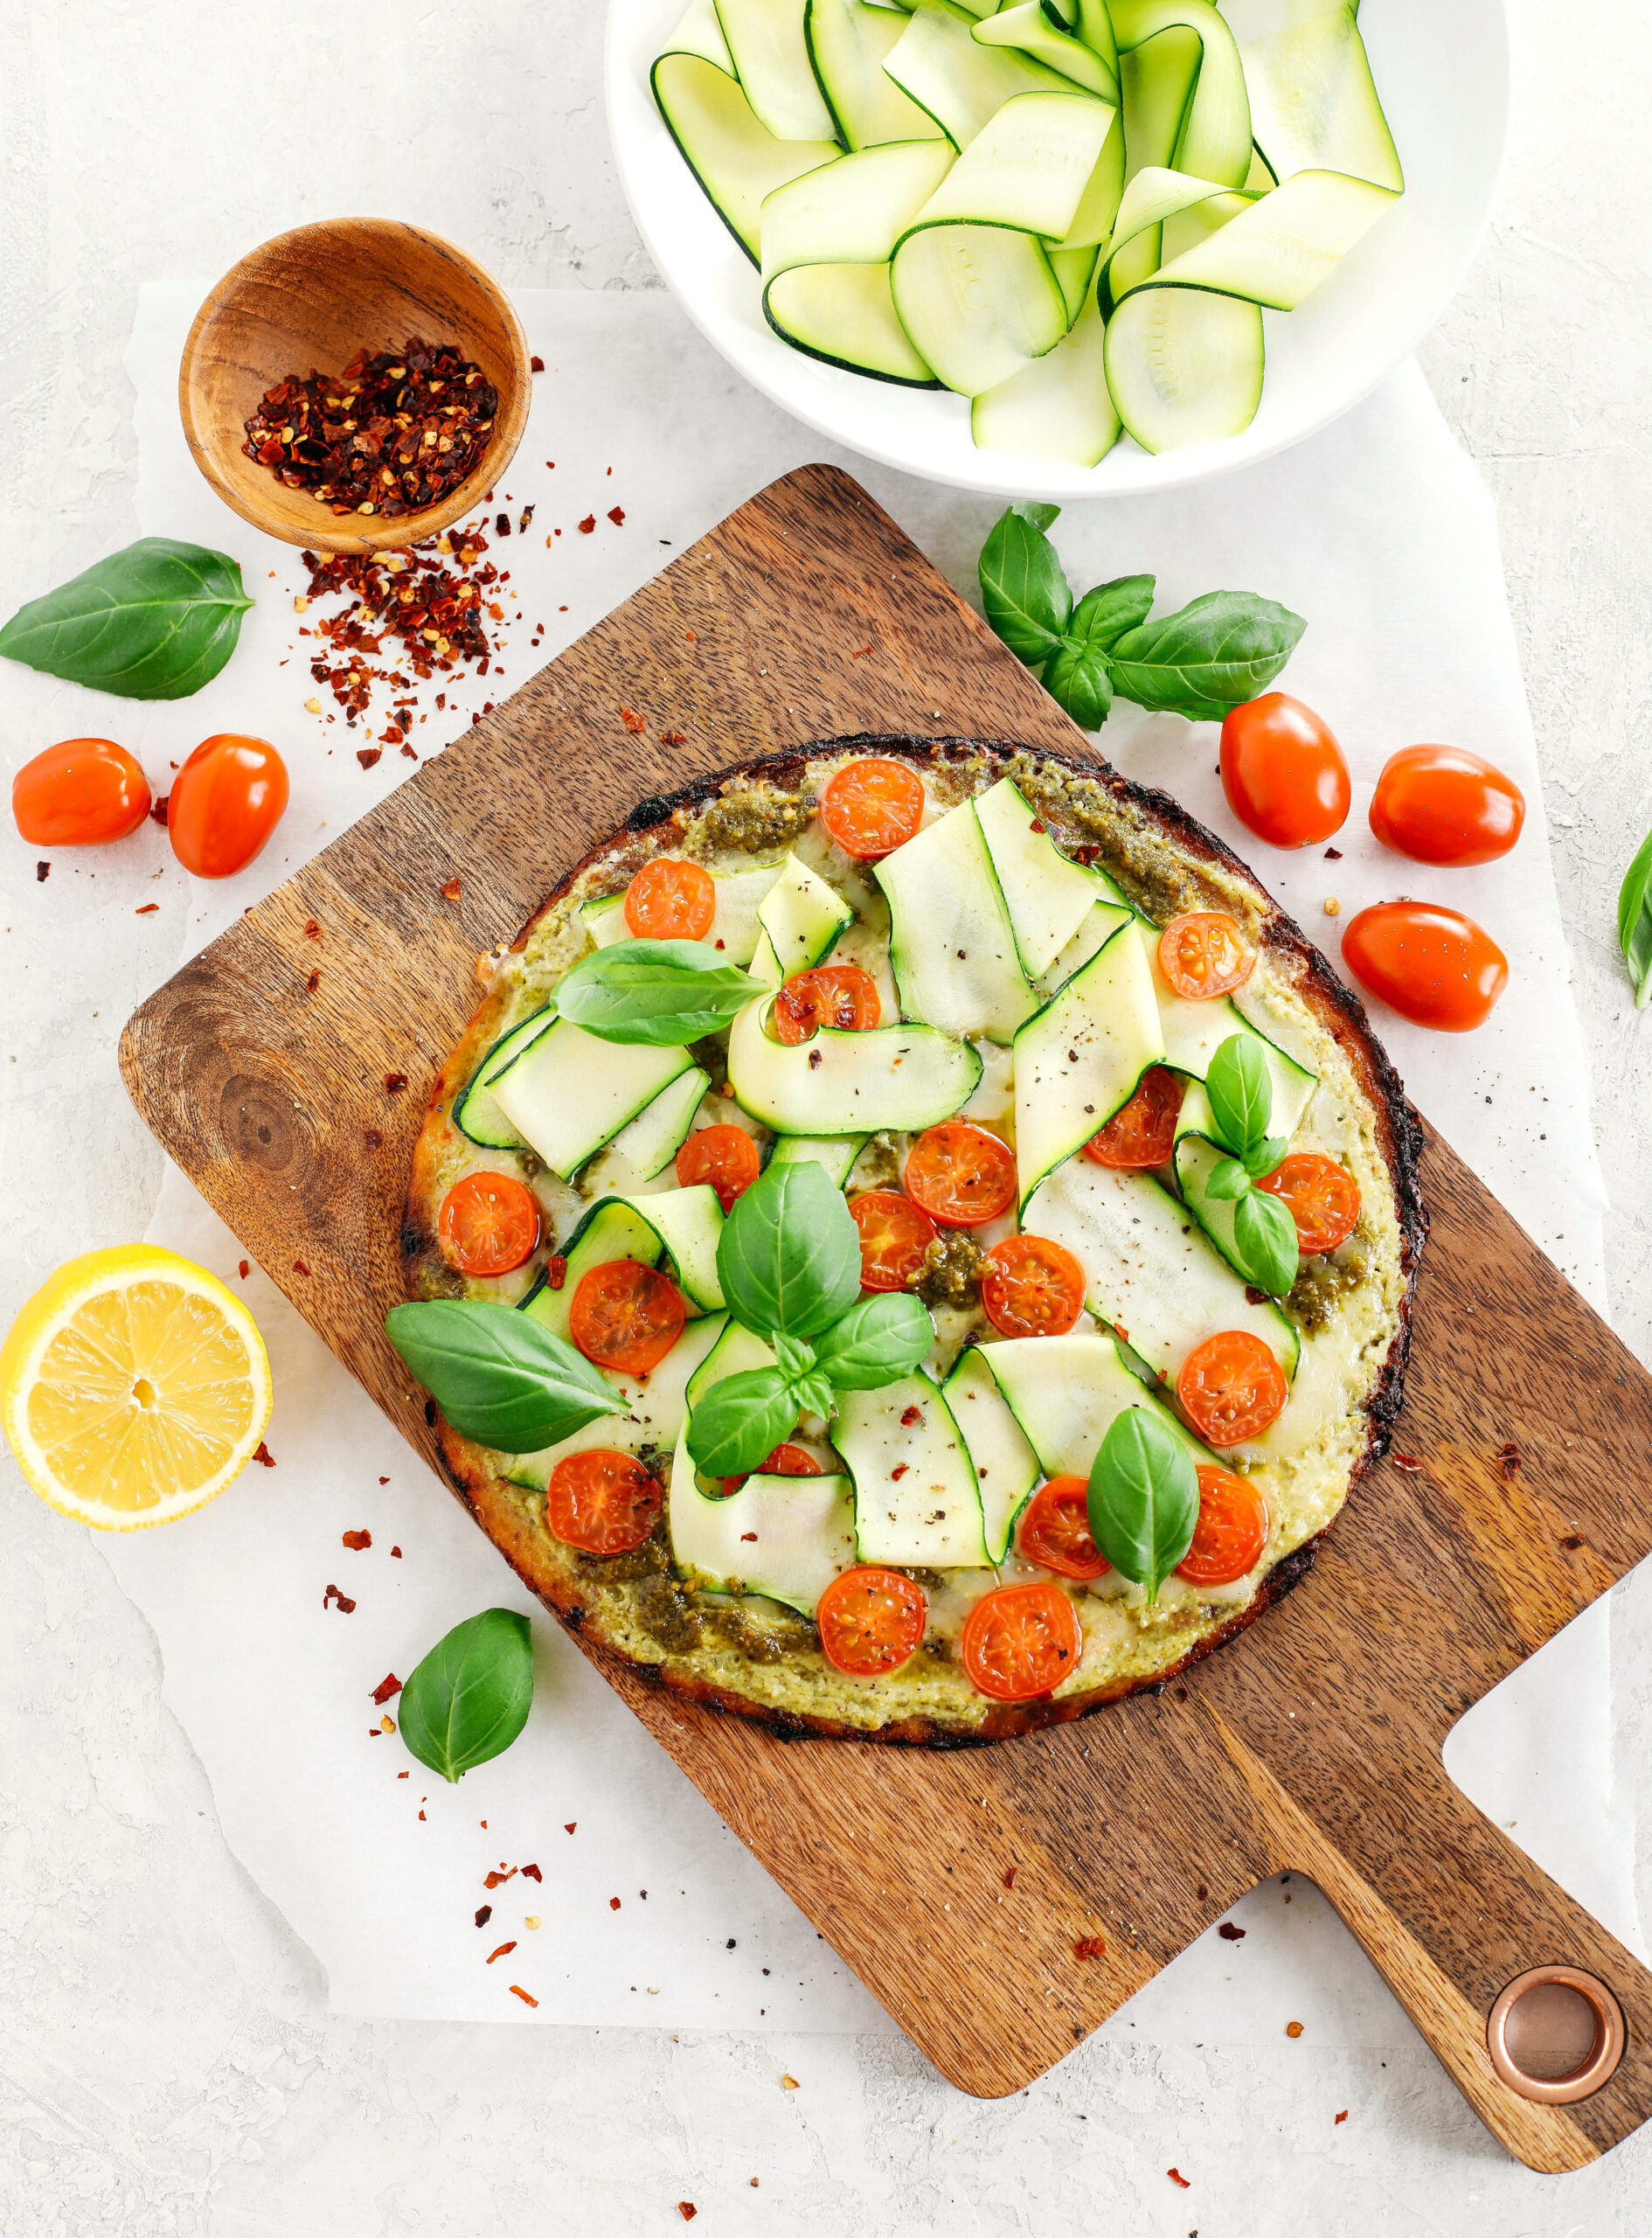
Garden Pesto Cauliflower Pizza loaded with fresh tomatoes, zucchini, homemade basil pesto and ricotta all topped on a crispy cauliflower crust for a delicious low carb meal in just 15 minutes!

Anyone else dreaming of spring?? Well this garden pesto cauliflower pizza is loaded with ALL your favorite herbs, veggies and a variety of cheeses for the perfect meal that is ready in just 15 minutes! Not only is this pizza incredibly delicious, but it’s also gluten-free, grain-free, low carb and keto, and you can bet you’ll feel really good knowing you’re getting a mouthful of veggies with every bite!
There are so many layers to this pizza and each one is bursting with flavor. To start we’ve got Cali’flour Foods Original Italian cauliflower pizza crust which is garlicky, herby, and perfectly crisp which is then topped with creamy ricotta cheese that I’ve mixed with the most delicious homemade basil pesto. I mean we’re talking more garlic, more herbs, with a nice fresh taste from the lemon juice which is then topped with more cheese, beautiful zucchini ribbons, juicy sliced tomatoes and sprinkled with shallots. Are you hungry yet??
Ingredients You’ll Need
For the Pizza:
- cauliflower pizza crusts
- ricotta cheese
- mozzarella cheese
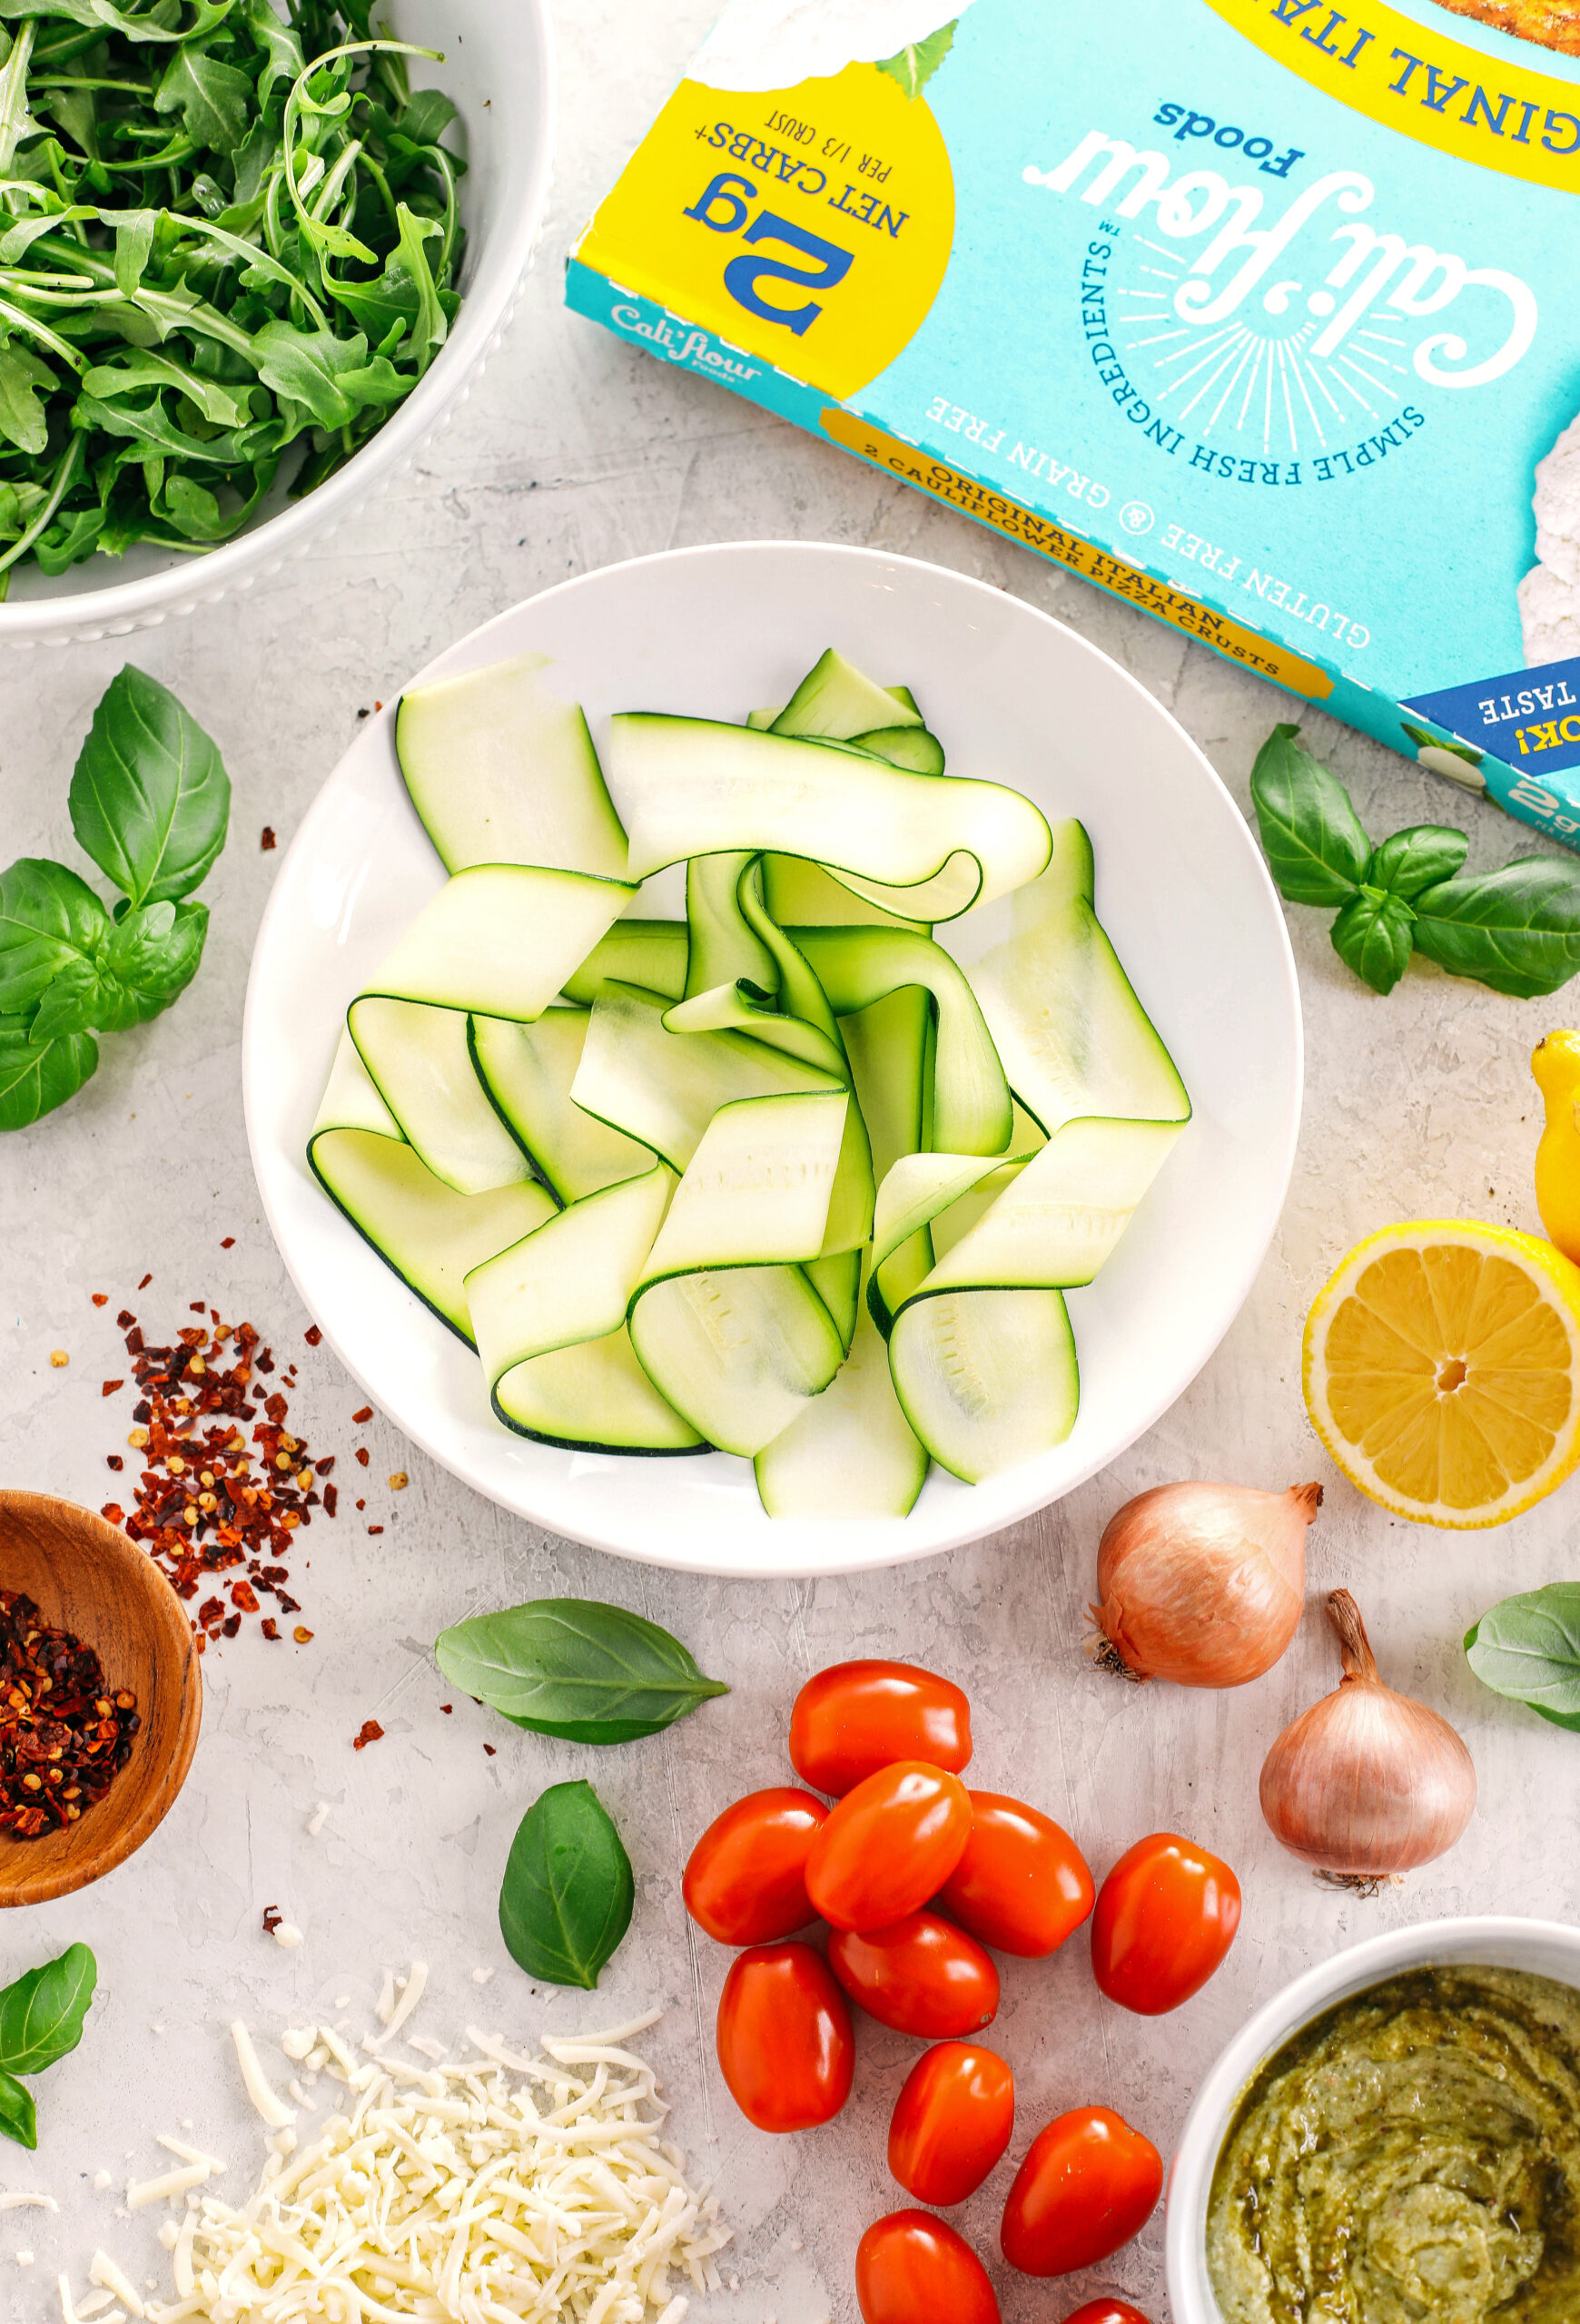
- zucchini
- cherry or grape tomatoes
- shallots
- red pepper flakes (optional)
For the Homemade Pesto:
- basil leaves
- arugula
- pine nuts
- garlic
- lemon juice + zest
- olive oil
- salt and pepper
Cauliflower Pizza Crust
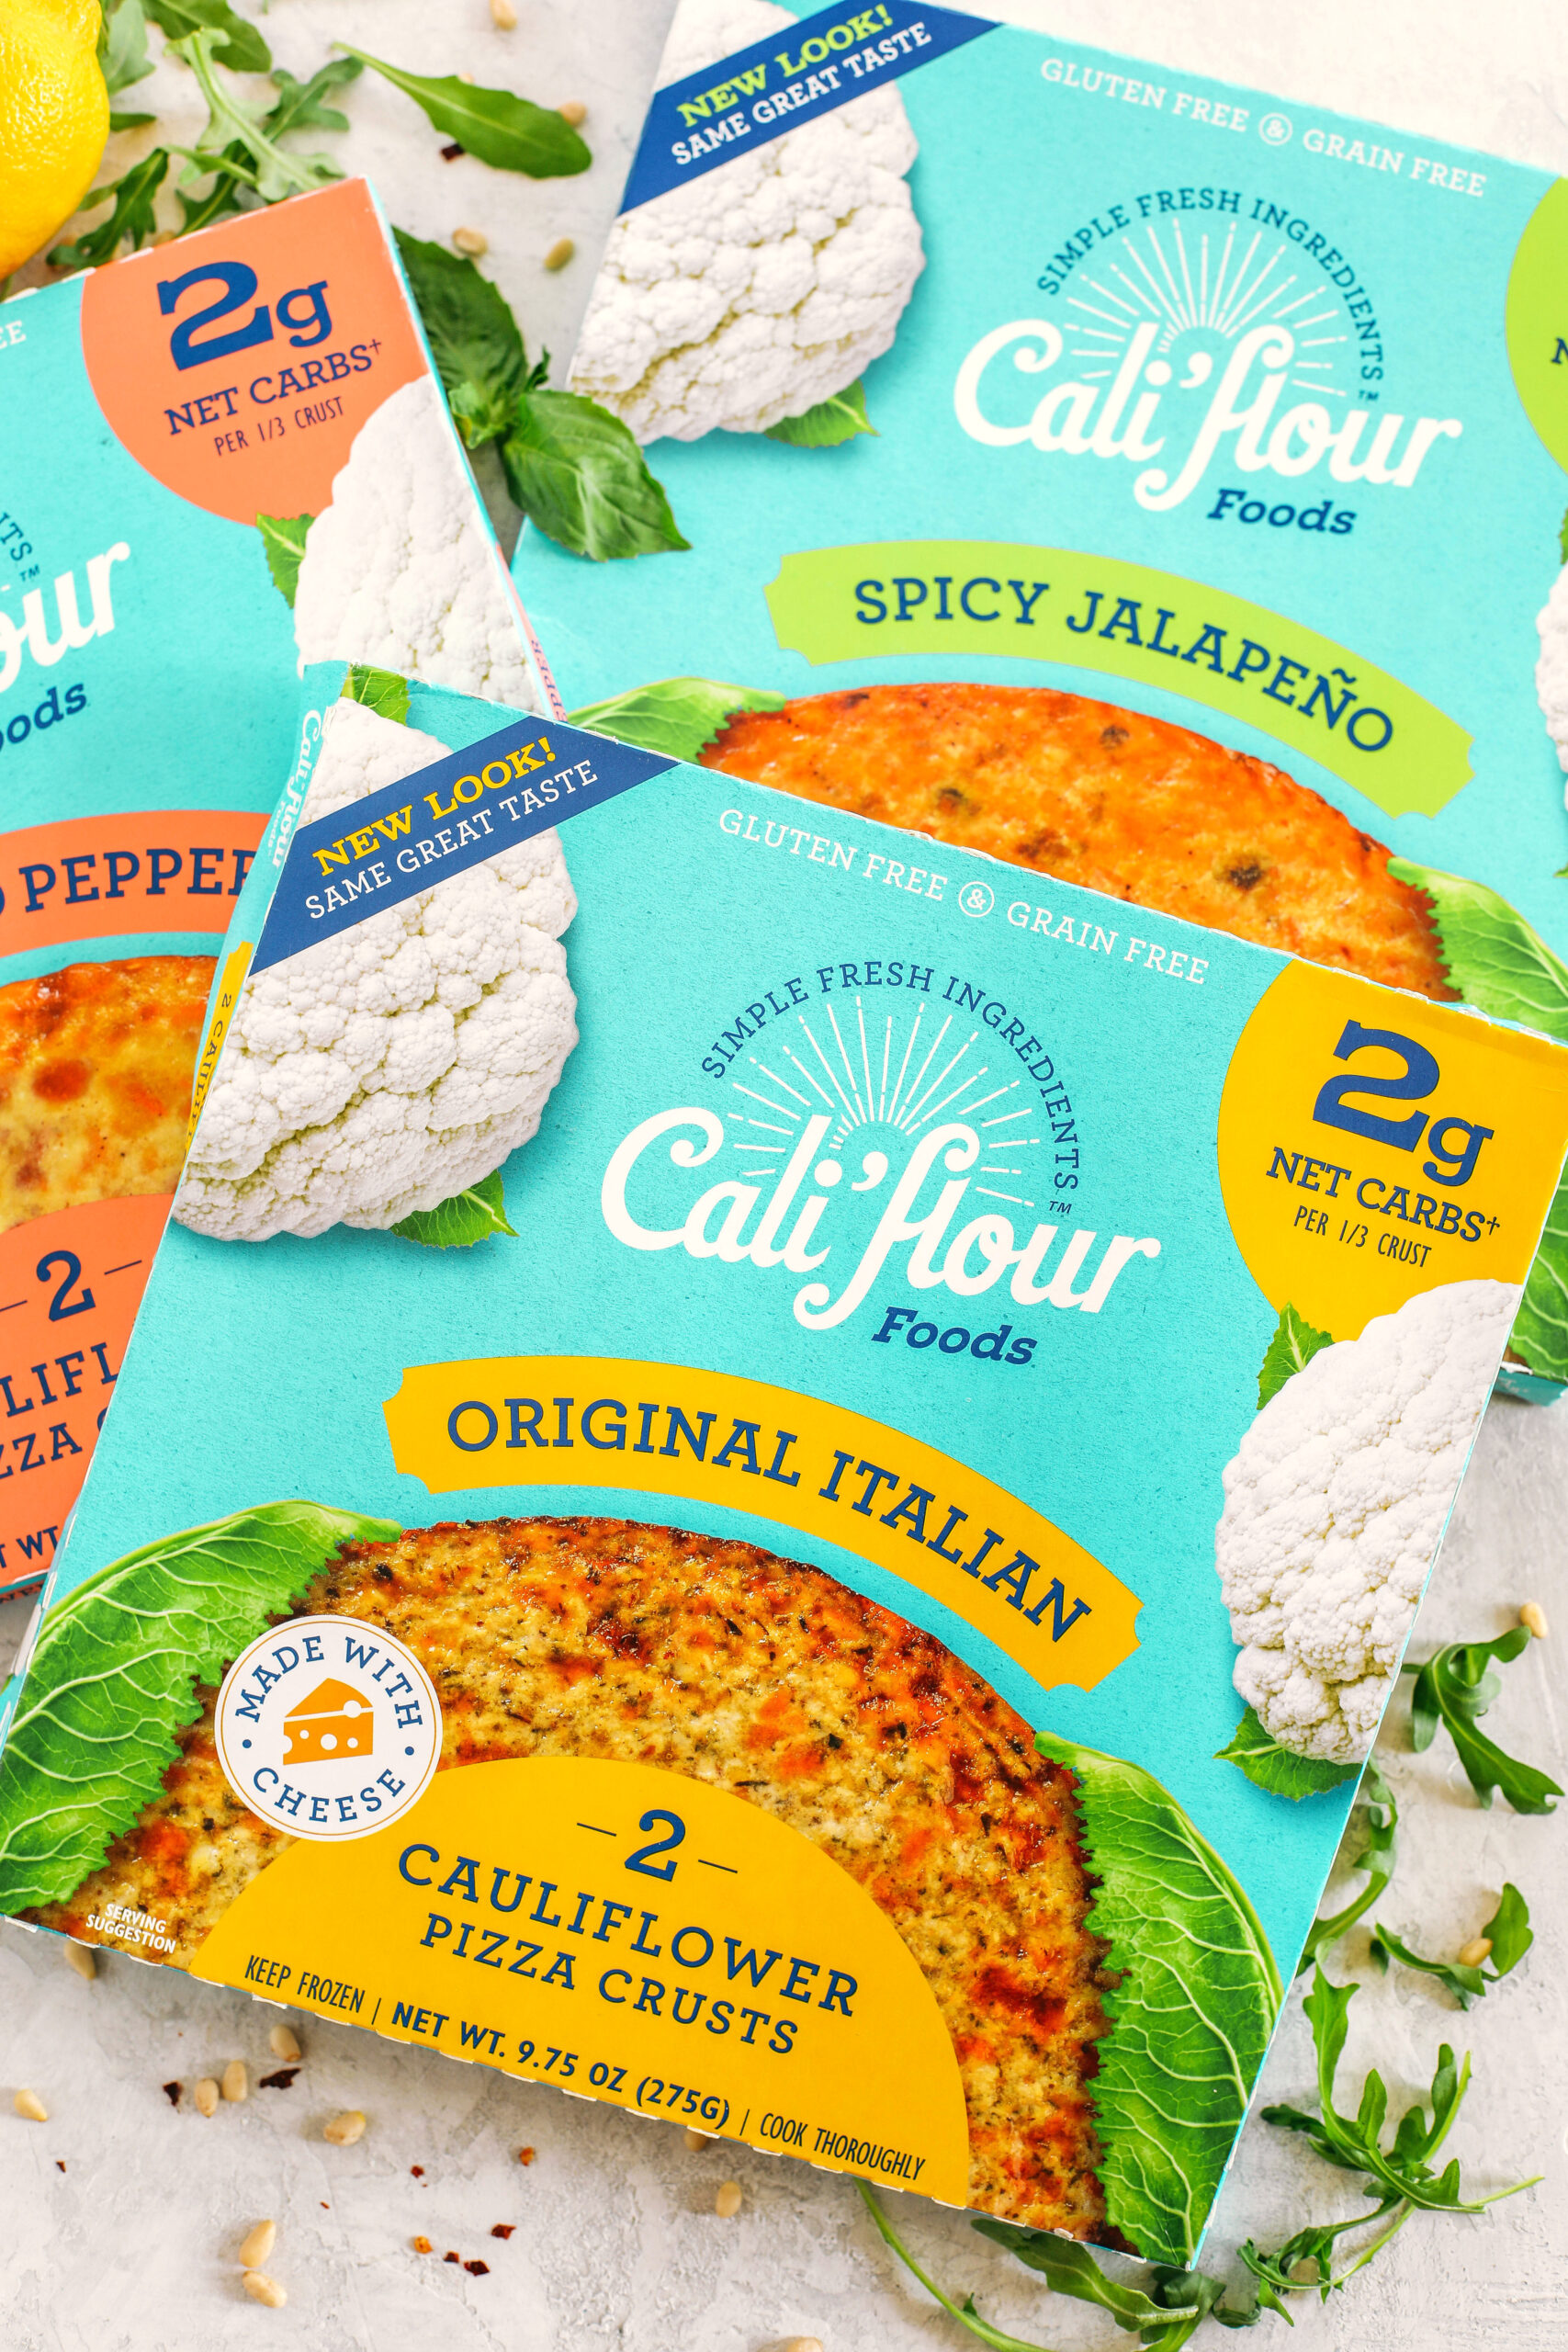
To make this pizza, I used Cali’flour Foods cauliflower pizza crust which comes frozen and bakes to perfection in about 10 minutes! Making your own cauliflower pizza crust can be pretty difficult to master if you really want that good pizza “crunch” and Cali’flour’s cauliflower crusts are not only crispy, but they taste delicious too! I love that they are made with just a few simple ingredients like cauliflower, mozzarella cheese, egg whites and spices…I mean THAT’S IT! Oh and the best part is, all of their pizza crusts (including their flatbreads) are gluten-free, grain-free and keto-friendly! Only 3 net carbs for the entire crust!
These cauliflower pizza crusts are also really versatile and can be used for so much more than just pizza. They are the perfect size to make sandwiches, quesadillas, or even breakfast wraps and Cali’flour Foods offers a variety of flavors like original Italian, spicy jalapeño, sweet red pepper, or you can simply go with the plain crust and make it all your own! For this particular recipe, I used the traditional original Italian crust because of all those delicious garlic and herbs that are added into the crust. It was the perfect addition to this pizza that added even more flavor!
How to Cook Cauliflower Pizza Crust
- Preheat oven. The instructions say to preheat oven to 375 or 400 degrees F and I personally found that I preferred baking this crust at 375 to get that nice golden crust without it getting too dark.
- Use a vented pan. Since these cauliflower crusts are made with just a few simple ingredients and no fillers, it’s important that the crust bakes on a vented pan to allow the crust to get nice a crisp! Pro tip: Preheat your vented pan in the oven as it comes up to temperature as this will get the pan nice and hot and really help make sure your cauliflower crust gets nice and crispy.
- Bake from frozen. Another important tip is to make sure you wait until the oven is preheated to remove your cauliflower crust from the freezer to bake. Make sure to first spray the vented pan with nonstick spray, then place the frozen cauliflower crust in the center and bake for about 10 to 12 minutes, until golden and crisping on the edges.
- Cool before topping. Once you’ve baked the crust, let it cool completely before adding all of your toppings and placing it back in the oven.
- Make your pizza! Once the cauliflower crust has cooled, spread the pesto ricotta cheese mixture over top of the crust, sprinkle with shredded mozzarella and add your zucchini ribbons, tomatoes and shallots. Pop the pizza back in the oven, turn the broiler on and broil the pizza for about 3 to 5 minutes, until the cheese is nice and melted!
How to Make Homemade Pesto
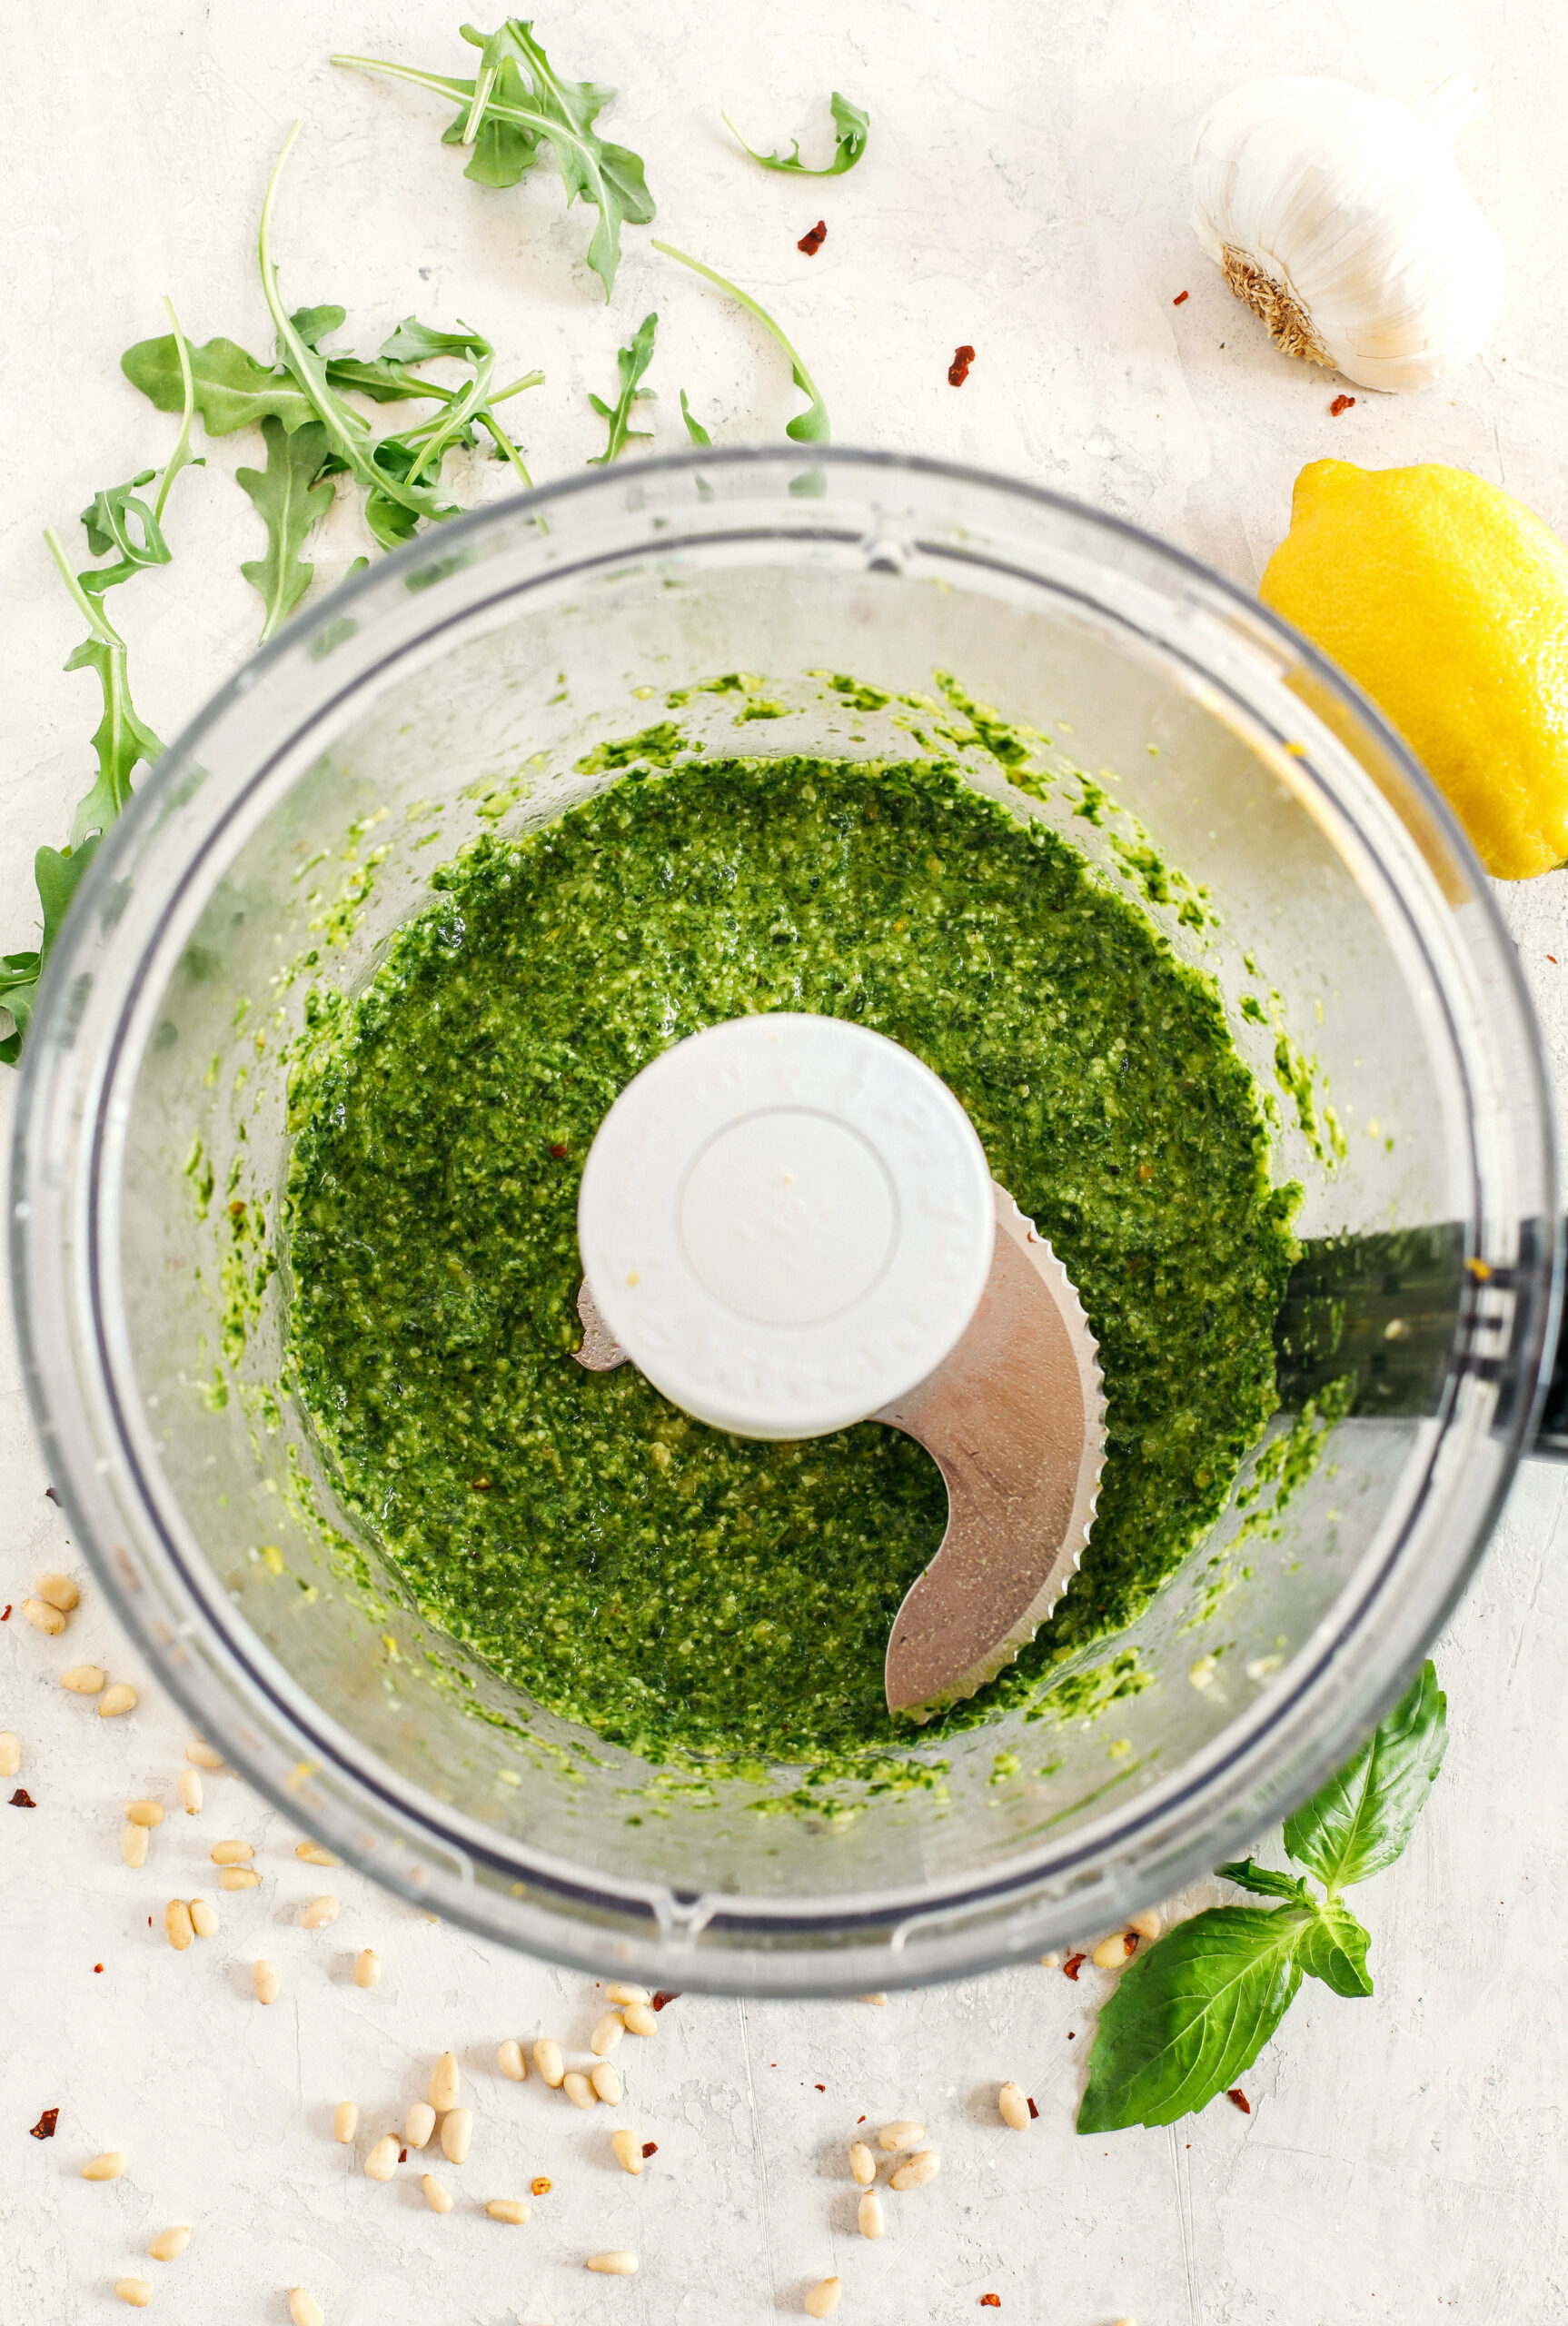
If you’ve never made your own pesto before, you really need to stop what you’re doing and whip out your food processor. Homemade pesto is one of the easiest things to make and the flavors are just INSANE! I love using pesto as a base for pizzas rather than marinara and for this particular pizza I mixed the pesto and ricotta together to make a cheesy, herby layer of creamy goodness. I also dolloped a little extra pesto throughout because I just love biting into all those flavors.
To make the pesto, you simply add all of your ingredients into the bowl of your food processor (or blender) and pulse until the pesto is all blended and you have the consistency that you want. And that’s it! Super simple and the pesto will last in a sealed, airtight container for up to 5 days in your fridge.
Pin this now to find it later
Pin ItFollow on Instagram
More Low Carb Recipes You’ll Love
- Cheesy Keto Meatball Casserole
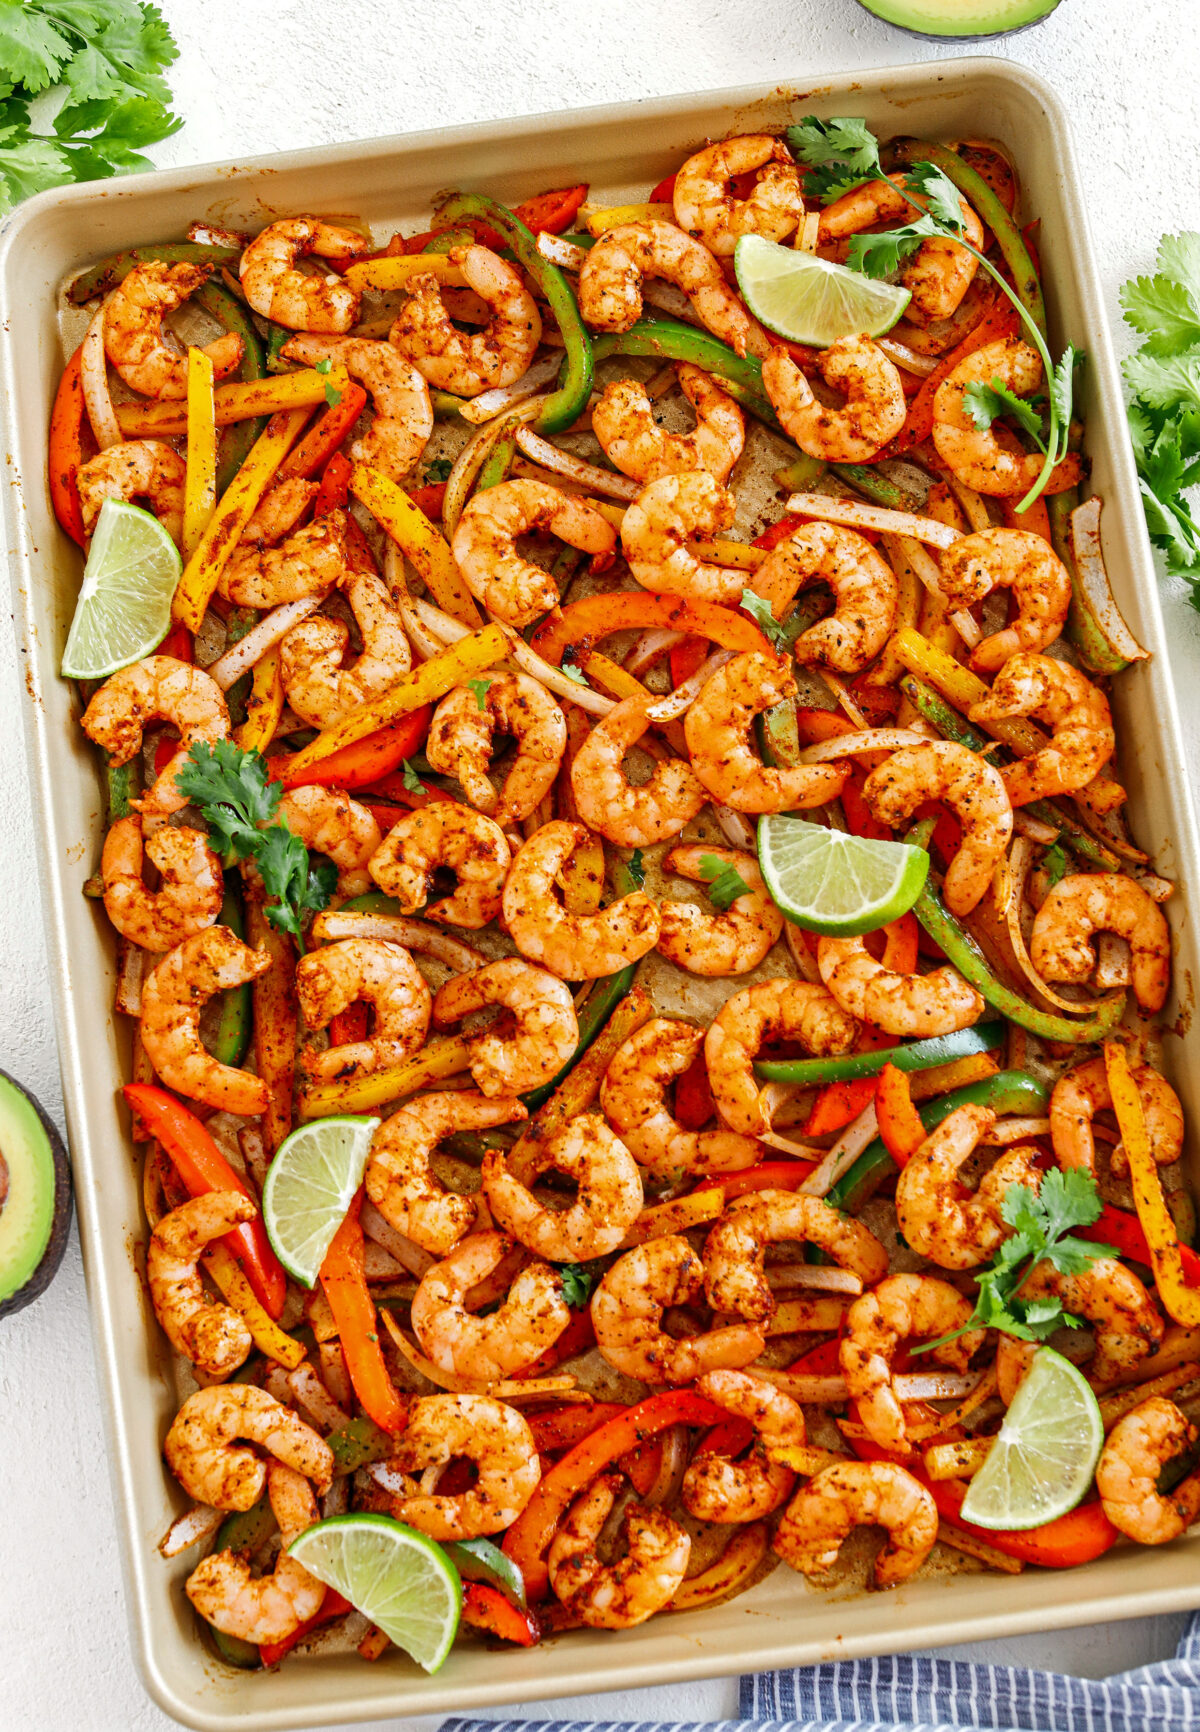
- Sheet Pan Lemon Garlic Shrimp & Asparagus
- Sheet Pan Chicken Fajitas
- Creamy Broccoli Cheddar Soup
- Air Fryer Garlic Parmesan Brussels Sprouts
Hope you all enjoy this Garden Pesto Cauliflower Pizza and if you love this as much as we do, please leave me ⭐️⭐️⭐️⭐️⭐️ below and don’t forget to tag me on Instagram using the hashtag #eatyourselfskinny! I love seeing all your delicious recreations!
Garden Pesto Cauliflower Pizza

Ingredients
For the Pizza:
- 2 cauliflower pizza crusts
- 1/2 cup ricotta cheese
- 1/2 cup shredded mozzarella cheese
- 1 medium zucchini, cut into ribbons
- 1/2 pint cherry or grape tomatoes, sliced
- 1 shallot, peeled and thinly sliced
- Pinch of red pepper flakes, optional
For the Pesto:
- 1 cup packed basil leaves
- 1 cup arugula leaves
- 1/4 cup toasted pine nuts
- 2 cloves garlic
- Juice of 1 lemon + zest
- 1/4 cup olive oil
- Salt and pepper, to taste
Instructions
- Preheat oven to 375 degrees and place a vented pan in the oven to heat up as well.
- Spray vented pan with nonstick cooking spray and place frozen cauliflower pizza crust in the center and bake for 10 to 12 minutes, until golden and crisping on the edges. Repeat this if making two pizzas or use two vented pans.
- Remove the crusts and let them cool completely before adding all of the toppings.
- While the crust cools, you can make the pesto. In the bowl of your food processor, add basil, arugula, pine nuts, garlic, lemon juice, zest and salt/pepper and pulse until finely chopped. Then with the motor still running, add olive oil in a slow stream until emulsified and creamy.
- In a small bowl, mix together the ricotta and about a 1/2 cup of pesto and spread a thin layer over top of each pizza crust (about 1/4 cup of mixture on each). Sprinkle on mozzarella cheese and add zucchini ribbons, tomatoes and shallots. You can also add more pesto, if desired.
- Place pizzas back in the oven and turn on the broiler. Broil the pizzas for about 3 to 5 minutes, until the cheese is melted and edges are crisp.
- Top pizzas with fresh basil and a pinch of red pepper flakes, if desired. Enjoy!
Nutrition
Nutrition information is automatically calculated, so should only be used as an approximation.


We just had cauliflower crust pizza from a local restarurant last night and I was just looking for a recipe to make it at home. This looks absolutely perfect. Can’t wait to try!
Hope you enjoy! Just in case you didn’t see it, you can save 10% using my code EATYOURSELFSKINNY at checkout 🙂 Just use this link: https://glnk.io/1p4/eaturselfskinny