Gluten-free Spooky Witch Finger Cookies made healthier with almond flour and zero oil or refined sugar that make the perfect addition to your Halloween party! Tasty almond flavored cookies that are simple and fun to make!
Looking for festive Halloween treats for your next party? Check out these delicious chocolate mummy cookies, these fun Frankenstein Rice Krispie Treats, and my viral Halloween charcuterie board!
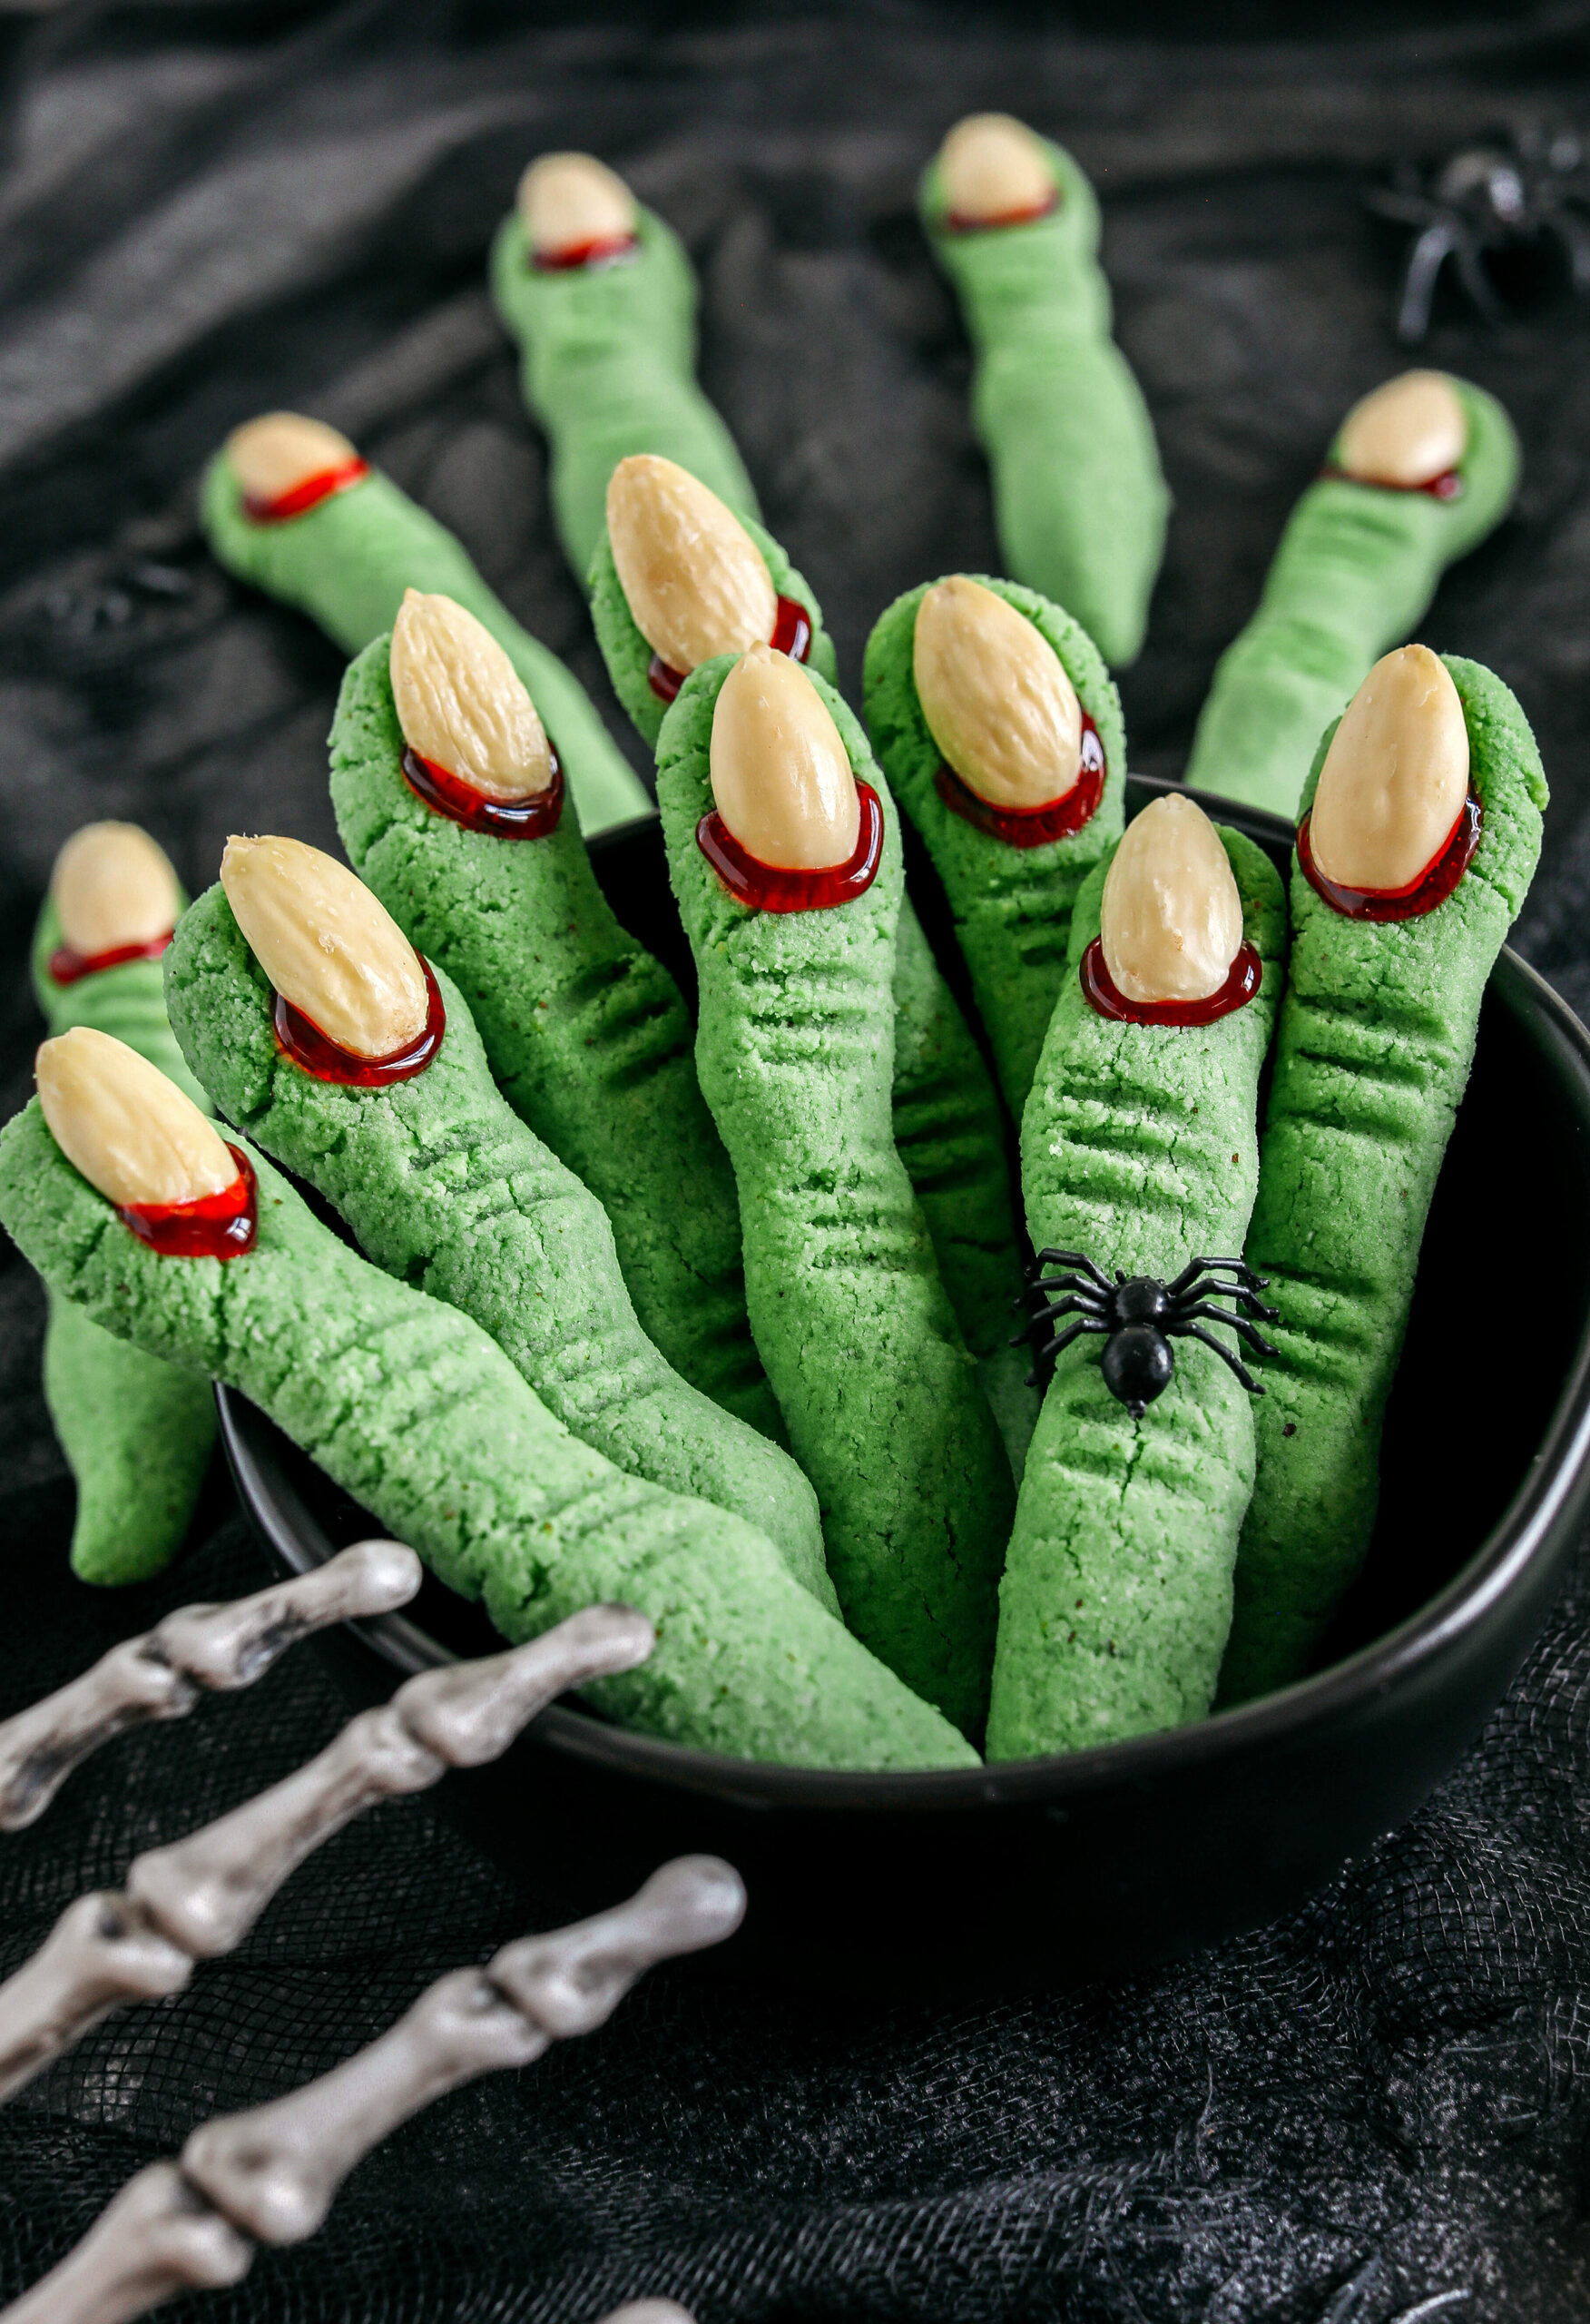
We love being festive for the holidays and these spooky witch finger cookies are just so fun for Halloween! Not only are they delicious, but they are super easy to make and your kids will love helping you! Buttery, soft and chewy shortbread cookies loaded with so much almond flavor. They may look gross, but I promise these cookies taste absolutely delicious and are always a hit at our Halloween parties!
Why You’ll Love these Cookies
- Fun and festive cookies perfect for Halloween parties!
- These gluten-free cookies are made healthier with almond flour and zero oil or refined sugar.
- Your kids will absolutely love these and will have fun making them with you.
- These cookies are lower in carbs and can also easily be made keto by swapping out the cane sugar for any low carb sweetener.
Ingredients You’ll Need
- almond flour – this is a tasty gluten-free/low carb flour that has great flavor and healthy fats, just make sure to use almond flour and not almond meal. I don’t recommend swapping out the almond flour for any other type of flour as this recipe has been tailored and tested specific with these ingredients.
- coconut flour – this is the key to making these cookies deliciously chewy and works really well with the almond flour.
- baking powder – this acts as a leavening agent to help these cookies bake up nicely and make them chewy. Do no use baking soda as it makes these cookies spread too much when baking.
- butter – we’re only using 4 tablespoons of butter in these cookies and it really make these cookies so delicious with amazing flavor, but you could substitute coconut oil if prefer.
- almond butter – allows us to use less butter in this recipe and helps these cookies bake up nicely.
- egg – you’ll need one large egg for this recipe.
- cane sugar – naturally sweetens these cookies without using any refined sugar, but any type of granulated sugar will work.
- flavor boosts – we are using almond extract to give these cookies that delicious almond flavor, vanilla extract and salt to enhance the flavor in these cookies.
- spooky additions – you’ll need some green food coloring (I like to use this plant-based food coloring), about a 1/2 cup of blanched almonds (skins removed) for the fingernails and some red decorating gel to make these spooky witch finger cookies. If you don’t have red gel, feel free to use strawberry jam!
How to Make Witch Finger Cookies
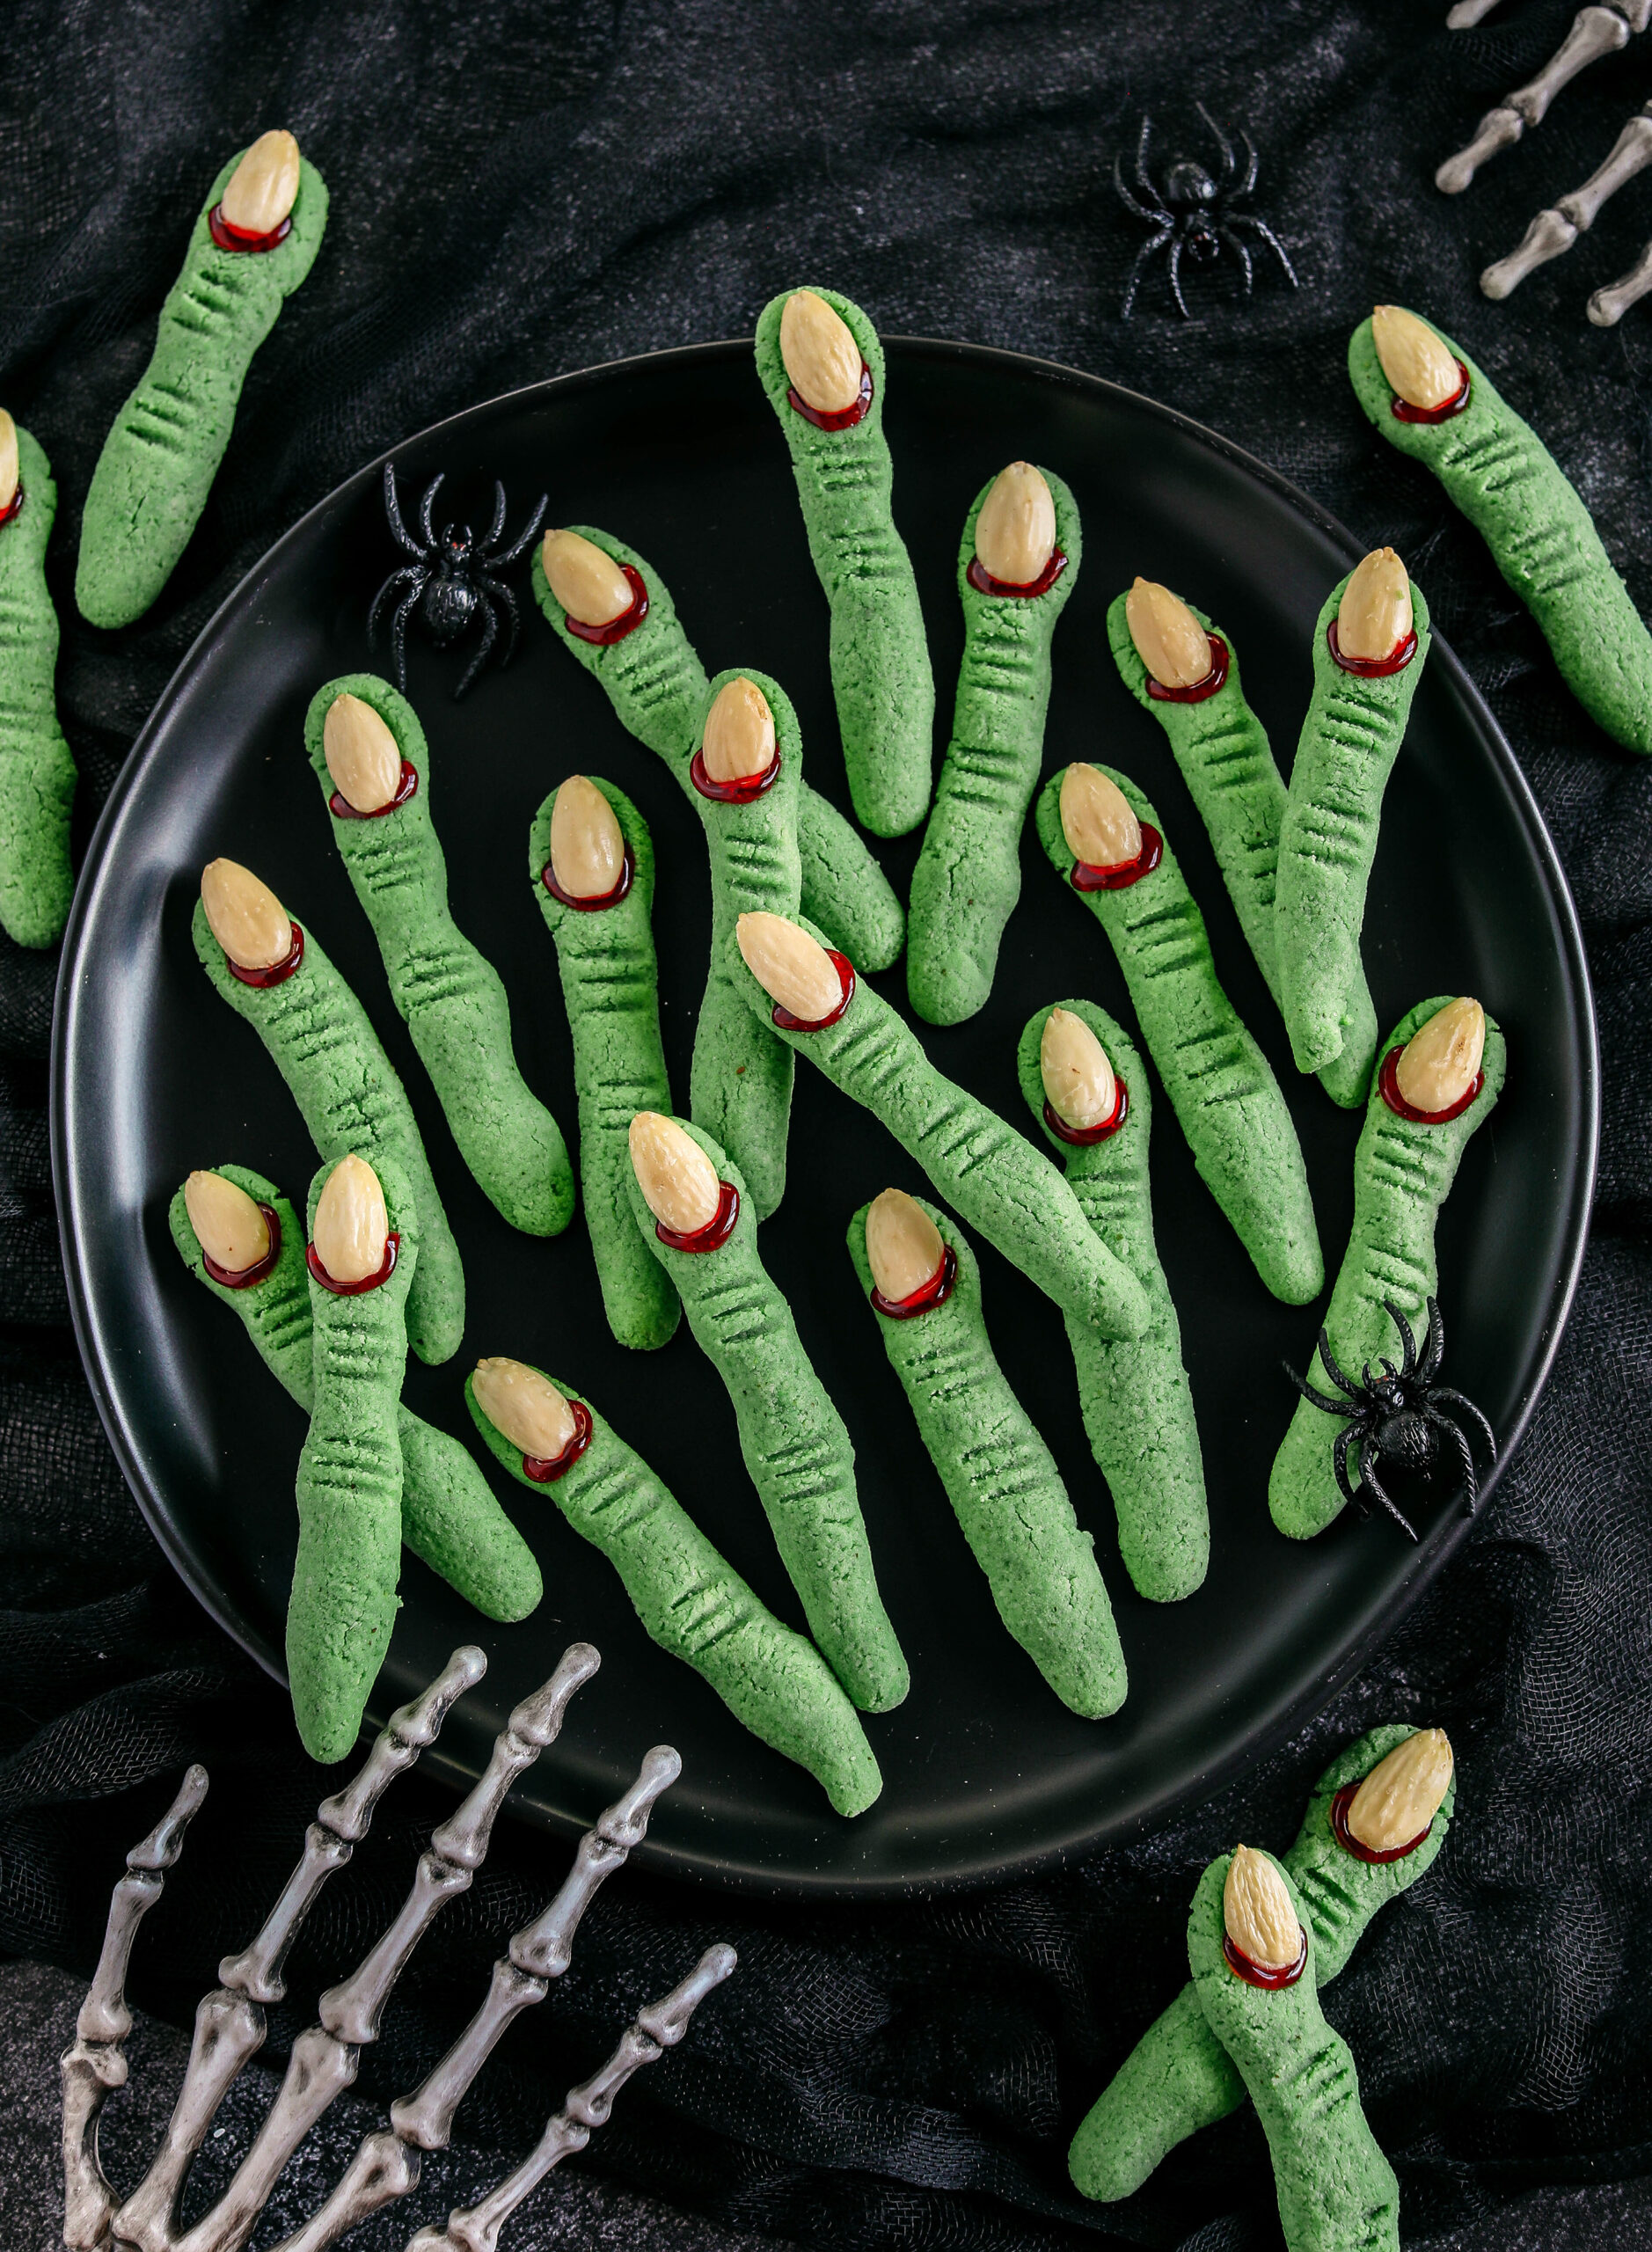
This recipe makes 46 cookies using a 1/2 tablespoon size scoop, but you could use a larger cookie scoop for bigger cookies, they may just spread out more when baking. Here’s how to make the cookies:
- Preheat oven and mix ingredients. Preheat oven to 350 degrees and line a baking sheet with parchment paper or use a silicone baking mat. In the bowl of your stand mixer fitted with the paddle attachment (or you could use an electric mixer with a large bowl), cream together the butter, almond butter, egg, sugar, almond extract and vanilla until smooth and combined. Add in the almond flour, coconut flour, baking powder and salt, mixing until just combined and then add about 10 to 15 drops of green food coloring to the cookie dough, mixing again until you get the color you desire.
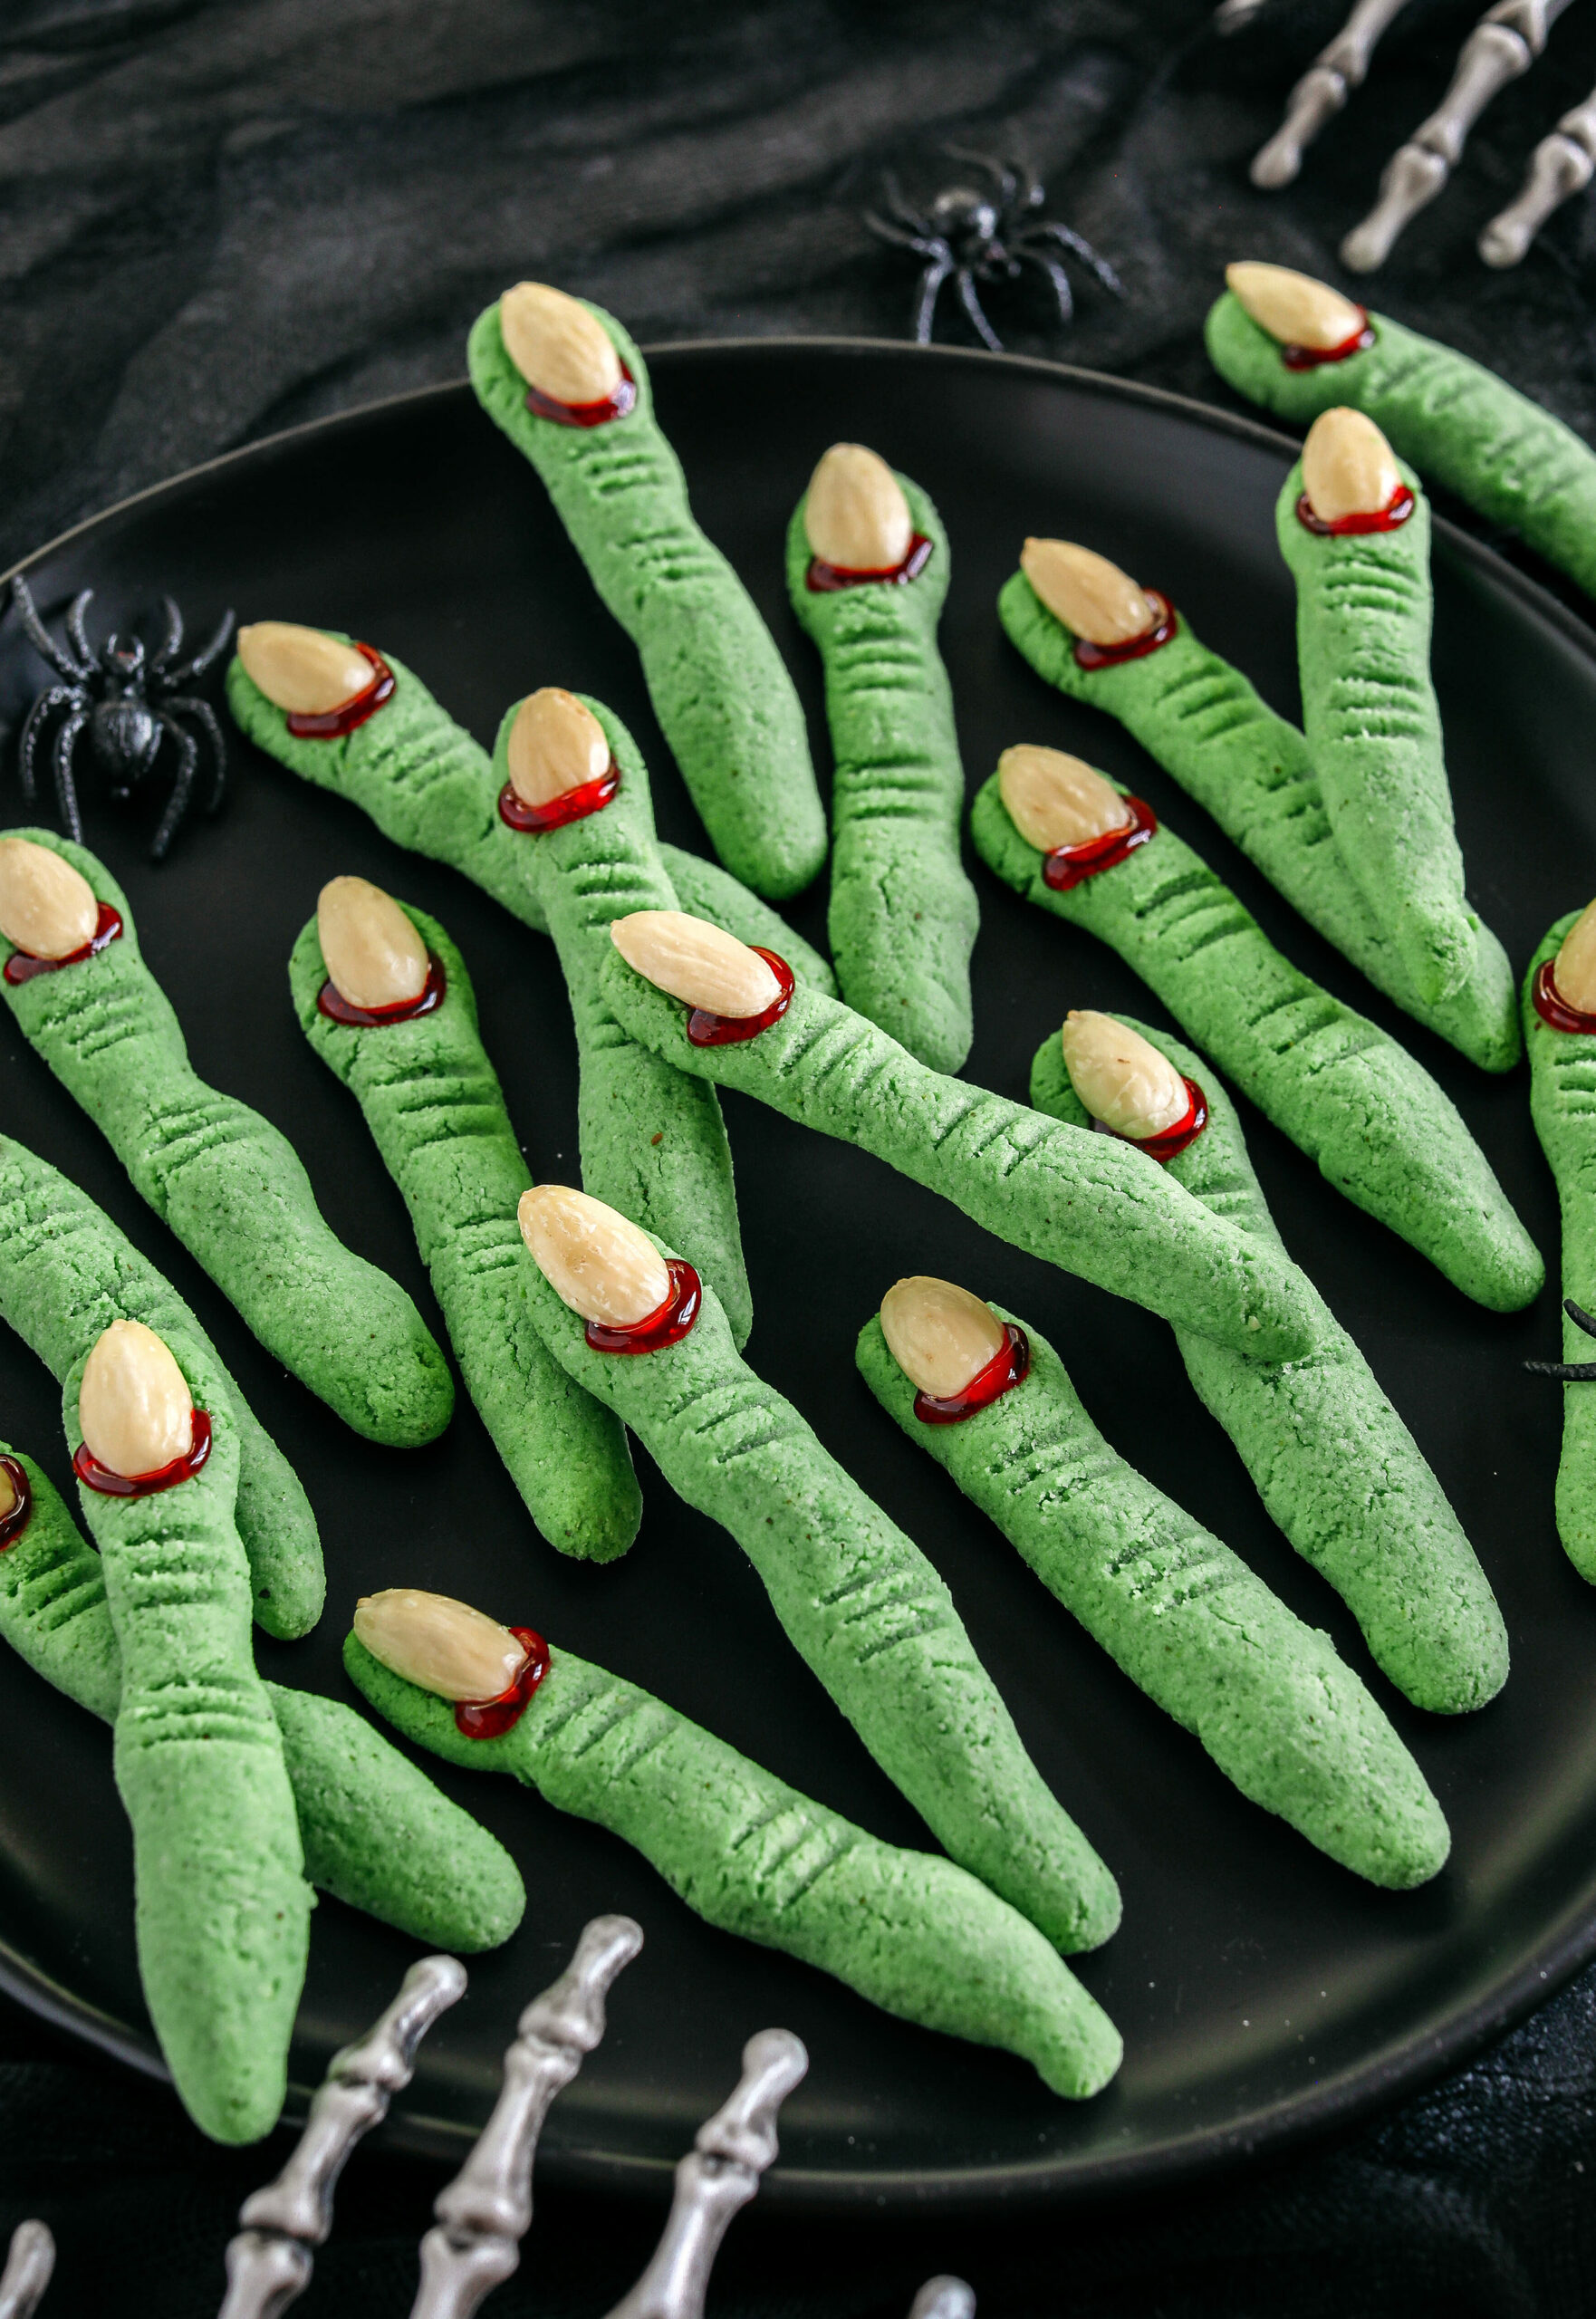
- Make the fingers. Using a 1/2 tablespoon size cookie scoop, scoop the dough and roll it into finger shapes about 4 to 5 inches long and press an almond onto the end of each finger. Using a toothpick or knife, make indentations on each finger to resemble creases where the knuckles would be. You should get about 46 cookies.
- Chill the cookies. Place the cookies on the baking sheet and chill in the fridge for at least 30 minutes to 1 hour. This prevents the cookies from spreading too much and will help them keep that finger shape.
- BAKE! Bake the cookies at 350 degrees for 10 to 12 mins until cookies are set. Remove cookies and let them cool on the pan for 5 minutes then transfer them to a wire rack.
- Decorate. Once cookies are slightly cooled, remove the almond “nail” and squeeze a little red gel at the base of the nail bed and place the almond back on. Repeat this with all the finger cookies and enjoy!
How to Easily Blanch Almonds
Blanching almonds simply means removing the skins and this is really easy to do! We are using blanched almonds in this recipe for the creepy nails on the witch fingers and to do this, you’ll first place the almonds in a heat safe bowl and pour boiling water over top. Let the almonds sit for 60 seconds (any longer and the almonds will get too soft) and drain them in a colander, rinsing cold water over top to cool them off. Pat the almonds dry with a paper towel and you’ll find that you can just squeeze the almonds right out of the skins. And that’s it, super easy!
Prepping and Storage
To Store: These spooky witch finger cookies can be stored in a sealed, airtight container for up to 1 week in the fridge.
To Freeze: These cookies can also be frozen for up to 3 months in a sealed, airtight container or you can individually store them in plastic wrap and take them out separately to thaw.
Pin this now to find it later
Pin ItFollow on Instagram
More Halloween Recipes You’ll Love
- Chocolate Mummy Cookies
- Halloween Charcuterie Board
- Frankenstein Rice Krispie Treats
- No Bake Chocolate Pumpkin Bars
- Healthy Pumpkin Dip
- Skillet Black Bean Brownies
Hope you all enjoy these Witch Finger Cookies and if you love this as much as we do, please leave me ⭐️⭐️⭐️⭐️⭐️ below and don’t forget to tag me on Instagram using the hashtag #eatyourselfskinny! I love seeing all your delicious recreations!
Witch Finger Cookies

Ingredients
- 2 cups almond flour
- 1/4 cup coconut flour
- 1/2 teaspoon baking powder
- 1/2 teaspoon salt
- 4 tablespoons butter, softened
- 1/2 cup cane sugar
- 1 egg
- 1 tablespoon almond butter
- 1 teaspoon almond extract
- 1 teaspoon vanilla extract
To decorate witch finger cookies:
- 10 to 15 drops green food coloring
- 1/2 cup blanched almonds
- red decorating gel
Instructions
- Preheat oven to 350 degrees and line a baking sheet with parchment paper or use a silicone baking mat.
- In the bowl of your stand mixer fitted with the paddle attachment (or you could use an electric mixer), cream together the butter, almond butter, egg, sugar, almond extract and vanilla until smooth and combined.
- Add in the almond flour, coconut flour, baking powder and salt, mixing until just combined and then add about 10 to 15 drops of green food coloring to the cookie dough, mixing again until you get the color you desire.
- Using a 1/2 tablespoon size cookie scoop, scoop the dough and roll it into finger shapes about 4 to 5 inches long and press an almond onto the end of each finger. Using a toothpick or knife, make indentations on each finger to resemble creases where the knuckles would be. You should get about 46 cookies.
- Place the cookies on the baking sheet and chill in the fridge for at least 30 minutes to 1 hour. This prevents the cookies from spreading too much and will help them keep that finger shape when baking.
- Bake the cookies for 10 to 12 mins until cookies are set. Remove cookies and let them cool on the pan for 5 minutes then transfer them to a wire rack.
- Once cookies are slightly cooled, remove the almond “nail” and squeeze a little red gel at the base of each nail bed and place the almond back on. Repeat this with all the finger cookies and enjoy!
Nutrition
Nutrition information is automatically calculated, so should only be used as an approximation.


nice finger cookies
Could you recommend a particular brand of food coloring that is safe for both children and pets? Whenever I cook or bake, my furry family members are always by my side 🙂 I have never used food coloring before, except natural ones like matcha or blueberry.
Great question! I like to use this plant-based food coloring 🙂
Thanks for fabulous dish.