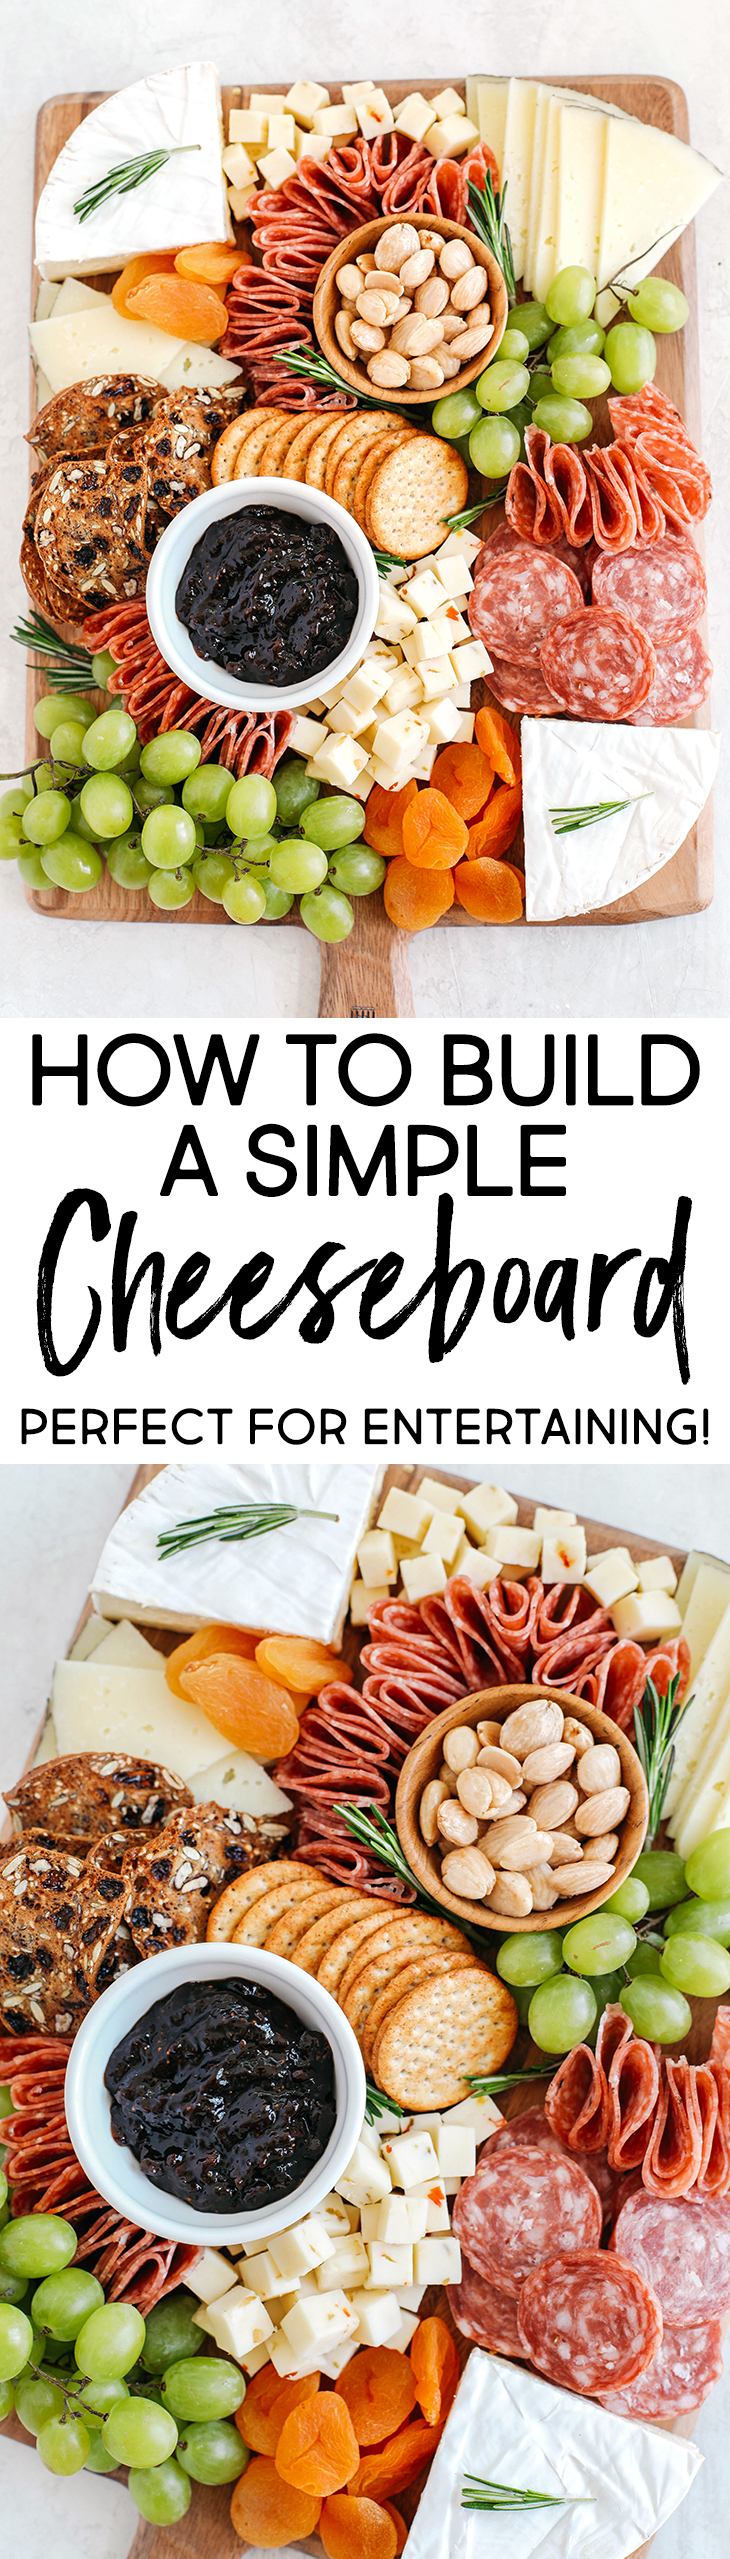
My favorite tips and tricks for building the perfect cheese board with all your favorite charcuterie that is simple, beautiful and made in just minutes! Perfect for everyday entertaining!
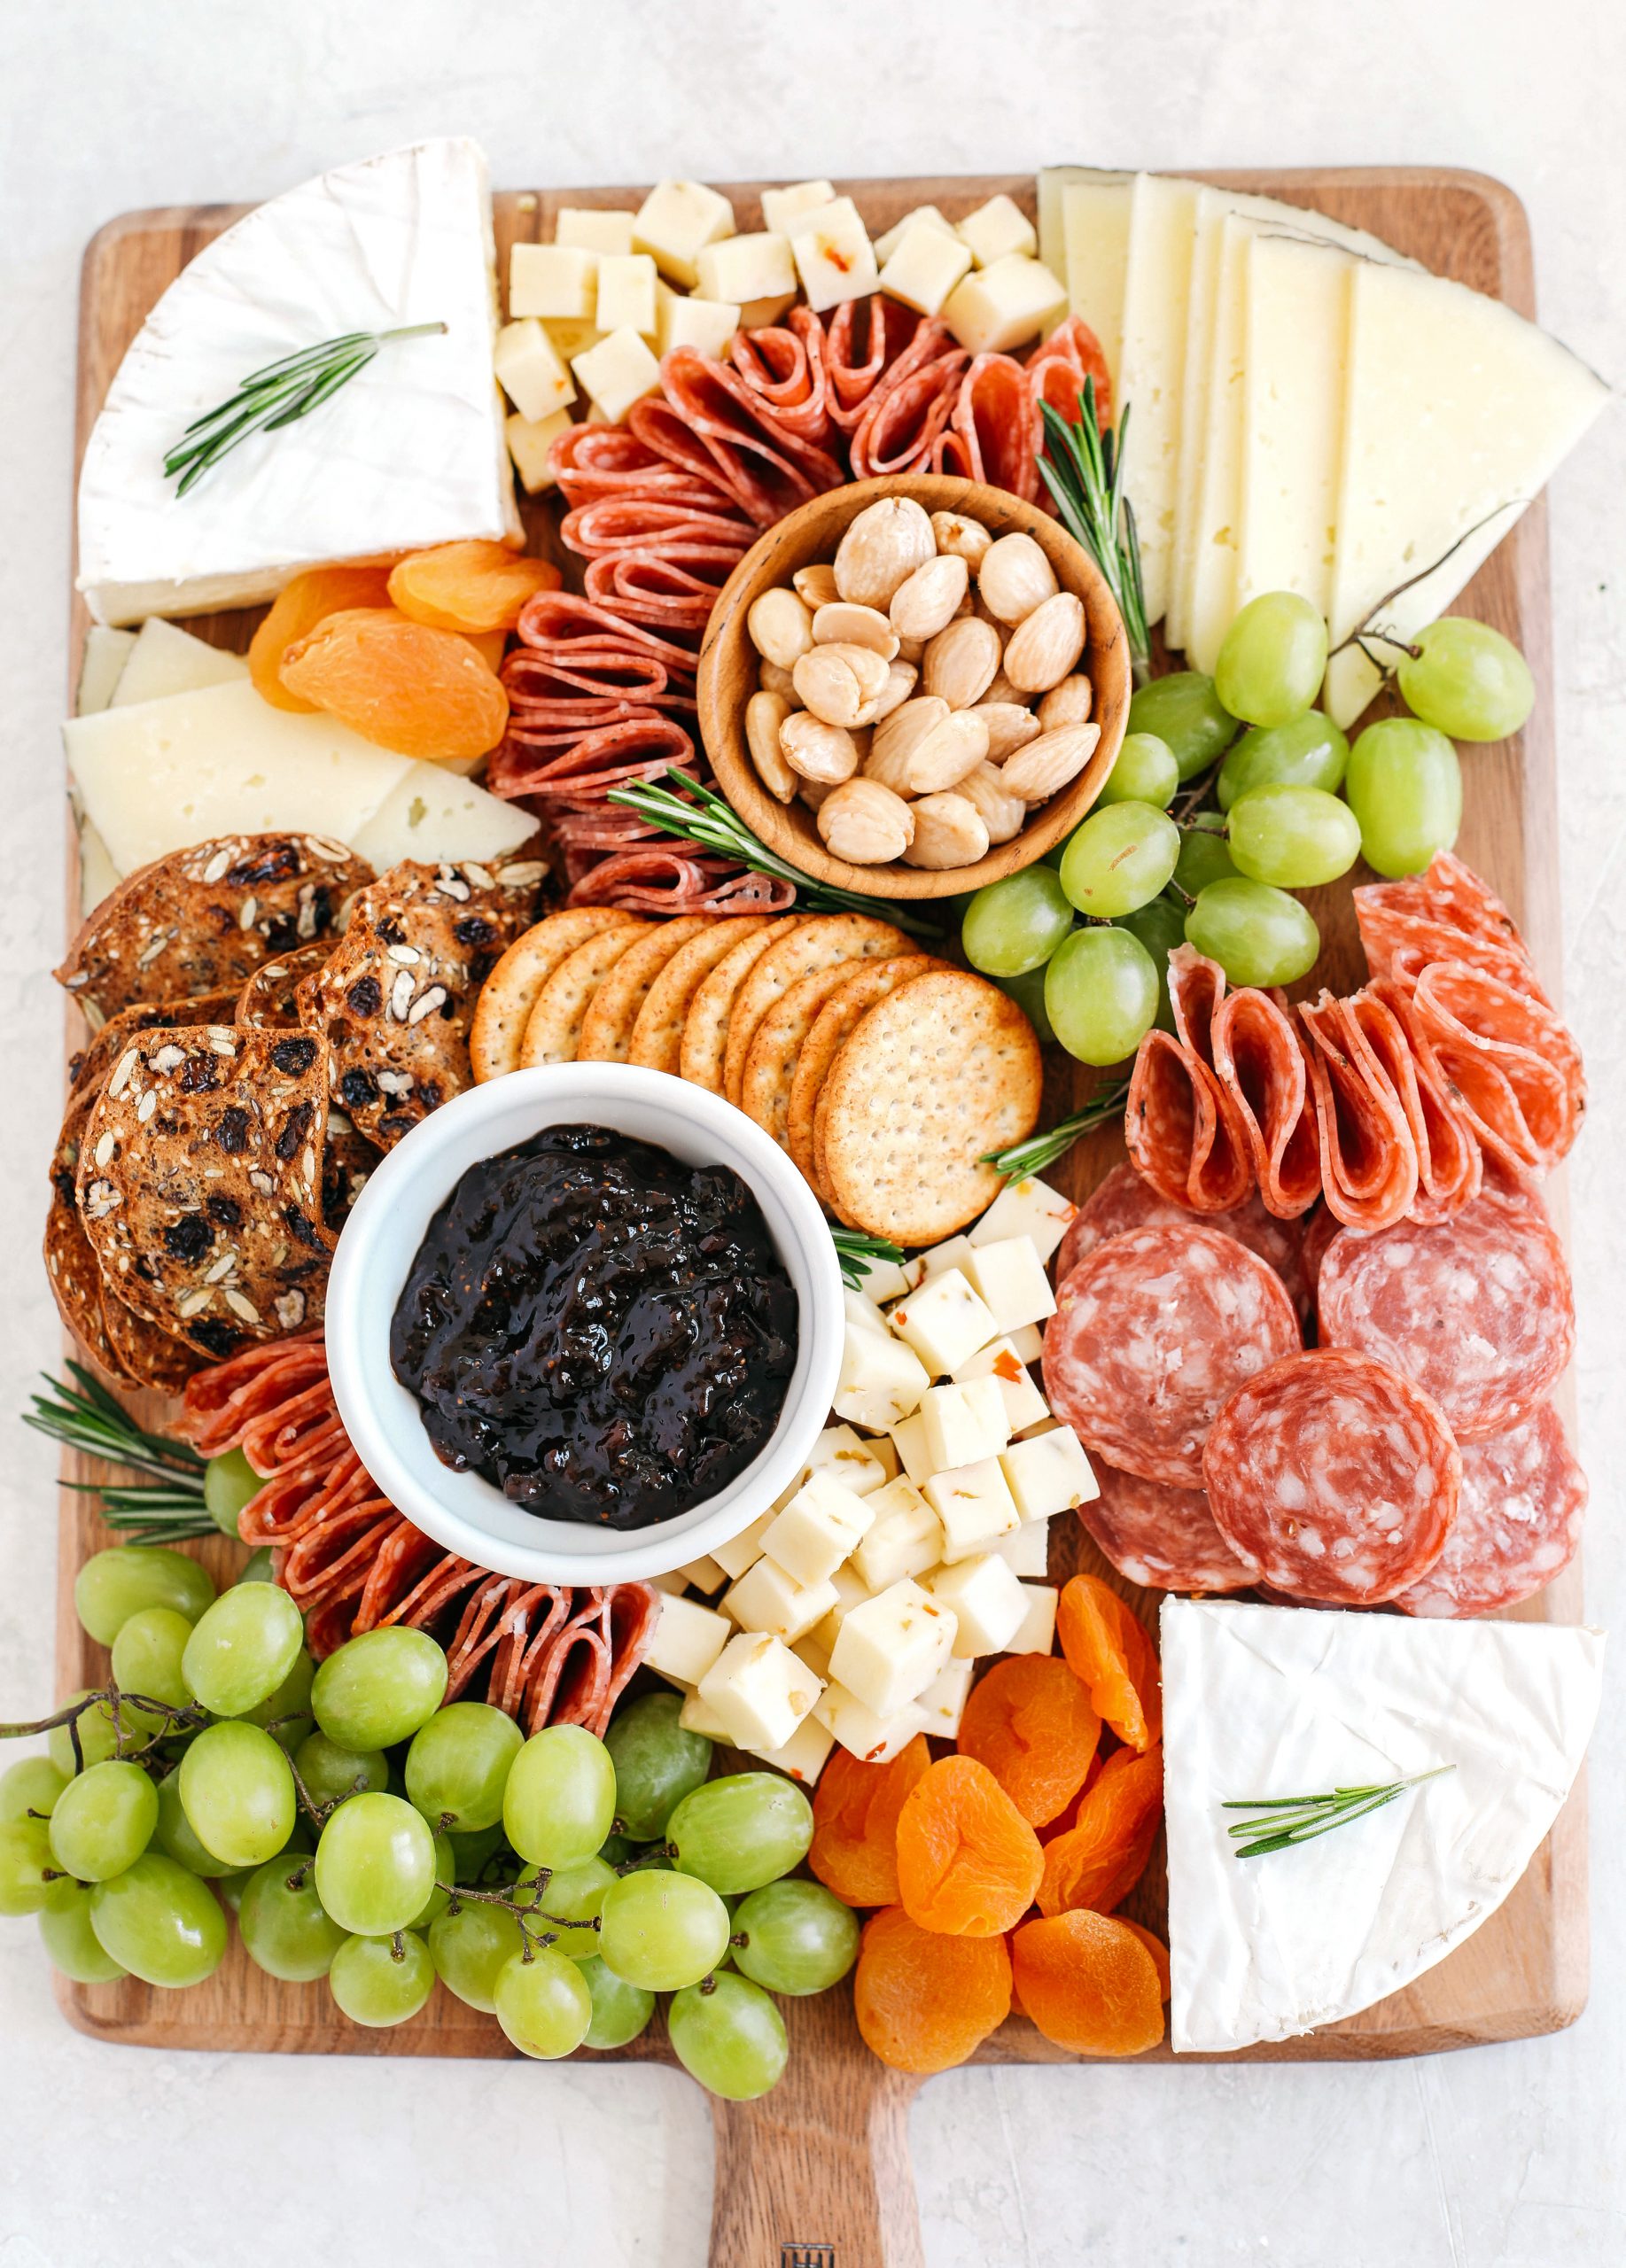
Okay so cheese boards are kind of my jam. I LOVE charcuterie and always like to put boards together any time I have people over or we head to wineries because not only are they beautiful, but there is always something for everyone! A good charcuterie board should have a variety of cheeses (I like to have at least 3 different options), a variety of meats, fresh fruit, nuts and crackers. Think salty, sweet and savory! I also like to throw in a seasonal fruit spread and pop in fresh herbs for a little touch. Details are everything!
These are my tips and tricks for building a basic cheese board, but the great thing about these beauties are you can make them as simple or as fancy as you’d like. Cheese boards are literally great any time, whether for a small girls night, a picnic or winery outing, a celebratory event or even a big holiday party! For more holiday cheese board inspiration, be sure to check out my ultimate patriotic cheese board , this Halloween charcuterie board, Valentine’s Day dessert board, and my holiday cheese board!
What You Need to Make a Cheeseboard
1. The cheeses
I always like to have a wide variety of cheeses because everyone is different in what they prefer, but I like to serve at least 3 different types on my board – firm, soft and semi-soft. A few staples to have are soft cheeses like brie or burrata, semi-soft cheeses such as havarti, fontina or gorgonzola and firmer cheeses such as aged cheddar, manchego or smoked gouda. I also like to throw on a strong blue cheese as well because some people just love it! Variety is key.
I also like to cut my cheeses in different ways too, which makes styling the board much more fun and adds dimension. Cut your firmer cheeses into cubes, the softer cheeses into slices and I like to leave the brie and blue cheeses whole, while crumbling the blue just a bit to give the overall board some texture. You really can’t go wrong though because no matter what you do, it is sure to be a beautiful mess!
2. The meats
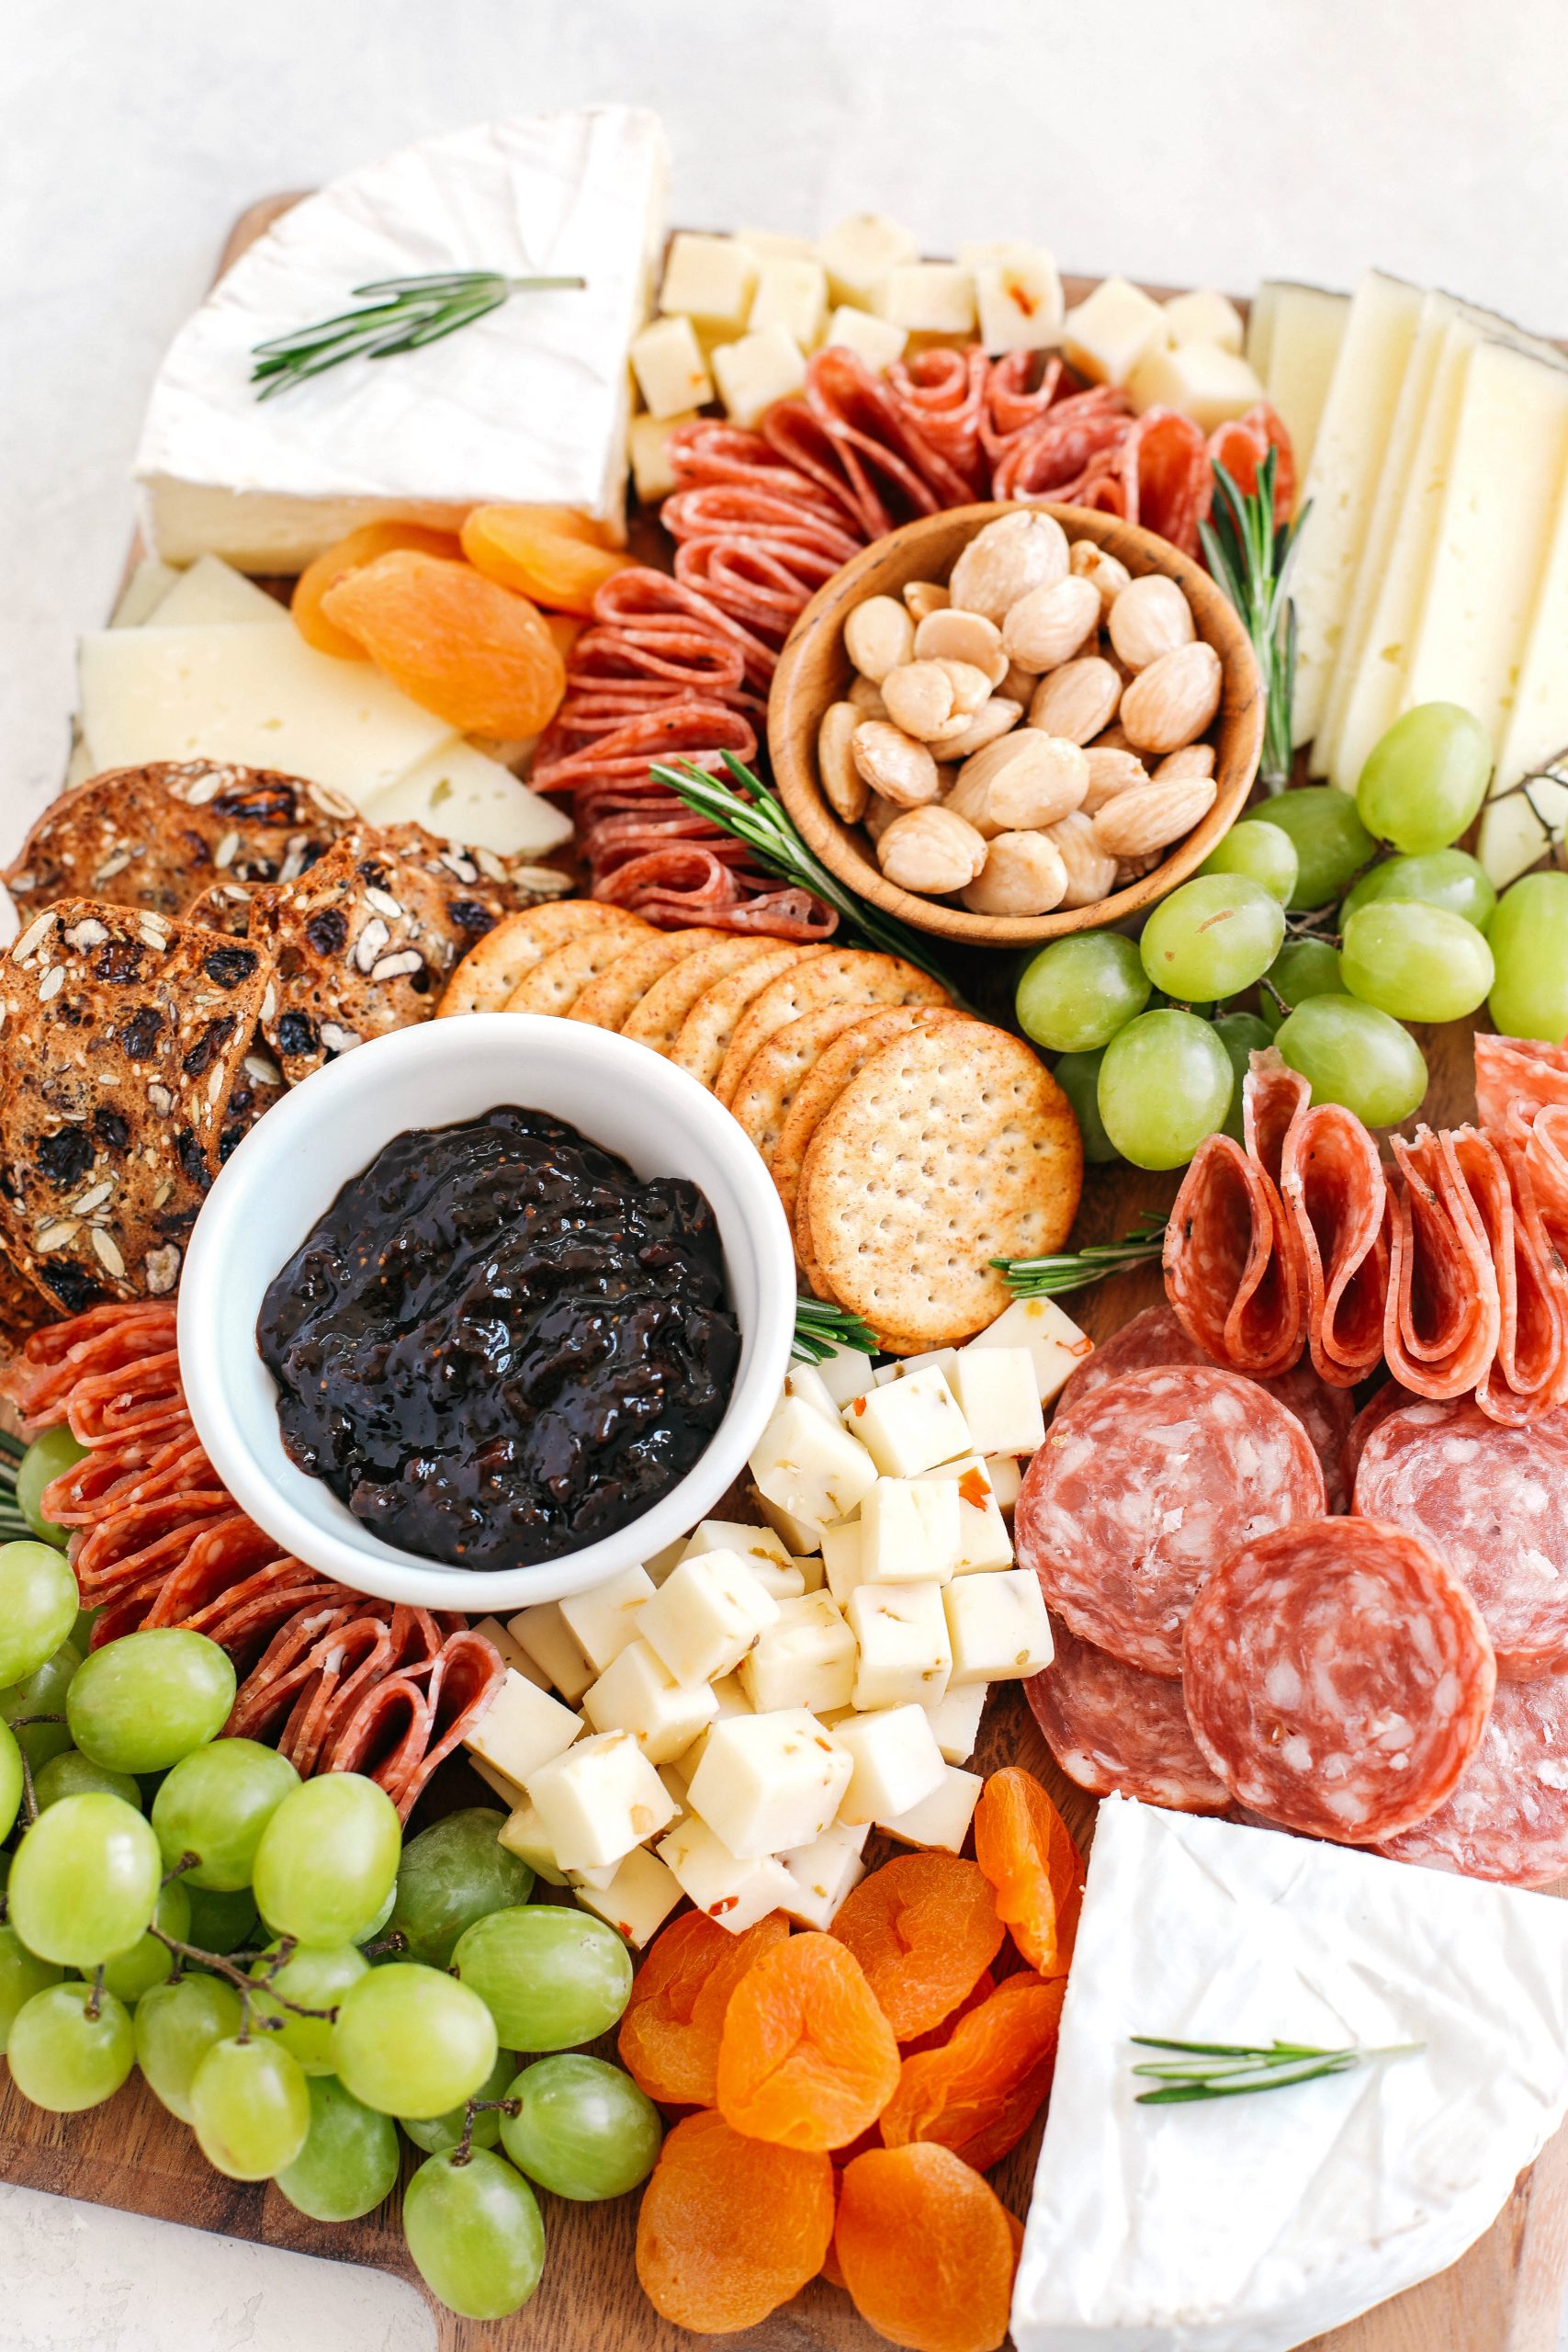
Along with the cheeses, I always like to have a variety of cured meats on the board as well. Some of my favorites are spicy salami, prosciutto, soppressata, and capicola. I also like to display them fun ways too, thinner slices rolled up and arranged around the cheeses or bowls while thicker slices I like to pile up to fill in any gaps which adds more texture and dimension to the overall board.
3. Fresh and dried fruit
When building a cheese board I like to keep things seasonal depending on the time of year. For instance, in the spring and summer months you could have fresh melon (which goes great with prosciutto!), a variety of berries, mango, and apricots. In the fall and winter months you could add fresh pears, apple slices, oranges, pomegranate seeds and cranberries. Fruit is always a hit and the sweetness pairs so well with the salty and savory aspects of the board. Keep it simple by using whatever you already have on hand in your fridge!
In my opinion, grapes and figs are fruits that are winners year round and are my personal favorites for cheese boards. Grapes just always look amazing when displayed and I always like to add a fig spread to top the cheese and crackers. Dried fruit is also a great addition as well and is actually really helpful when needing to fill in little gaps on the board.
4. Assortment of crackers
Your cheese needs a vehicle, right?? I like to use an assortment of different types of crackers to add a nice variety and options that everyone will love:
- Salty crackers
- Seeded crackers
- Table water crackers
- Sliced baguette
Try getting different size and shape crackers as well. To display them, you can spread them out around the cheeses, fan them out in various places and even pile them in any gaps you may have on your board. The possibilities are endless and offering a good variety is always a plus!
5. All the extras!
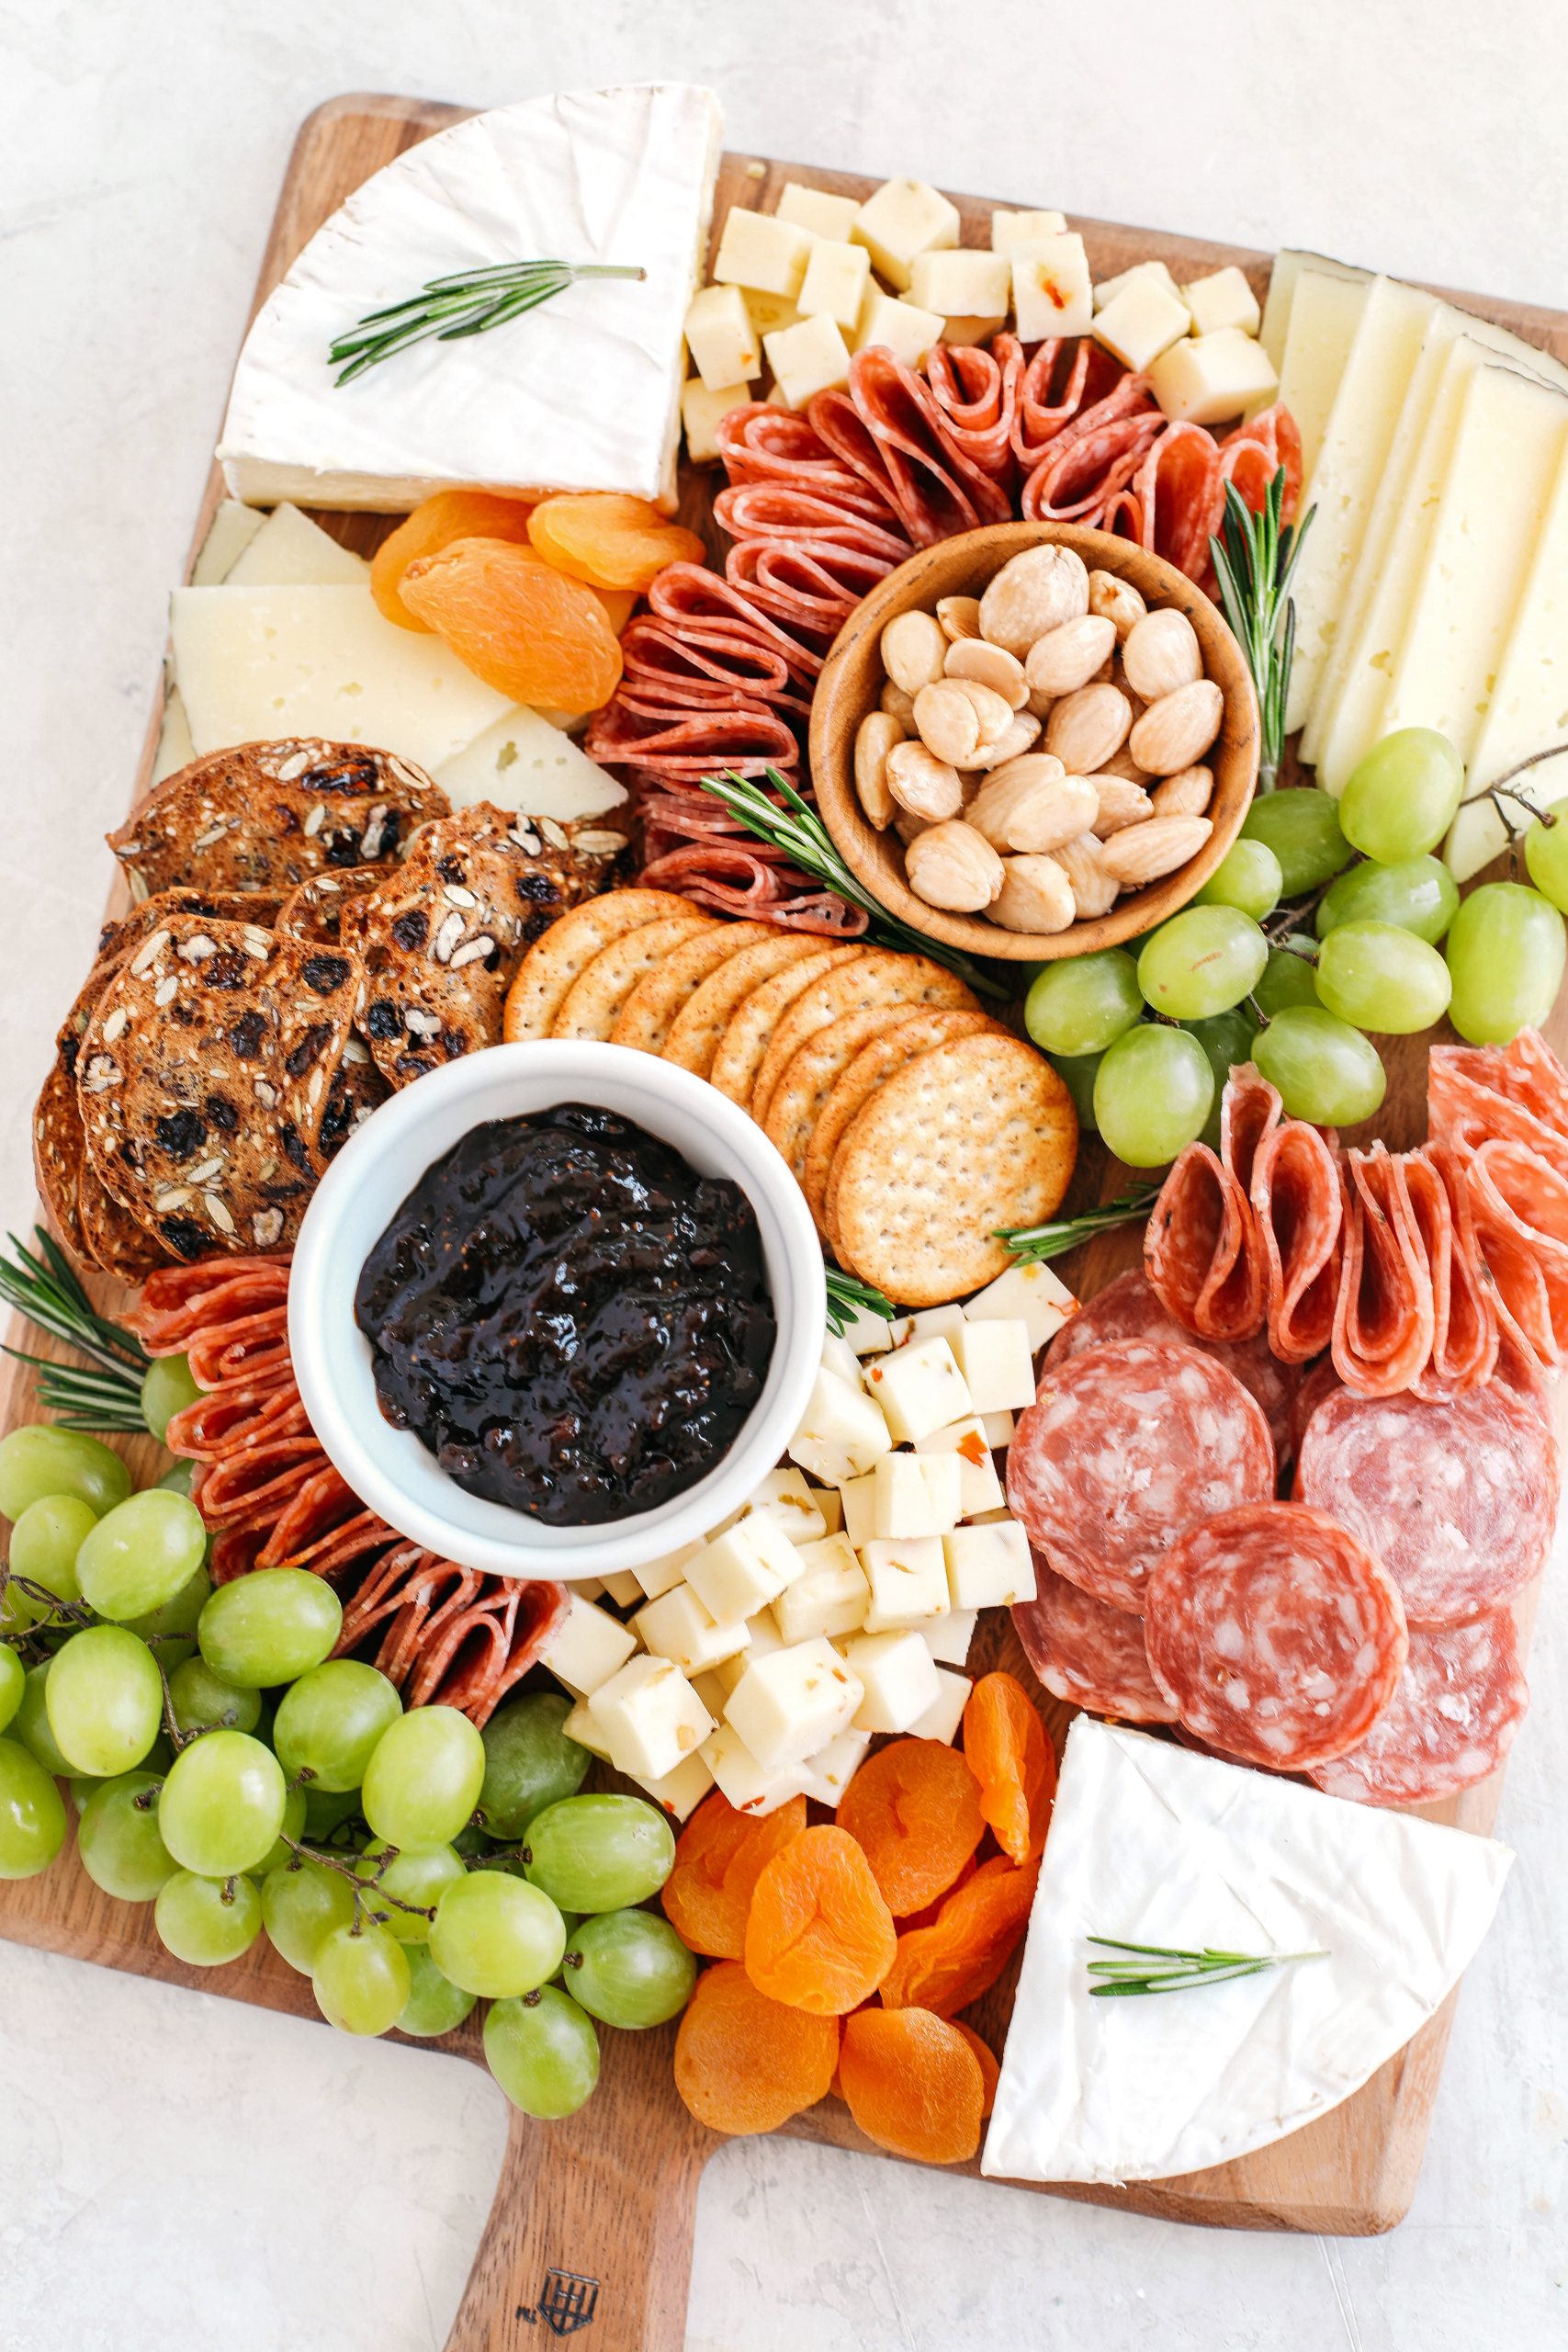
Here is where you add all the little fun items and garnishes that not only make your board super pretty to look at, but so much more abundant! Try adding a variety of nuts such as marcona almonds, spiced pecans or cashews, salty items like olives or pickles, and I love throwing in fresh herbs like rosemary, thyme or sage (depending on the season) to add a little greenery which is the perfect finishing touch!
Another extra I love to add (as long as you aren’t displaying your board outside on a 90 degree day) is broken up chocolate! I mean who doesn’t love the delicious combination of wine, cheese and chocolate? I like to use a salted dark chocolate, but feel free to choose whatever is best for your board!
Choosing a Board
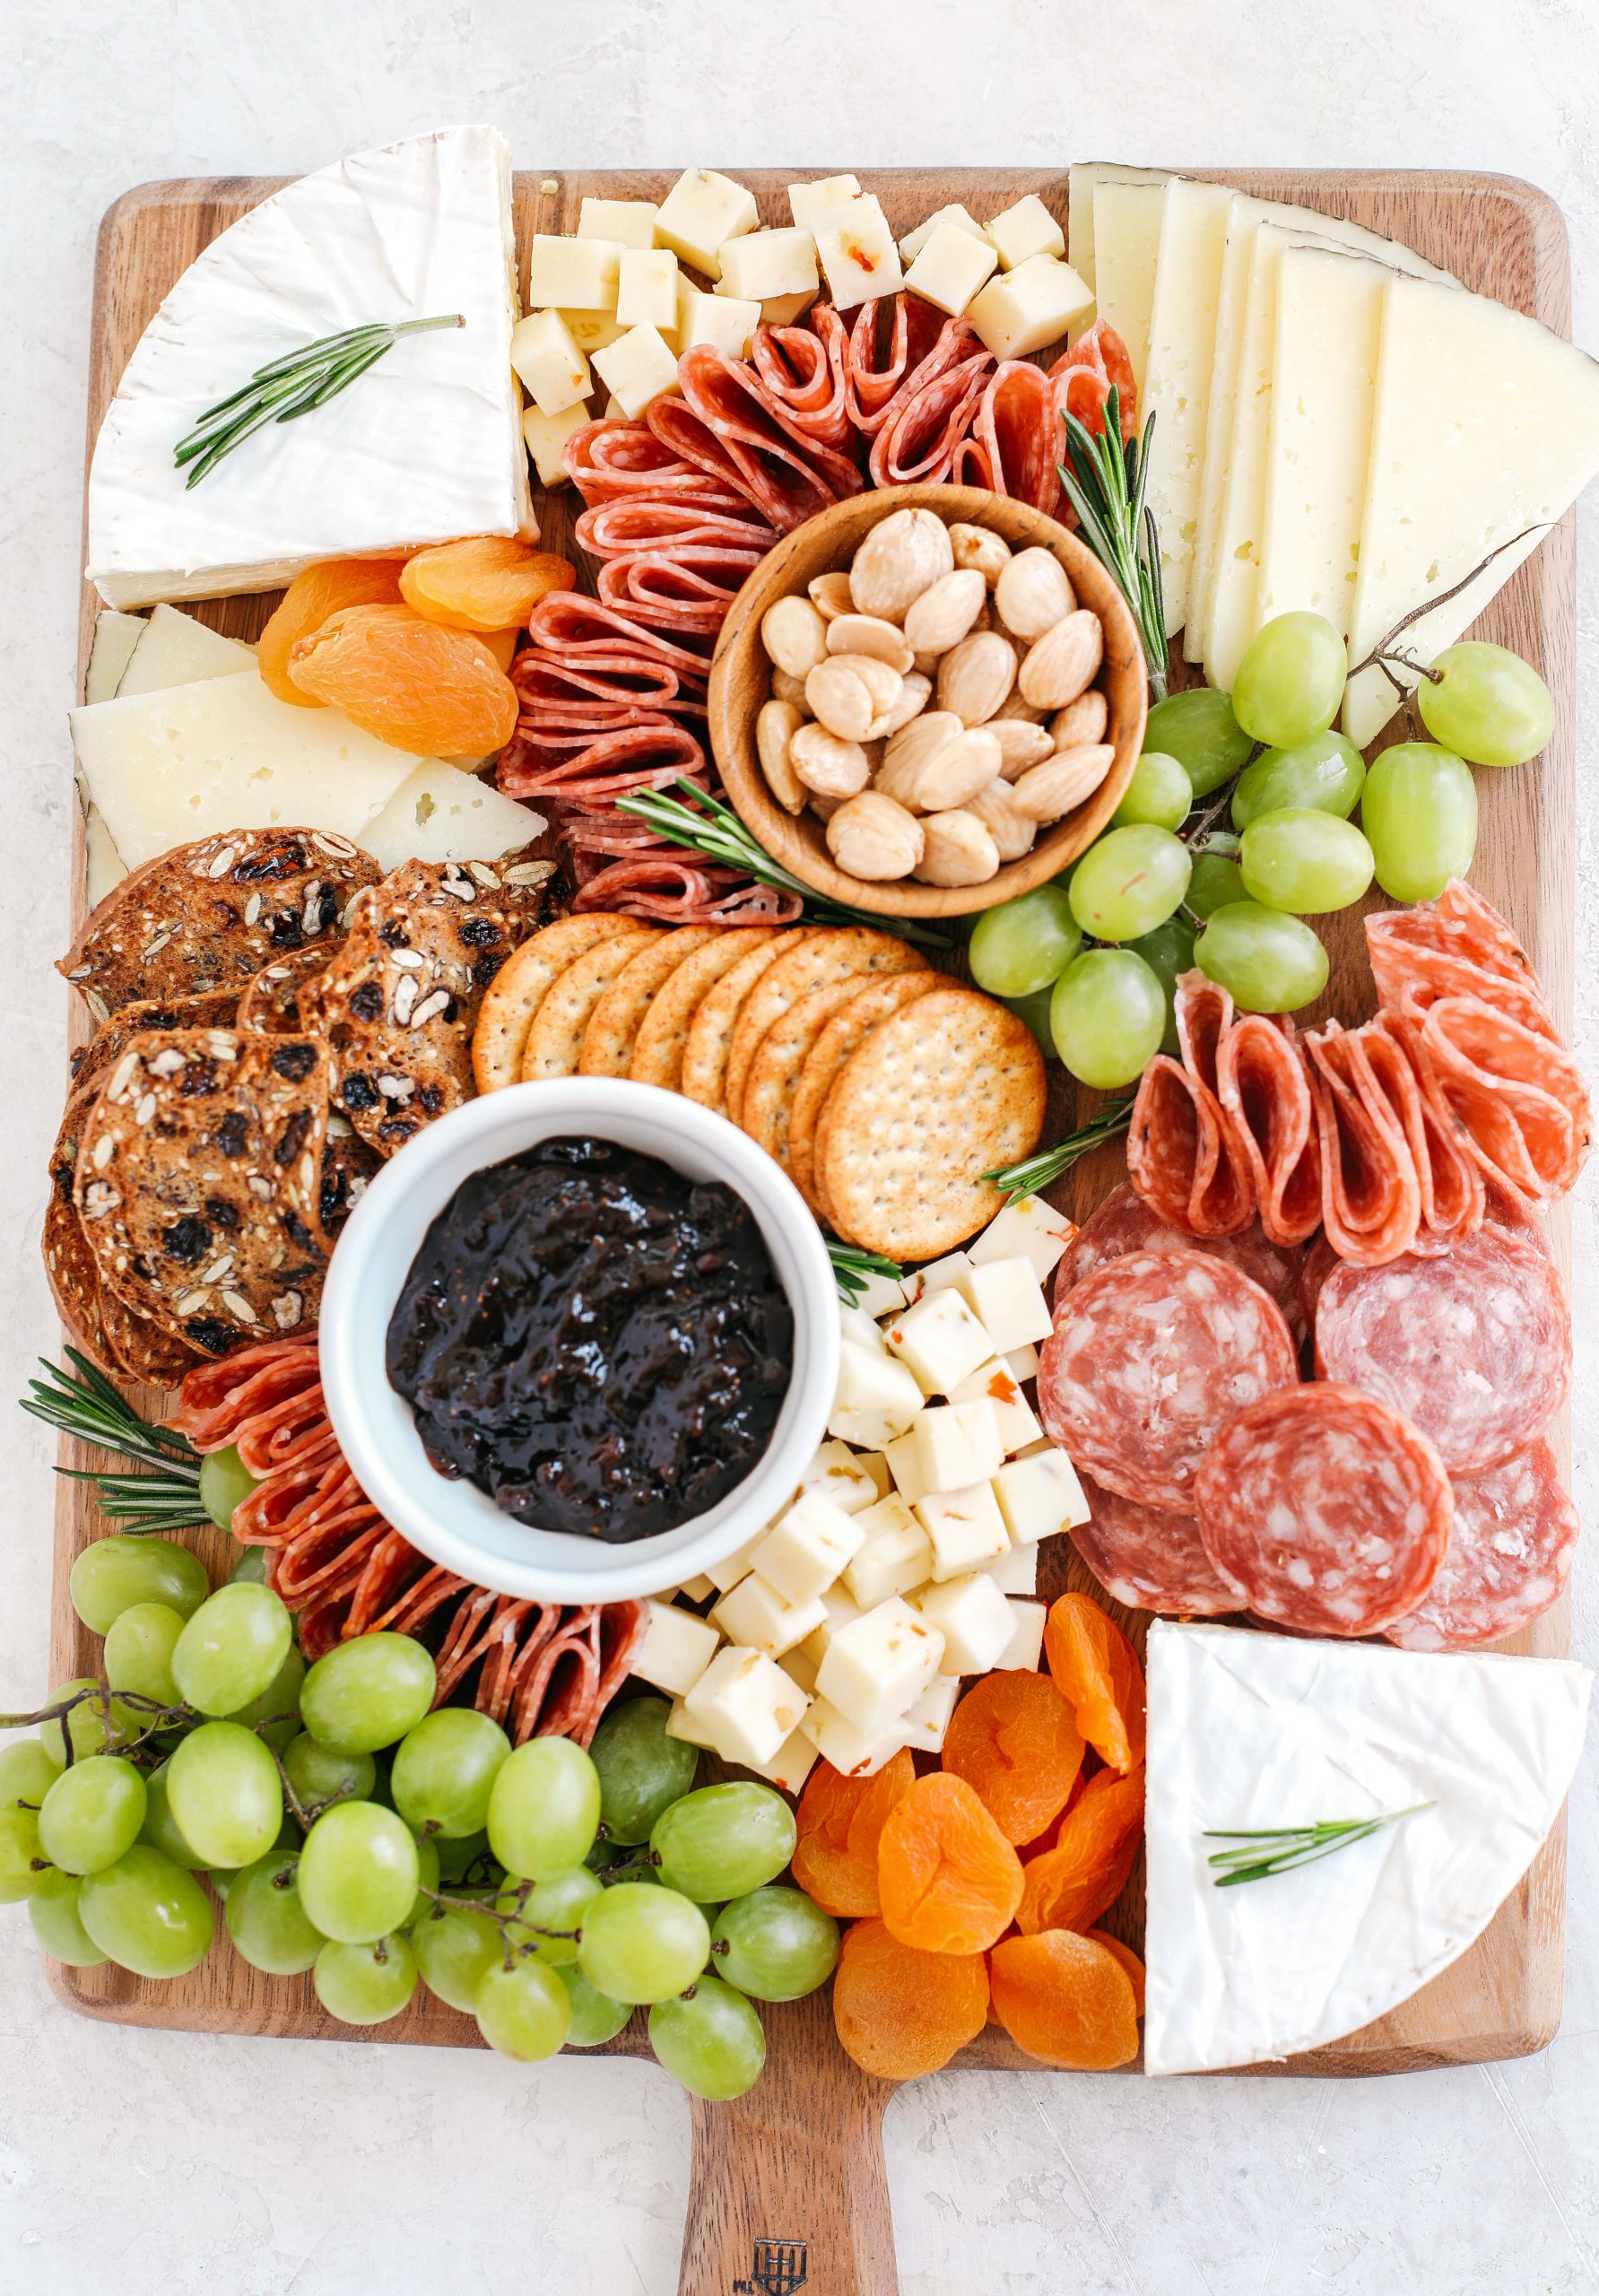
So depending on where I’m displaying my platter, I usually always opt for a medium sized board, but this is where you can get creative! Don’t feel like you have to stick with just a classic cheeseboard, you can use a cutting board, a round or square wooden pizza board, different types of serving platters, slate or stone boards or you can even use a baking sheet. Any flat surface will work. You can even place some brown paper down and build it right there on your table! Talk about the ultimate centerpiece. You can easily use whatever you have at home, but THIS board is a personal favorite for everyday entertaining and the handles make it easy for transporting!
Tips and Tricks
- When assembling your cheese board, you’ll want to start off by placing the largest items on first such as any bowls you’ll be using for spreads along with your cheeses. Working from large to small makes your board much easier to build as you can easily drop any little items like nuts and dried fruit in piles to fill in any gaps.
- Slicing your cheeses in various ways, crumbling along with leaving some whole creates great texture and dimension! If you’re using a smaller cheese board, opt for only 2 cheeses and spread them out in different places around the board. This gives the illusion of your board being more full and abundant!
- Try adding different spreads like fig or apricot jam, honey mustard, hummus or honey that you can place in different bowls. Just don’t forget the spreaders and cheese knives!
- Cheese tastes best at room temperature so I always like to assemble the cheeseboard about an hour or 30 minutes before, keeping it wrapped so that the cheese doesn’t dry out.
- Don’t forget the wine!
More Cheeseboards You’ll Love
- The Perfect Holiday Cheeseboard
- The Ultimate Patriotic Cheeseboard
- Valentine’s Day Dessert Board
- Halloween Charcuterie Board


Looks amazing! I love how you choose the ingredients and place them together – such a delicious combination. Thanks for sharing!