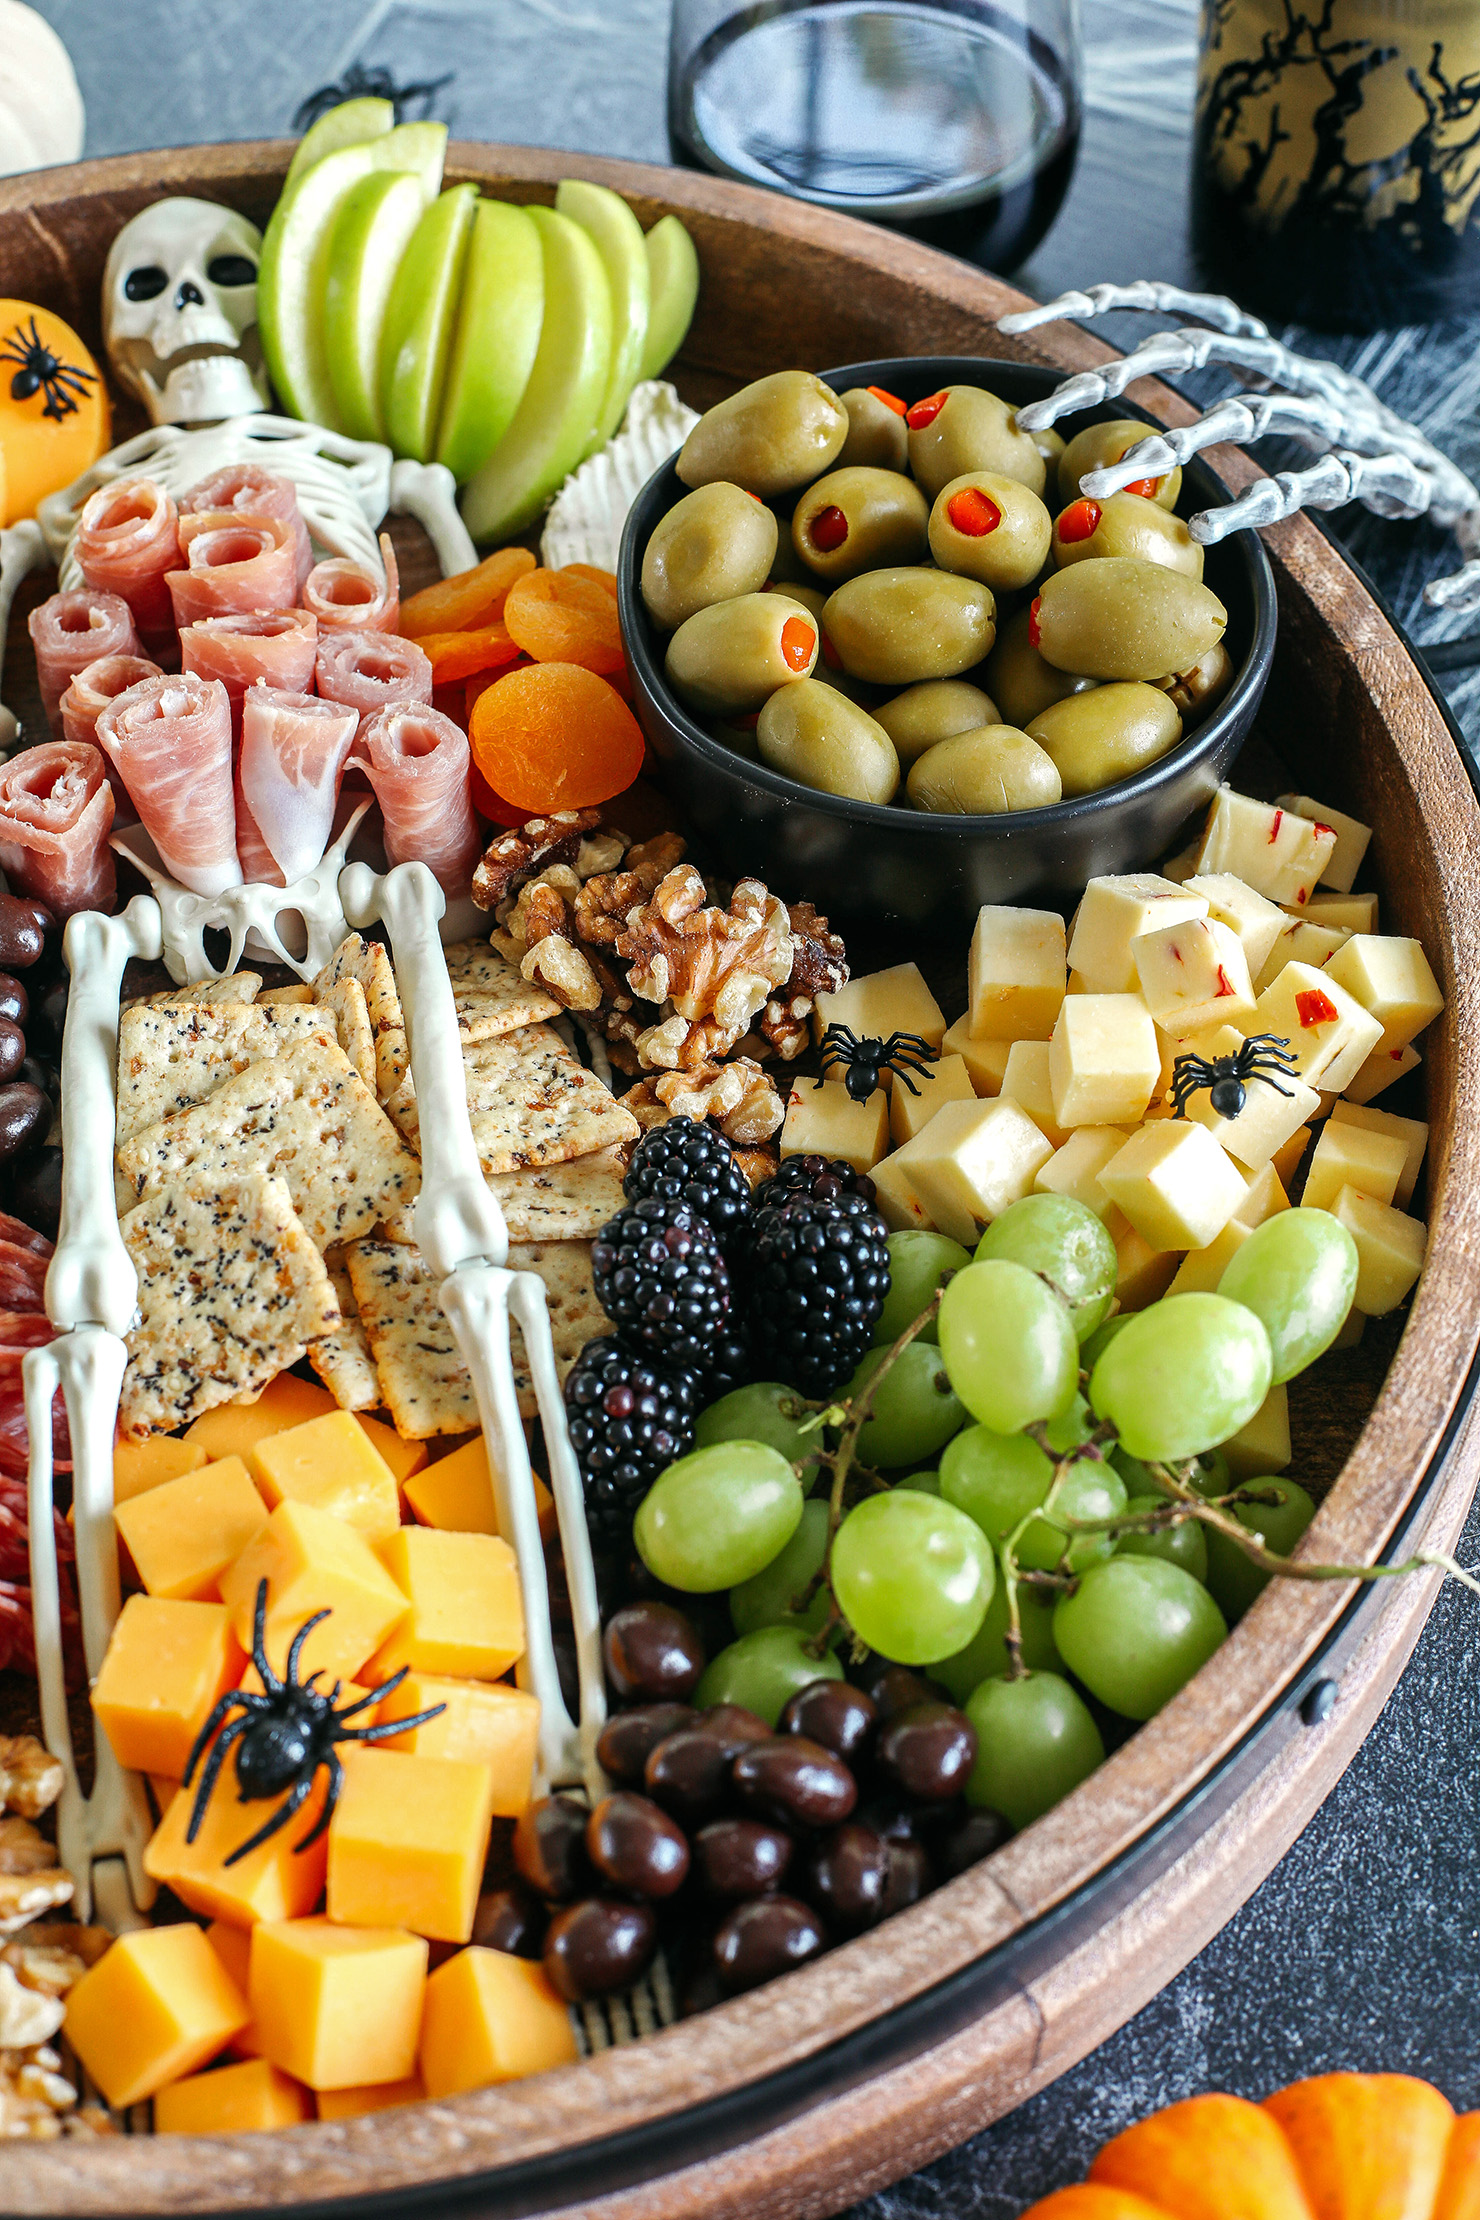
Build the spookiest Halloween Charcuterie Board perfect for your next party! Filled with an assortment of your favorite cheeses, meats, crackers, fresh fruits, nuts and other fun ghoulish treats!
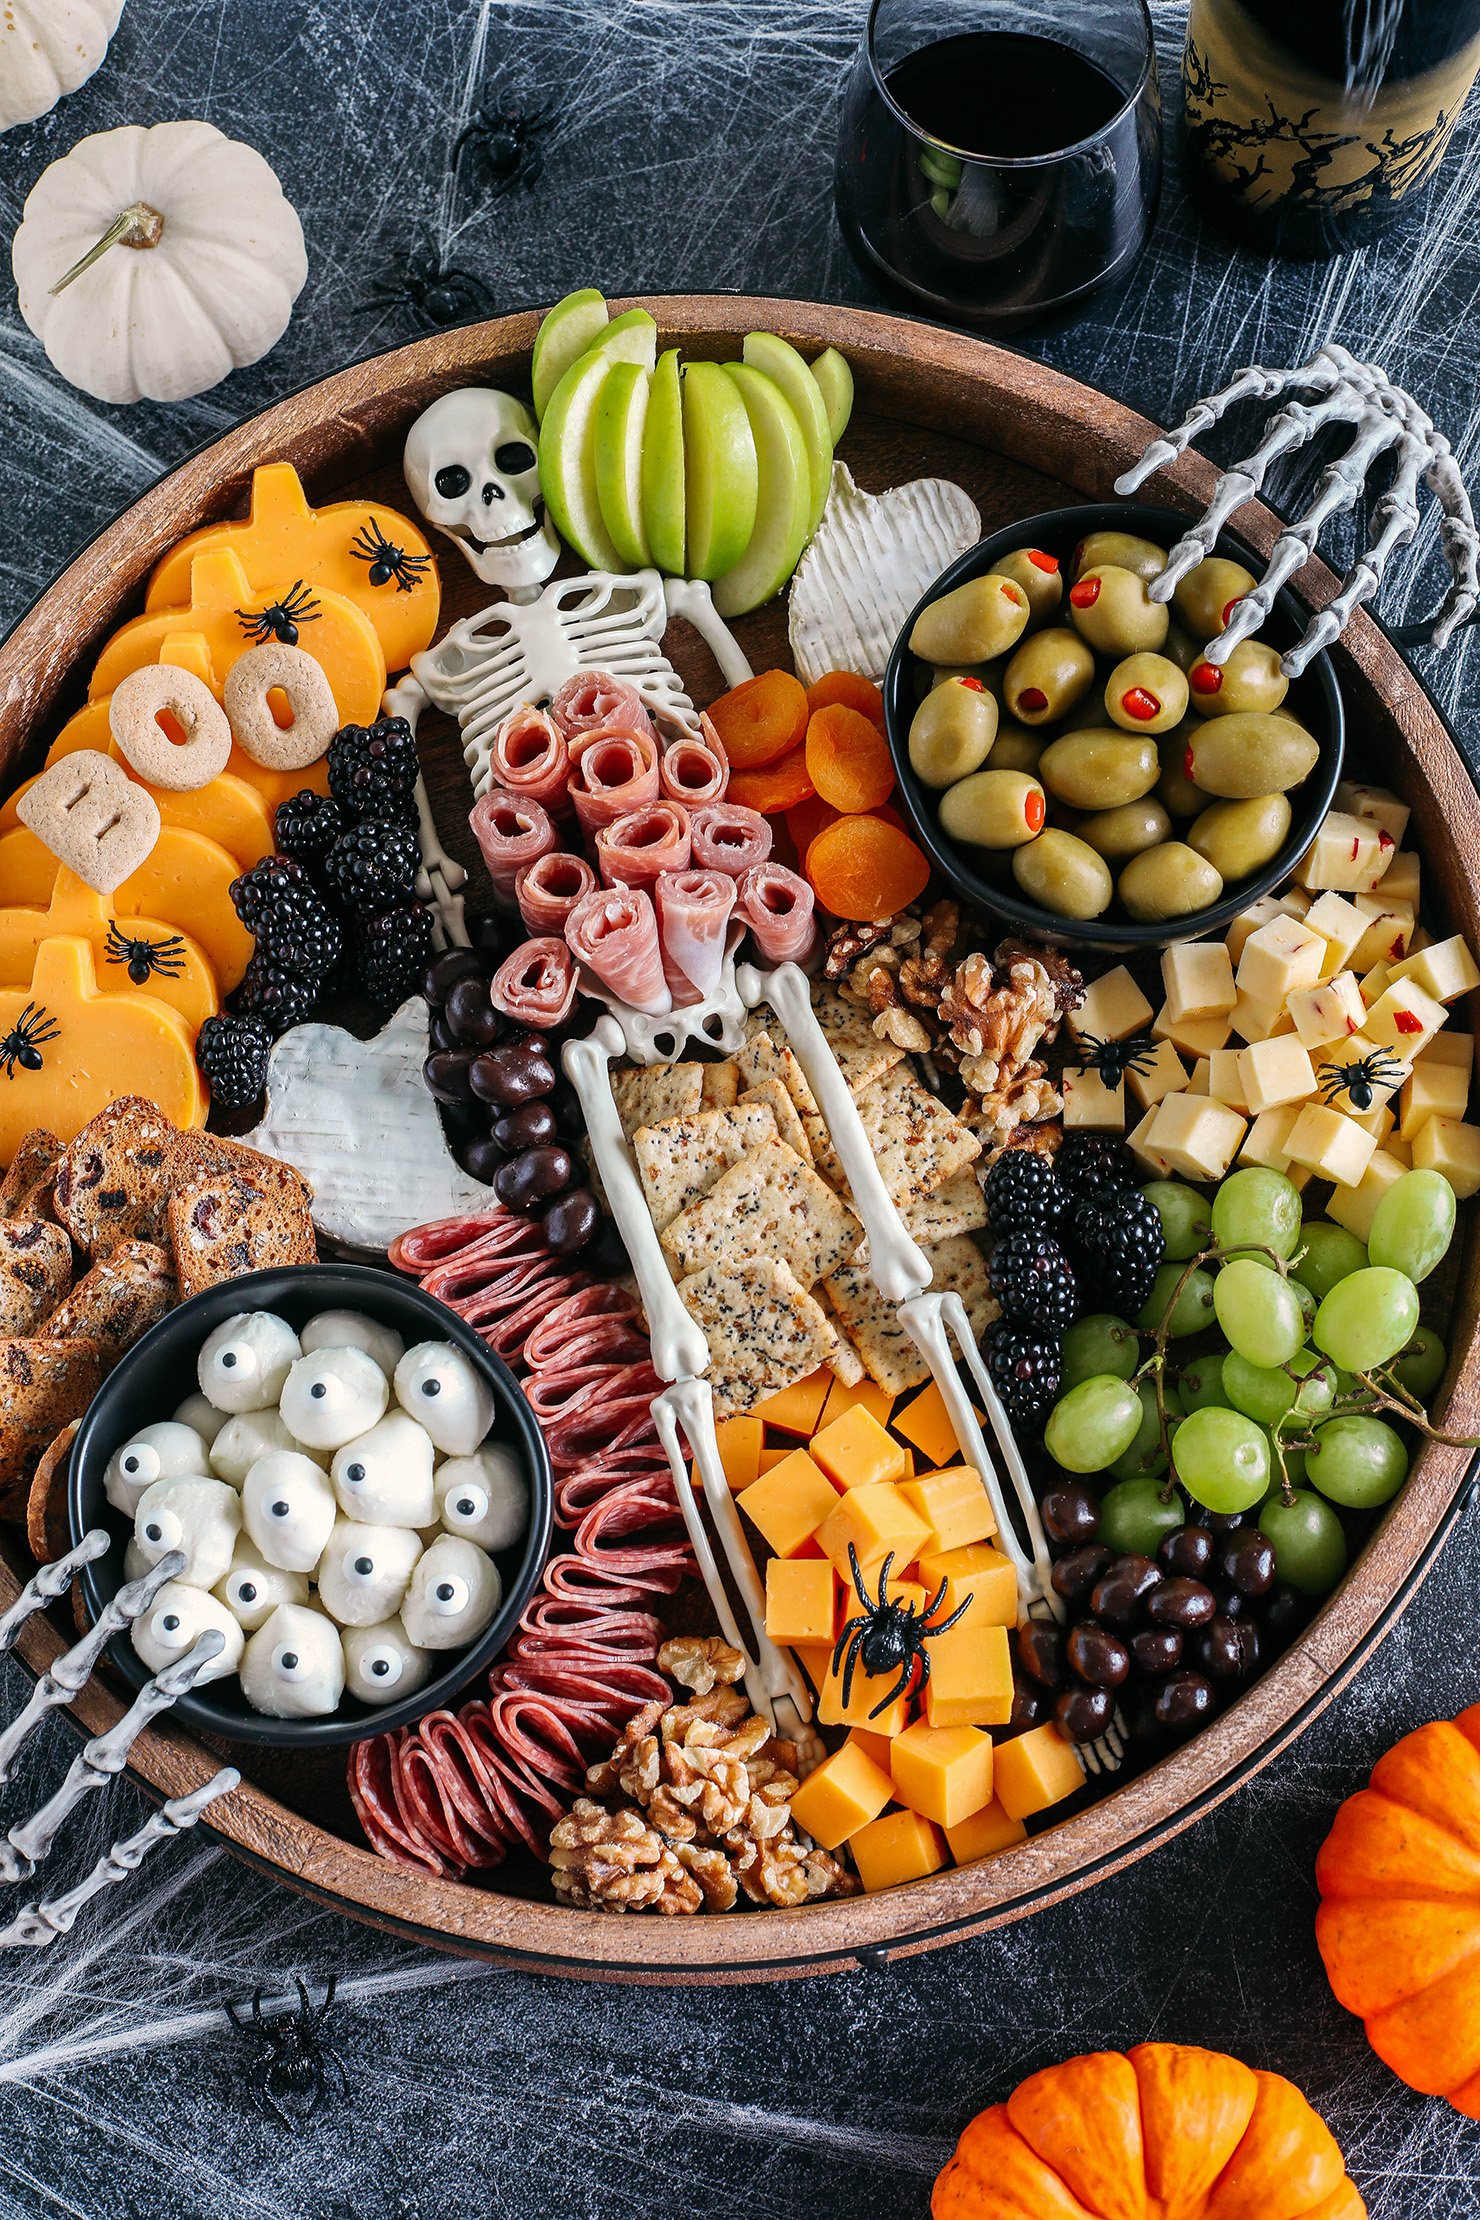
Oh how I love this time of year and I had so much fun making this festive Halloween charcuterie board! Whether you are throwing a party or just entertaining guests at a small gathering at home, this spooky spread is sure to be a hit with everyone! A delicious sweet and savory combo of your favorite cheeses, meats, crackers, fresh fruit, nuts and other fun additions. Add spooky decorations and you have the ultimate themed board ready for Halloween!
Why I Love this Charcuterie Board
- Super easy to customize and fun to make!
- A delicious sweet and savory combo with something everyone will enjoy.
- Spooky decorations make this Halloween-themed board extra festive.
- The perfect addition to your Halloween party, after school snack board for kids or a simple appetizer to share with friends!
How to Make a Halloween Charcuterie Board
The Cheeses
I always like to have a wide variety of cheeses because everyone is different in what they prefer, but I like to serve at least 3 different types on my board – firm, soft and semi-soft cheeses. Here is what I used:
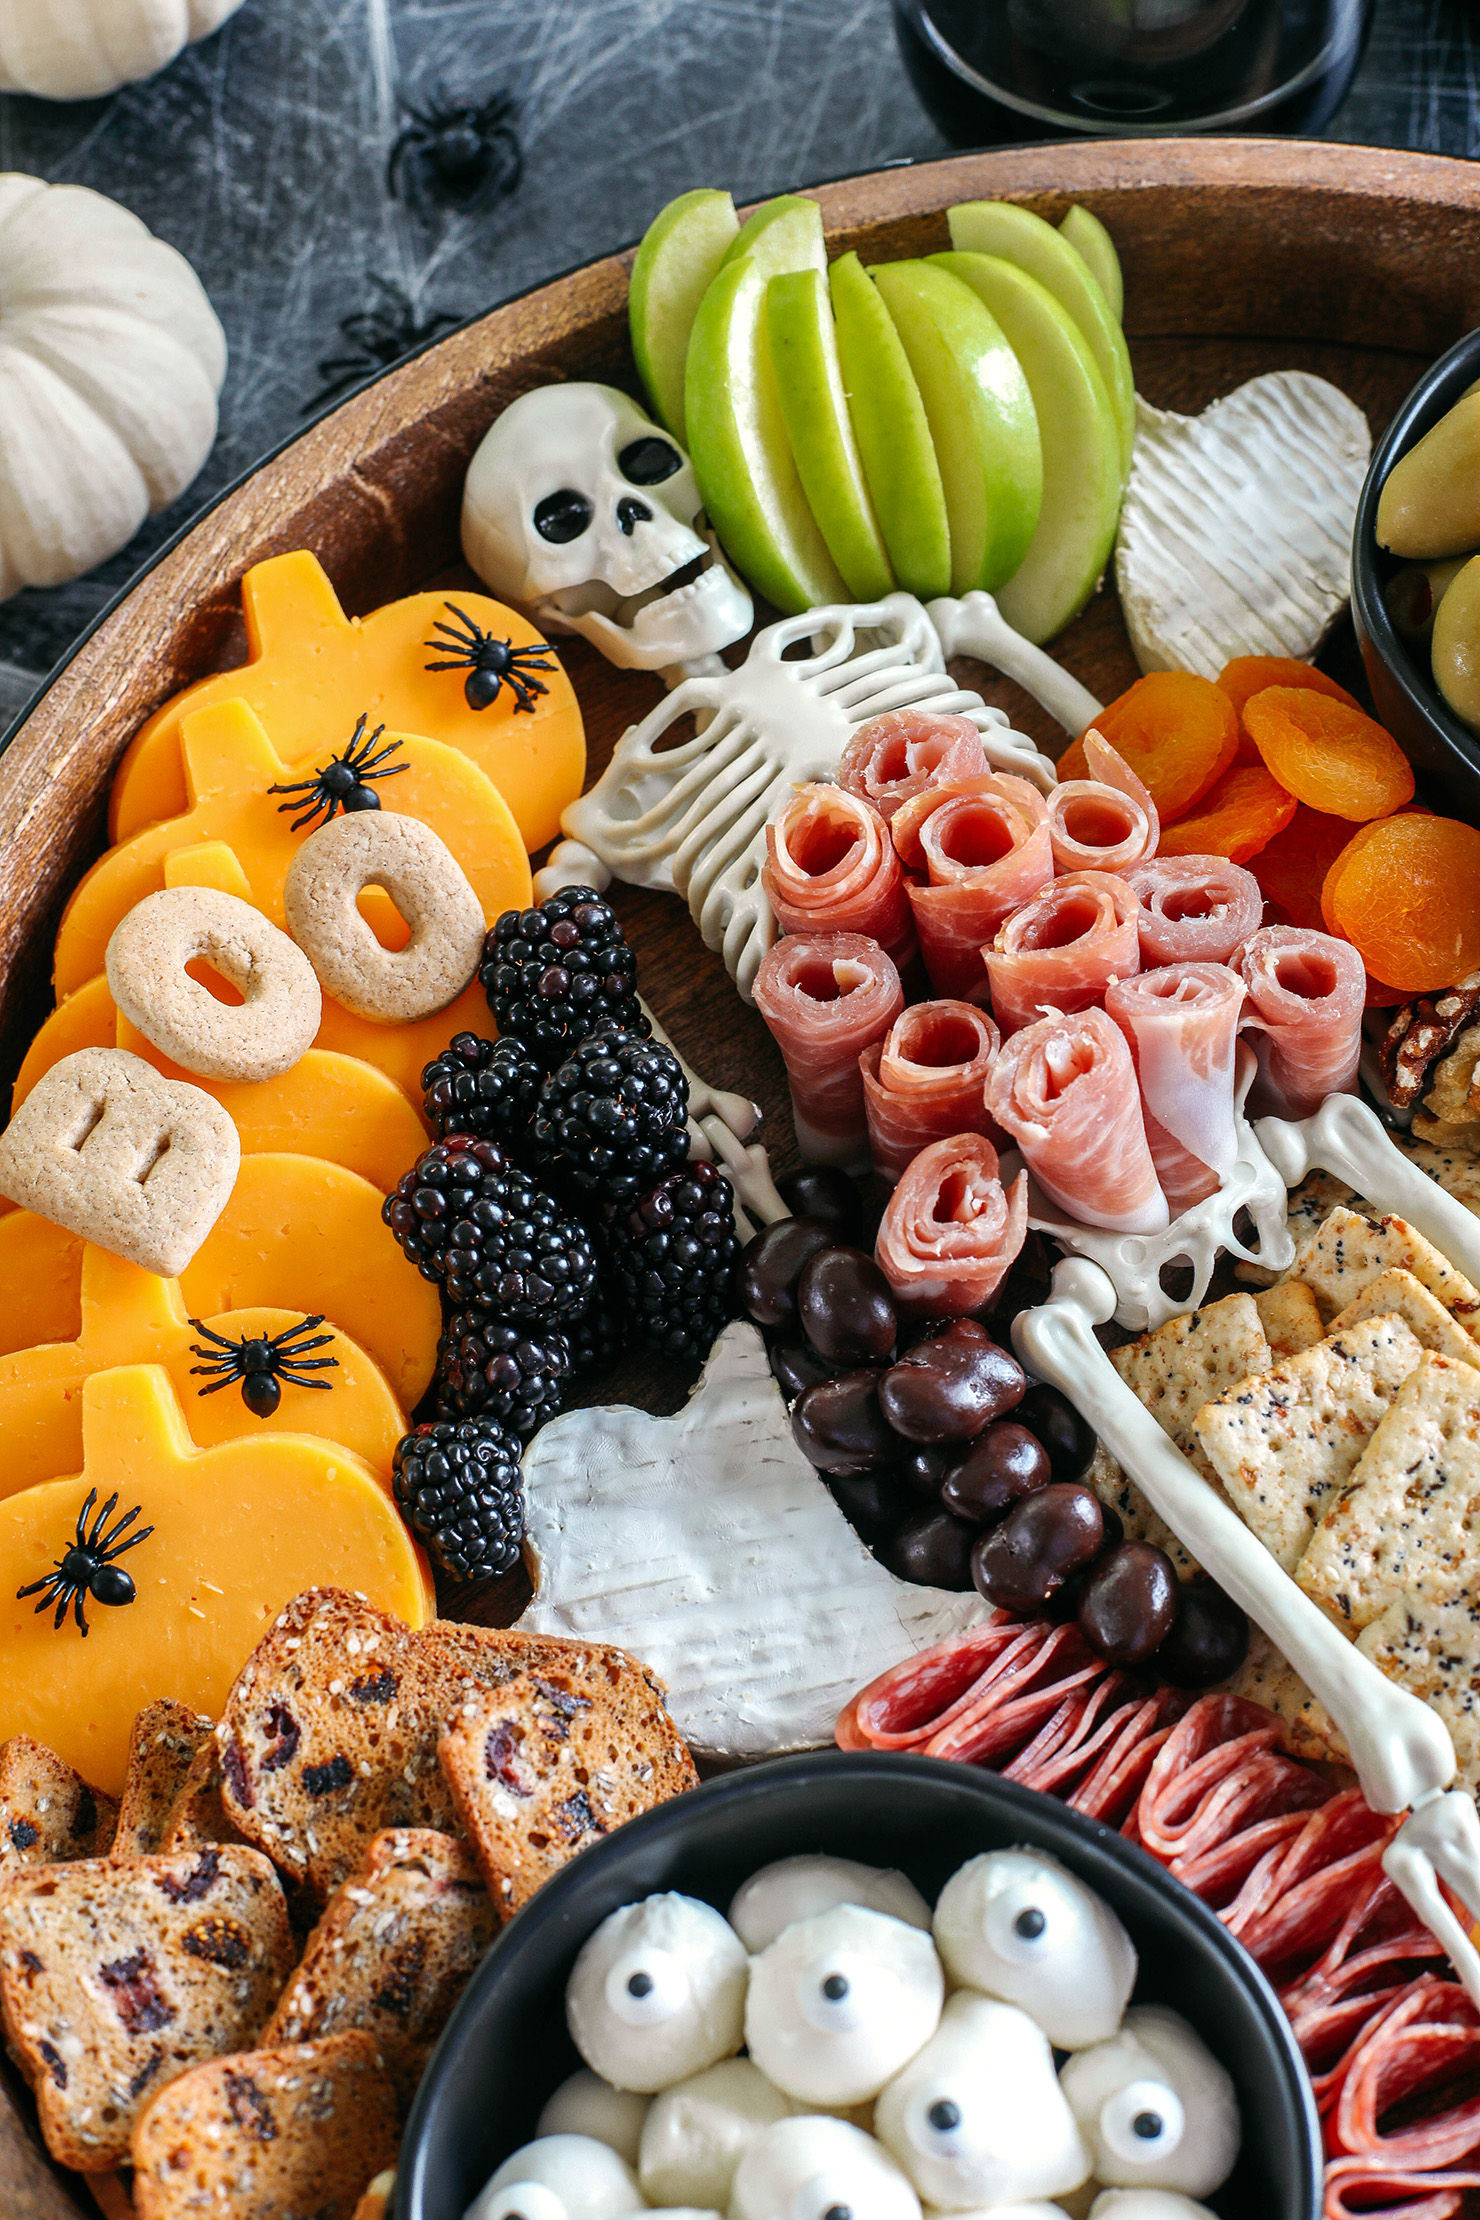
- Cheddar cheese – this is always a classic favorite and the bright orange looks great in keeping with the Halloween theme. I used these super cute Halloween cookie cutters to cut pumpkins out of the cheese and then cut all the remaining cheese “scraps” into cubes because we do NOT waste cheese around here!
- Brie – I like to have a variety of firm and soft cheeses on my board and creamy brie is always a winner! I cut little ghosts out of the brie using these small cookie cutters and you could even top them with some honey or jam. You just want to make sure the brie is really cold and firm before using the cutters because otherwise the cheese will be too soft. I also found it helpful to slice the brie in half before using the cookie cutters because not only do you get double the ghosts, but it’s so much easier to push the cookie cutter through!
- Jalapeño pepper jack – I love a spicy cheese option and this is one I always have on my boards. I cut the cheese up into cubes to add height and dimension, but you could do cheese slices or even leave it whole. Smoked gouda and goat cheese are other delicious options!
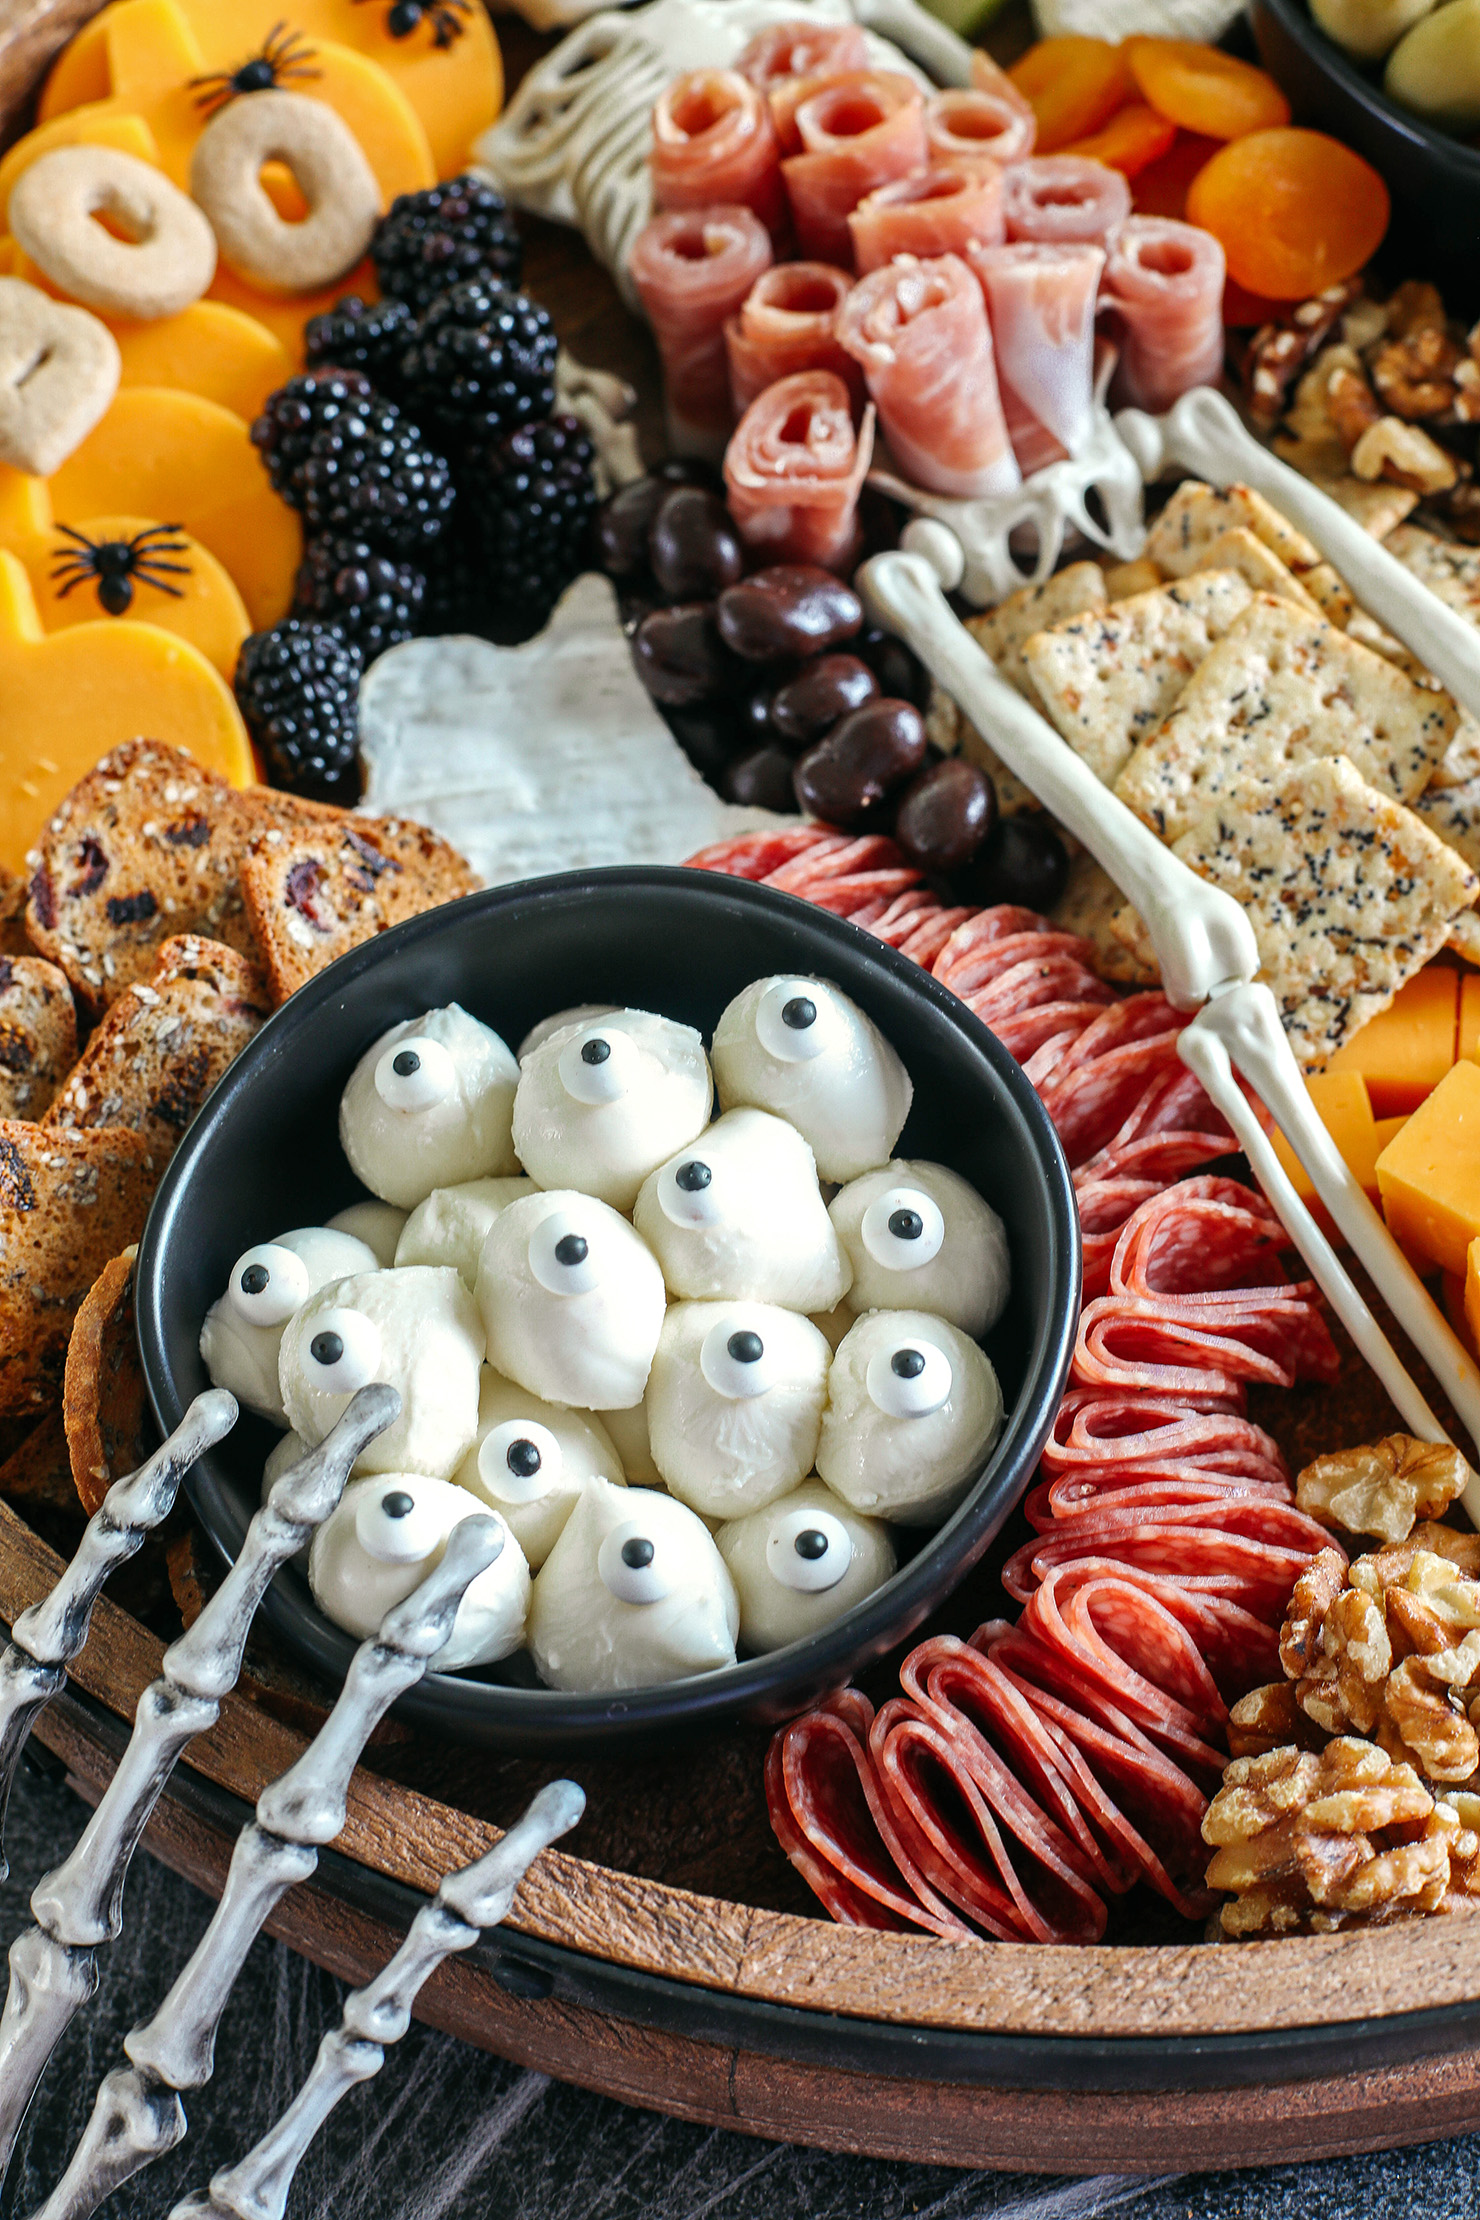
- Mozzarella balls – so mozzarella is not a cheese I typically add to my boards, but they made perfect “eyeballs” for my spooky Halloween spread! I placed these fun candy eyeballs over top the balls and arranged them in a bowl to add some variety on the board.
The Meats
Along with the cheeses, I always like to have a variety of cured meats on the board as well. Arranging them in fun ways is a great way to fill in any gaps you may have while also adding different textures and dimension to the overall board. Here is what I used:
- Prosciutto – this is always a favorite on cheese boards and since I was working with a skeleton I thought it would be fun to fill the chest with some of this prosciutto! I did this by rolling the meat then cutting the rolls in half, placing them cut side in the skeleton.
- Genoa salami – you can’t go wrong with this choice and I like that this salami is easy to work with when styling your board. I like to either fold them up and arrange them around the cheeses or bowls, or you can pile the salami up in certain areas to fill in any gaps and add some dimension.
Fresh and dried fruit
When building this Halloween snack board, I wanted to stick with fruit that is abundant during this season. Fruit is always a hit and the sweetness pairs so well with the salty and savory flavors on the board. Here’s what I used:
- Grapes – I LOVE adding grapes to my board any time of the year! They always look amazing when displayed and the green color looks really good with the Halloween colors we’re going for.
- Blackberries – the deep gorgeous color of blackberries just scream “spooky” to me! Figs or even raspberries great options too.
- Apple slices – in keeping with the fall season fresh apples are where its at! I used green apples to go with the colors of the board, but any type of apples will work.
- Dried apricots – I like to have a mixture of fresh and dried fruit on my charcuterie boards and this orange color just kept with the theme.
Assortment of crackers
Your cheese needs a vehicle, right?? I like to use an assortment of different types of crackers to add a nice variety and options that everyone will love. Try getting different size and shape crackers as well. I found some great ones at Trader Joe’s! To display them, you can spread them out around the cheeses, fan them out in various places and even pile them in any gaps you may have on your board. The possibilities are endless and offering a good variety is always a plus!
Spooky Extras!
Here is where you add all the little fun items and garnishes that not only make your board super festive to look at, but so much more abundant!
- I added some walnuts, chocolate covered peanuts and some pimento stuffed green olives which added a good spooky element.
- Other fun options include marcona almonds, spiced pecans or cashews, other salty items like pickles or popcorn, and even delicious spreads like jam, honey or even hummus.
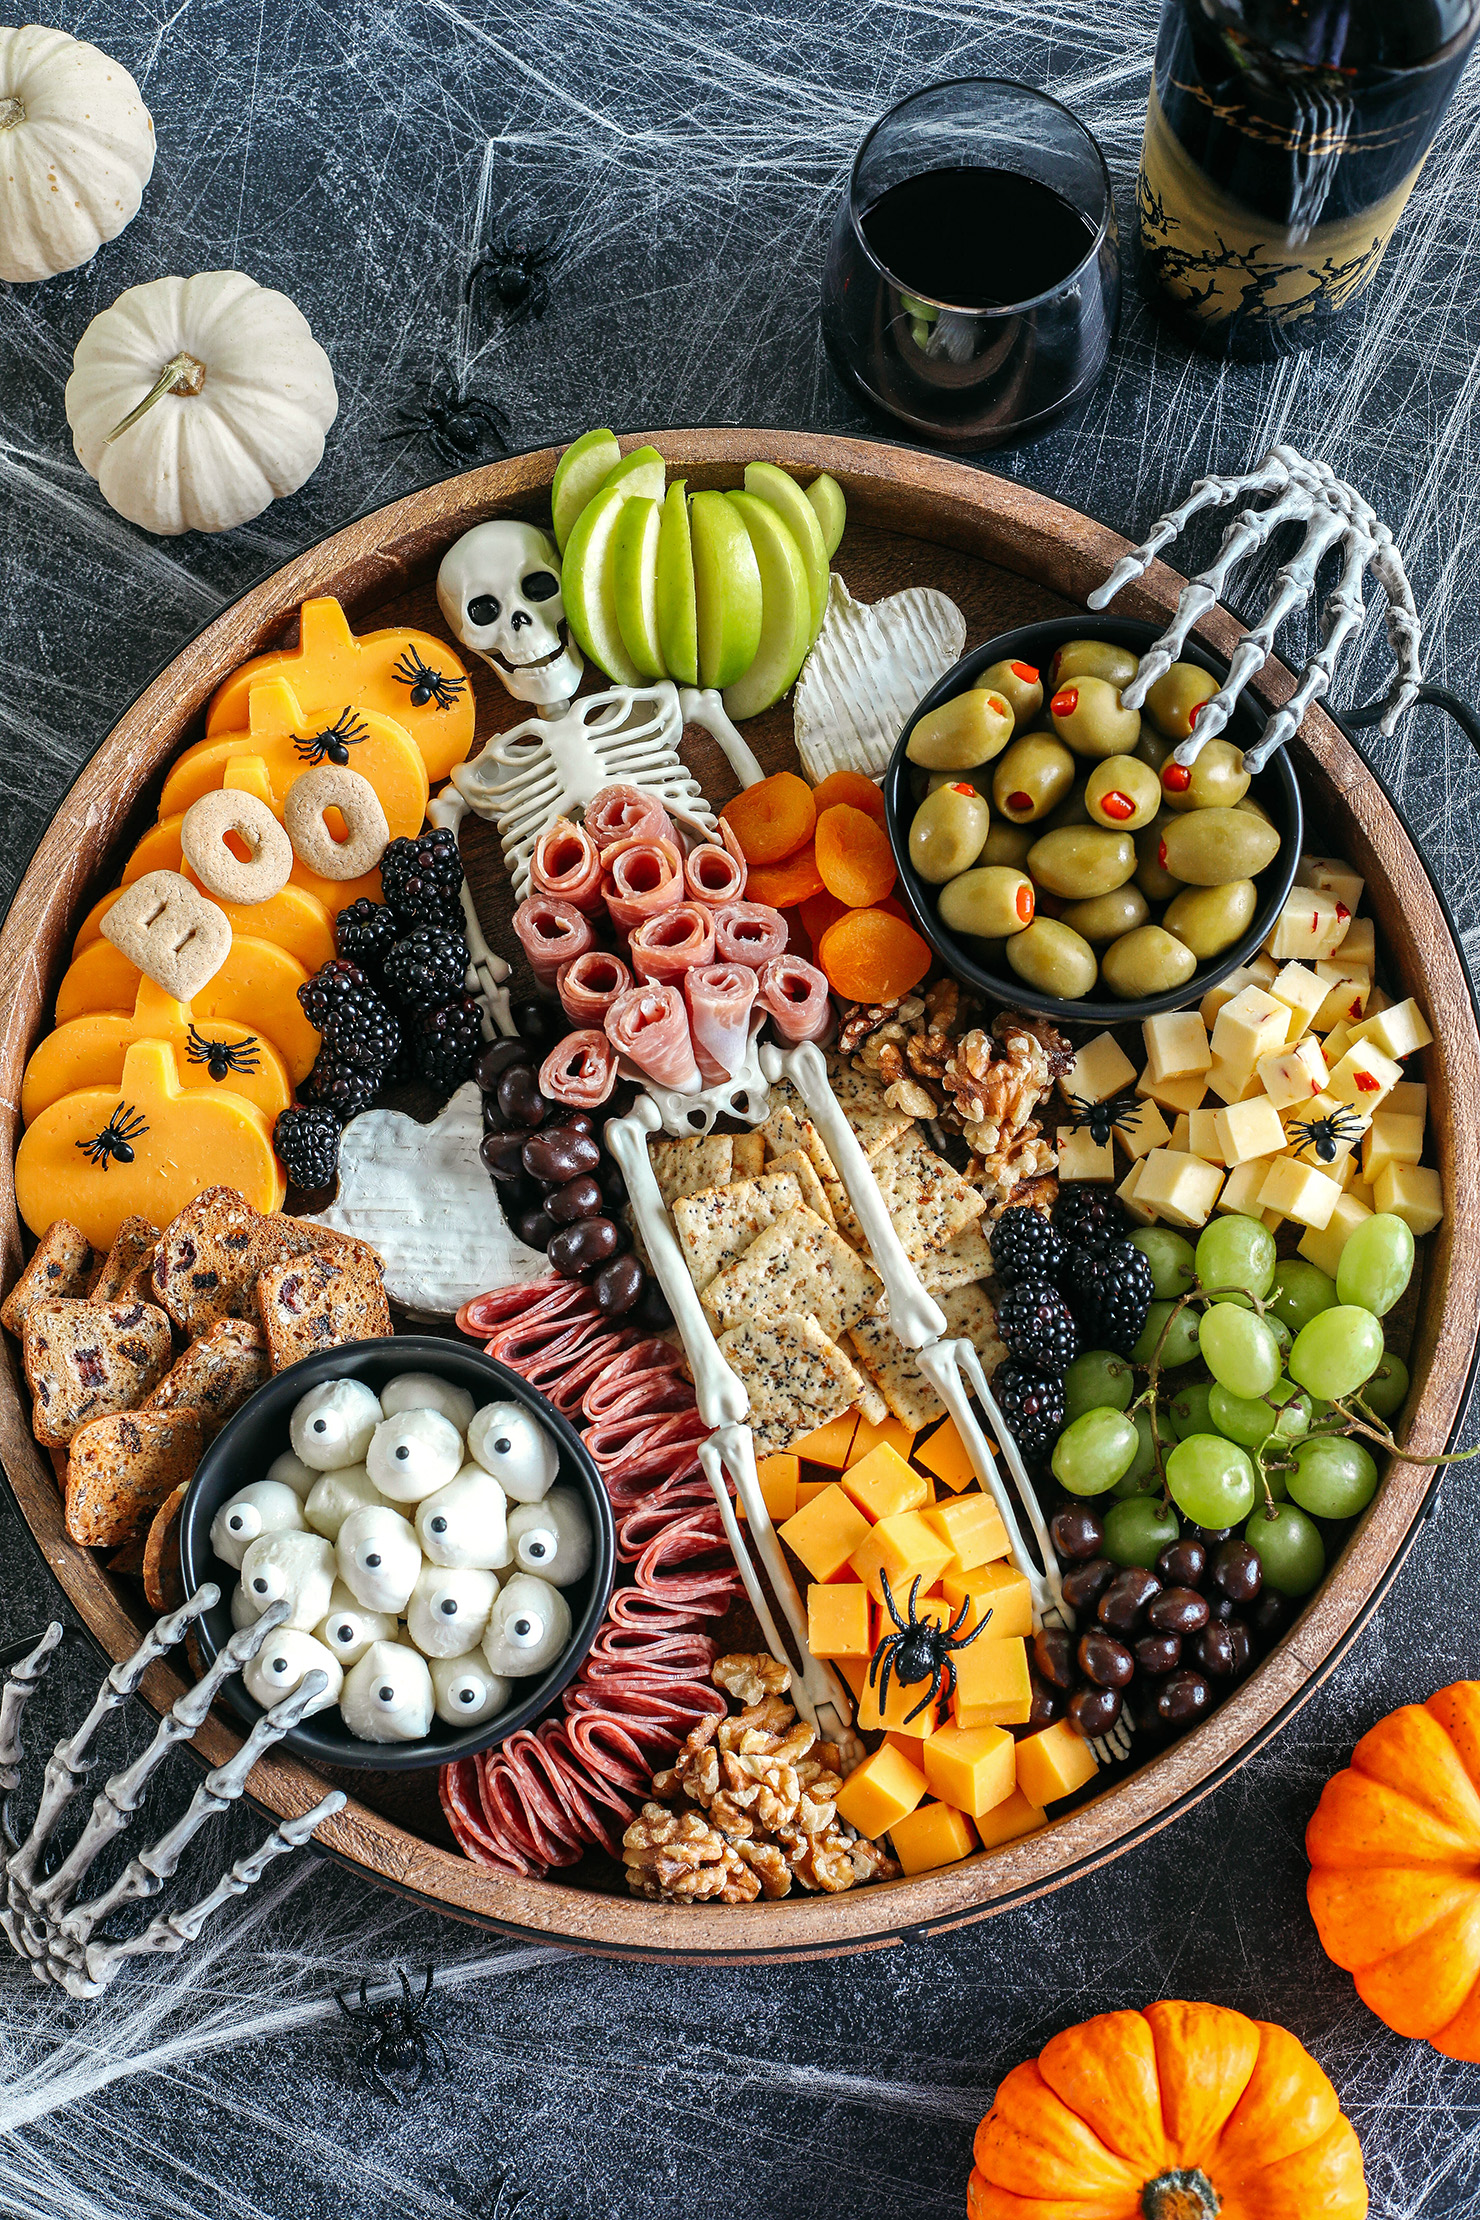
- I also decorated it with some fake plastic spiders and mini spiders to make the board look creepy and these fun skeleton hands which added the perfect finishing touch! Oh, and don’t forget the cobwebs!
- You could also add some fun Halloween candy like classic candy corn or mini pumpkins.

What Kind of Board Should I Use?
So depending on where I’m displaying this platter, I usually always opt for a medium sized board, but this is where you can get creative! Don’t feel like you have to stick with just a classic cheeseboard, you can use a cutting board, a round or square wooden pizza board, different types of serving platters, slate or stone boards or you can even use a large baking sheet. Any flat surface will work honestly. You can even place some brown paper down and build it right there on your table! Talk about the ultimate centerpiece. Feel free to use whatever you have at home, but THIS board is a personal favorite for everyday entertaining and the handles make it easy for transporting!
Tips and Tricks for Creating this Cheese Board
- When assembling your Halloween cheese board, you’ll want to start off by placing the largest items on first such as any small bowls you’ll be using for spreads along with your cheeses. Working from large to small makes your board much easier to build as you can easily drop any little items like nuts and dried fruit in piles to fill in any gaps.
- Slicing your cheeses in various ways, crumbling, and leaving some whole creates great texture and dimension!
- If you are using a smaller board, opt for only 2 cheeses and spread them out in different places around the board. This gives the illusion of your board being more full and abundant! Alternatively, using an extra large board allows you to add more textures, bowls and other fun items.
- Try adding different spreads like fig or apricot jam, honey mustard, hummus or honey that you can place in different bowls. Just don’t forget the spreaders and cheese knives!
- Cheese tastes best at room temperature so I always like to assemble the cheeseboard about an hour or 30 minutes before, keeping it wrapped so that the cheese doesn’t dry out.
- Don’t forget the wine!
Pin this now to find it later
Pin ItFollow on Instagram
More Halloween Recipes You’ll Love
- Spooky Witch Finger Cookies
- Chocolate Mummy Cookies
- Frankenstein Rice Krispie Treats
- No Bake Chocolate Pumpkin Bars
- Healthy Pumpkin Dip
More Charcuterie Boards You’ll Love
- How to Build a Simple Cheese Board
- The Perfect Holiday Cheese Board
- Valentine’s Day Dessert Board
- The Ultimate Patriotic Cheese Board
Hope you all enjoy this Halloween Charcuterie Board and if you love this as much as we do, please leave me ⭐️⭐️⭐️⭐️⭐️ below and don’t forget to tag me on Instagram using the hashtag #eatyourselfskinny! I love seeing all your delicious recreations!
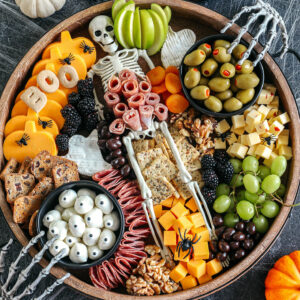
Halloween Charcuterie Board
Ingredients
Cheese:
- 16 oz sharp cheddar cheese
- 8 oz creamy brie cheese round
- 8 oz jalapeño pepper jack cheese
- 8 oz fresh mozzarella balls, ciliegine with decorative eyeballs
Meat:
- 4 oz prosciutto
- 4 oz genoa salami
Fruit:
- Blackberries
- Green grapes
- Green apple slices
- Dried apricots
Crackers:
- Everything bagel seasoned crackers
- Fig and olive crisps
Other Additions:
- Walnuts
- Pimento stuffed green olives
- Chocolate covered peanuts
- Decorations like plastic spiders, candy eyeballs, skeleton hands and a skeleton centerpiece
Instructions
- Start by adding the largest items first like any bowls (along with the skeleton if you are using that) and then add all the cheeses.
- Next add the meats and fruits.
- Then fill in all the gaps with the assorted crackers, nuts and chocolate covered peanuts. Top with spooky little spiders and other fun additions. Enjoy!


24 Comments