Easy Baked Chicken Tenders that are perfectly crispy, full of flavor and easily made in just 20 minutes! So delicious served with your favorite dipping sauce!
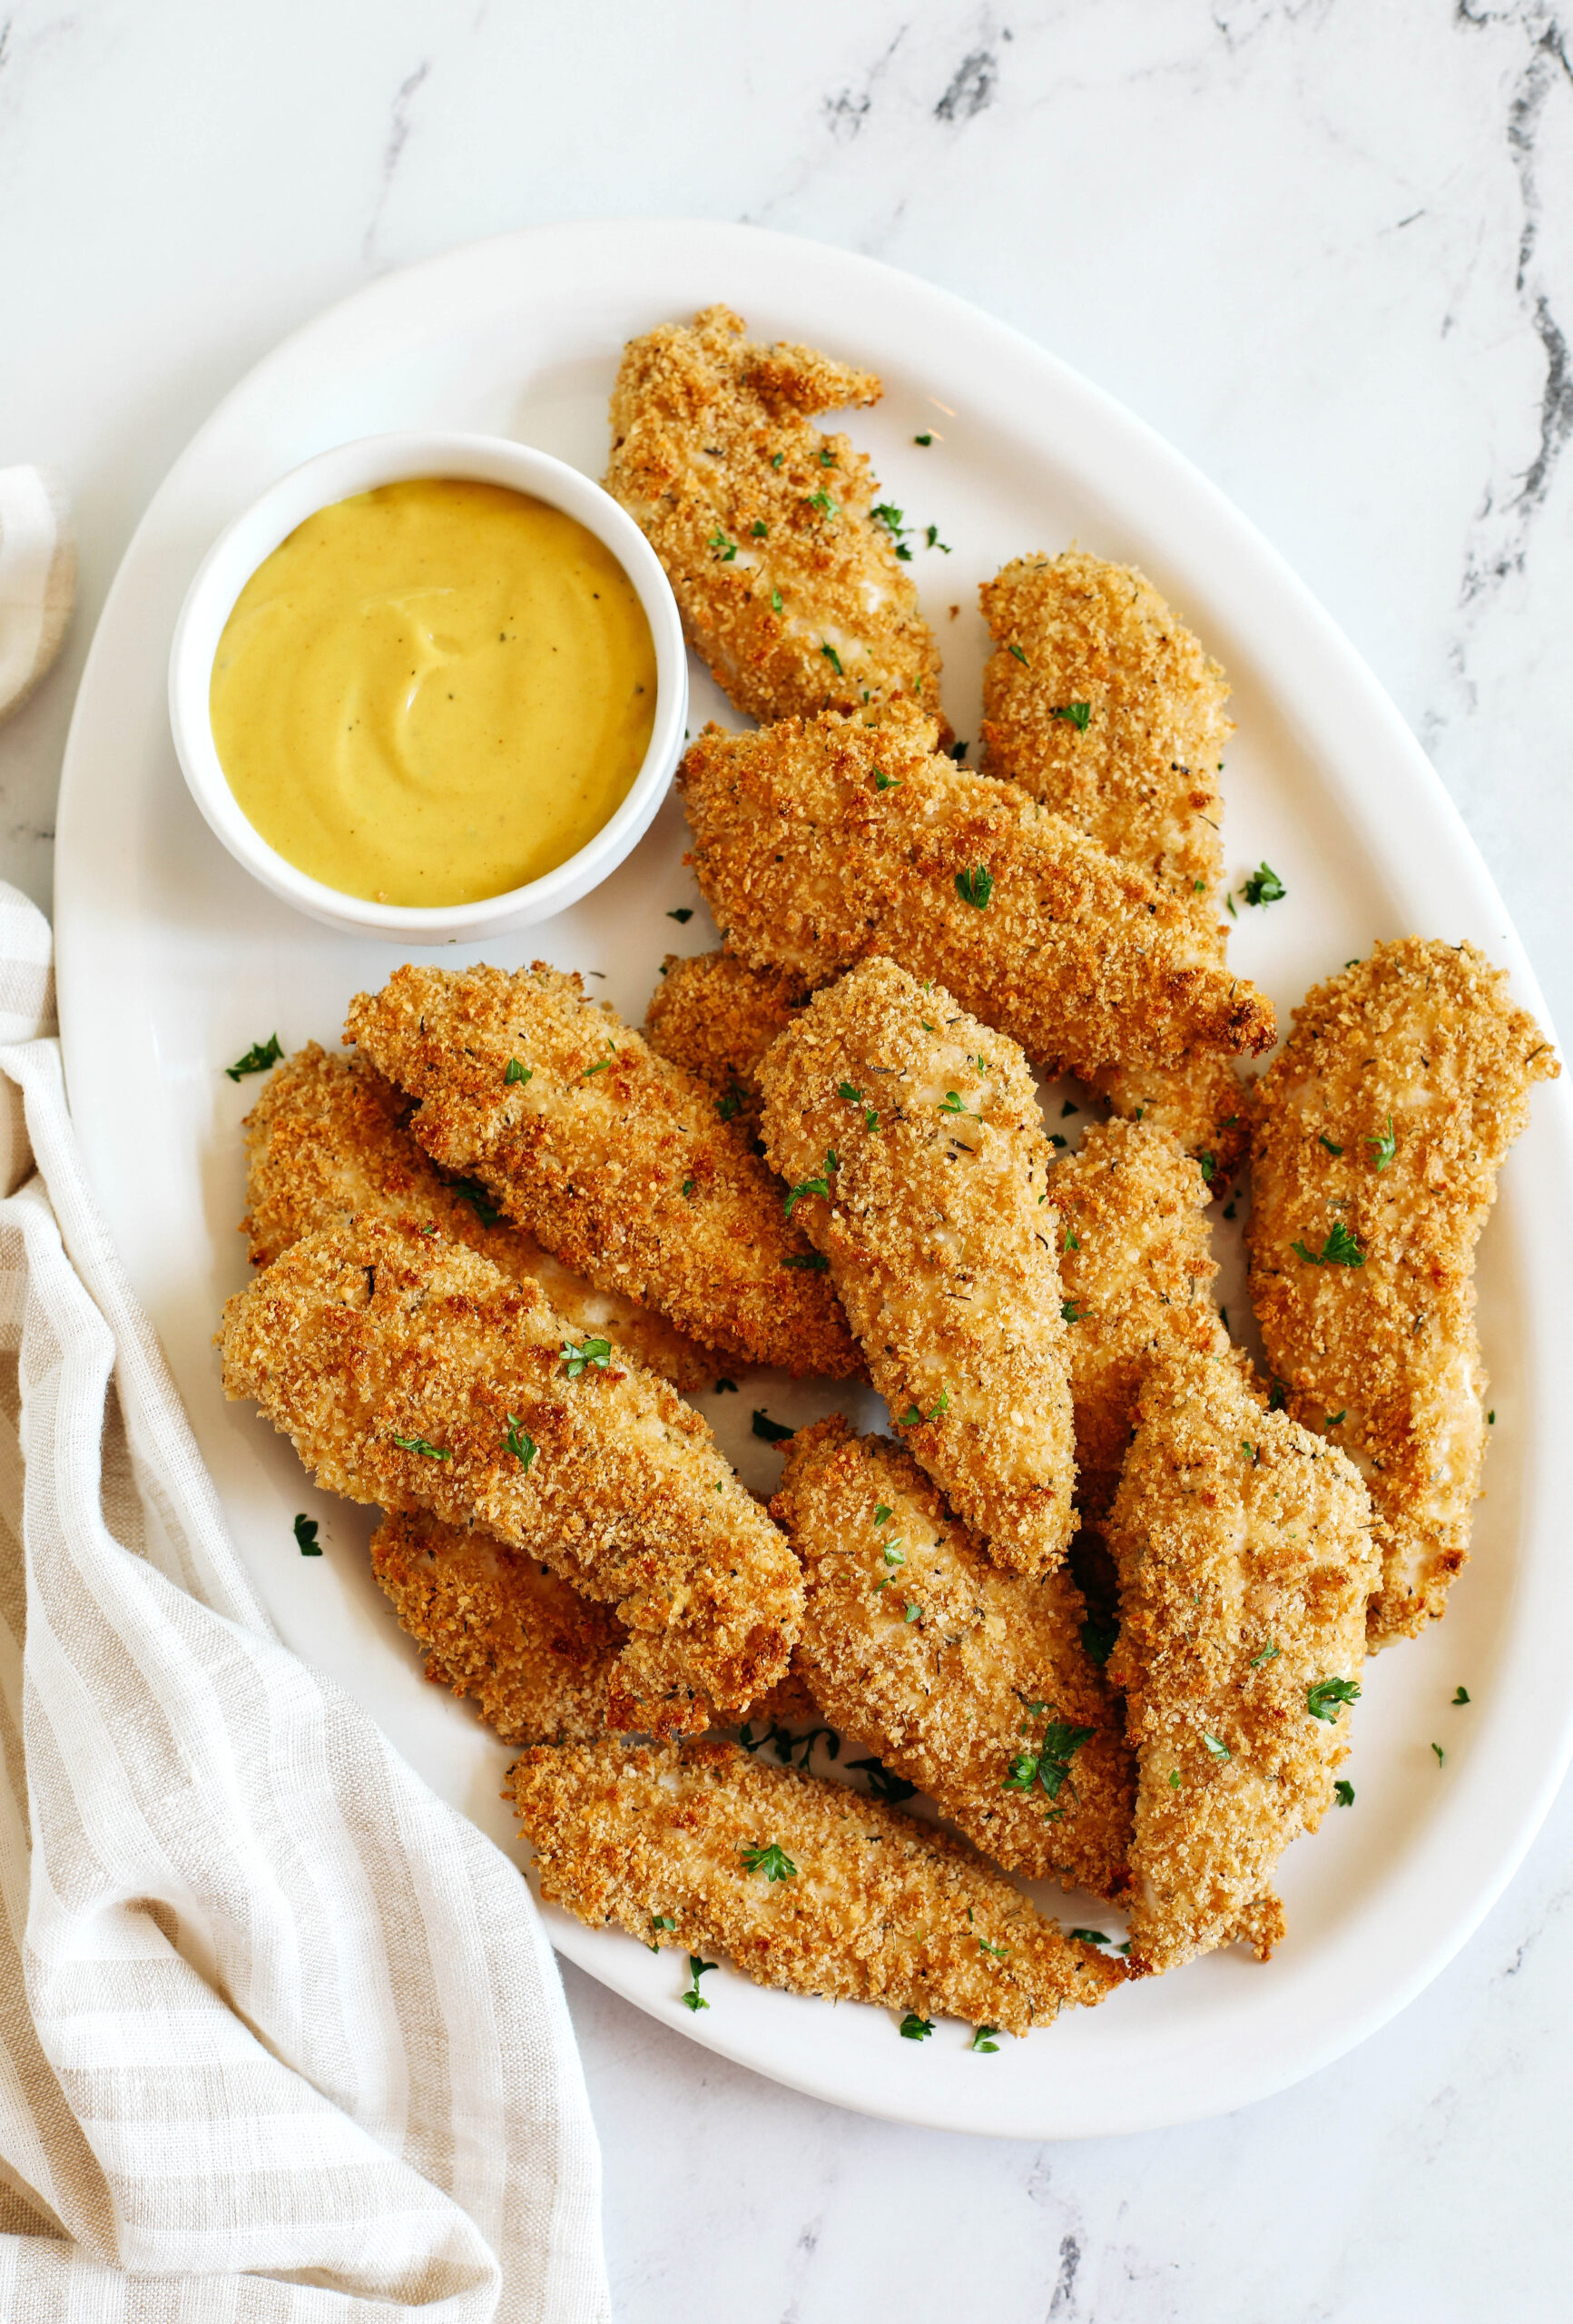
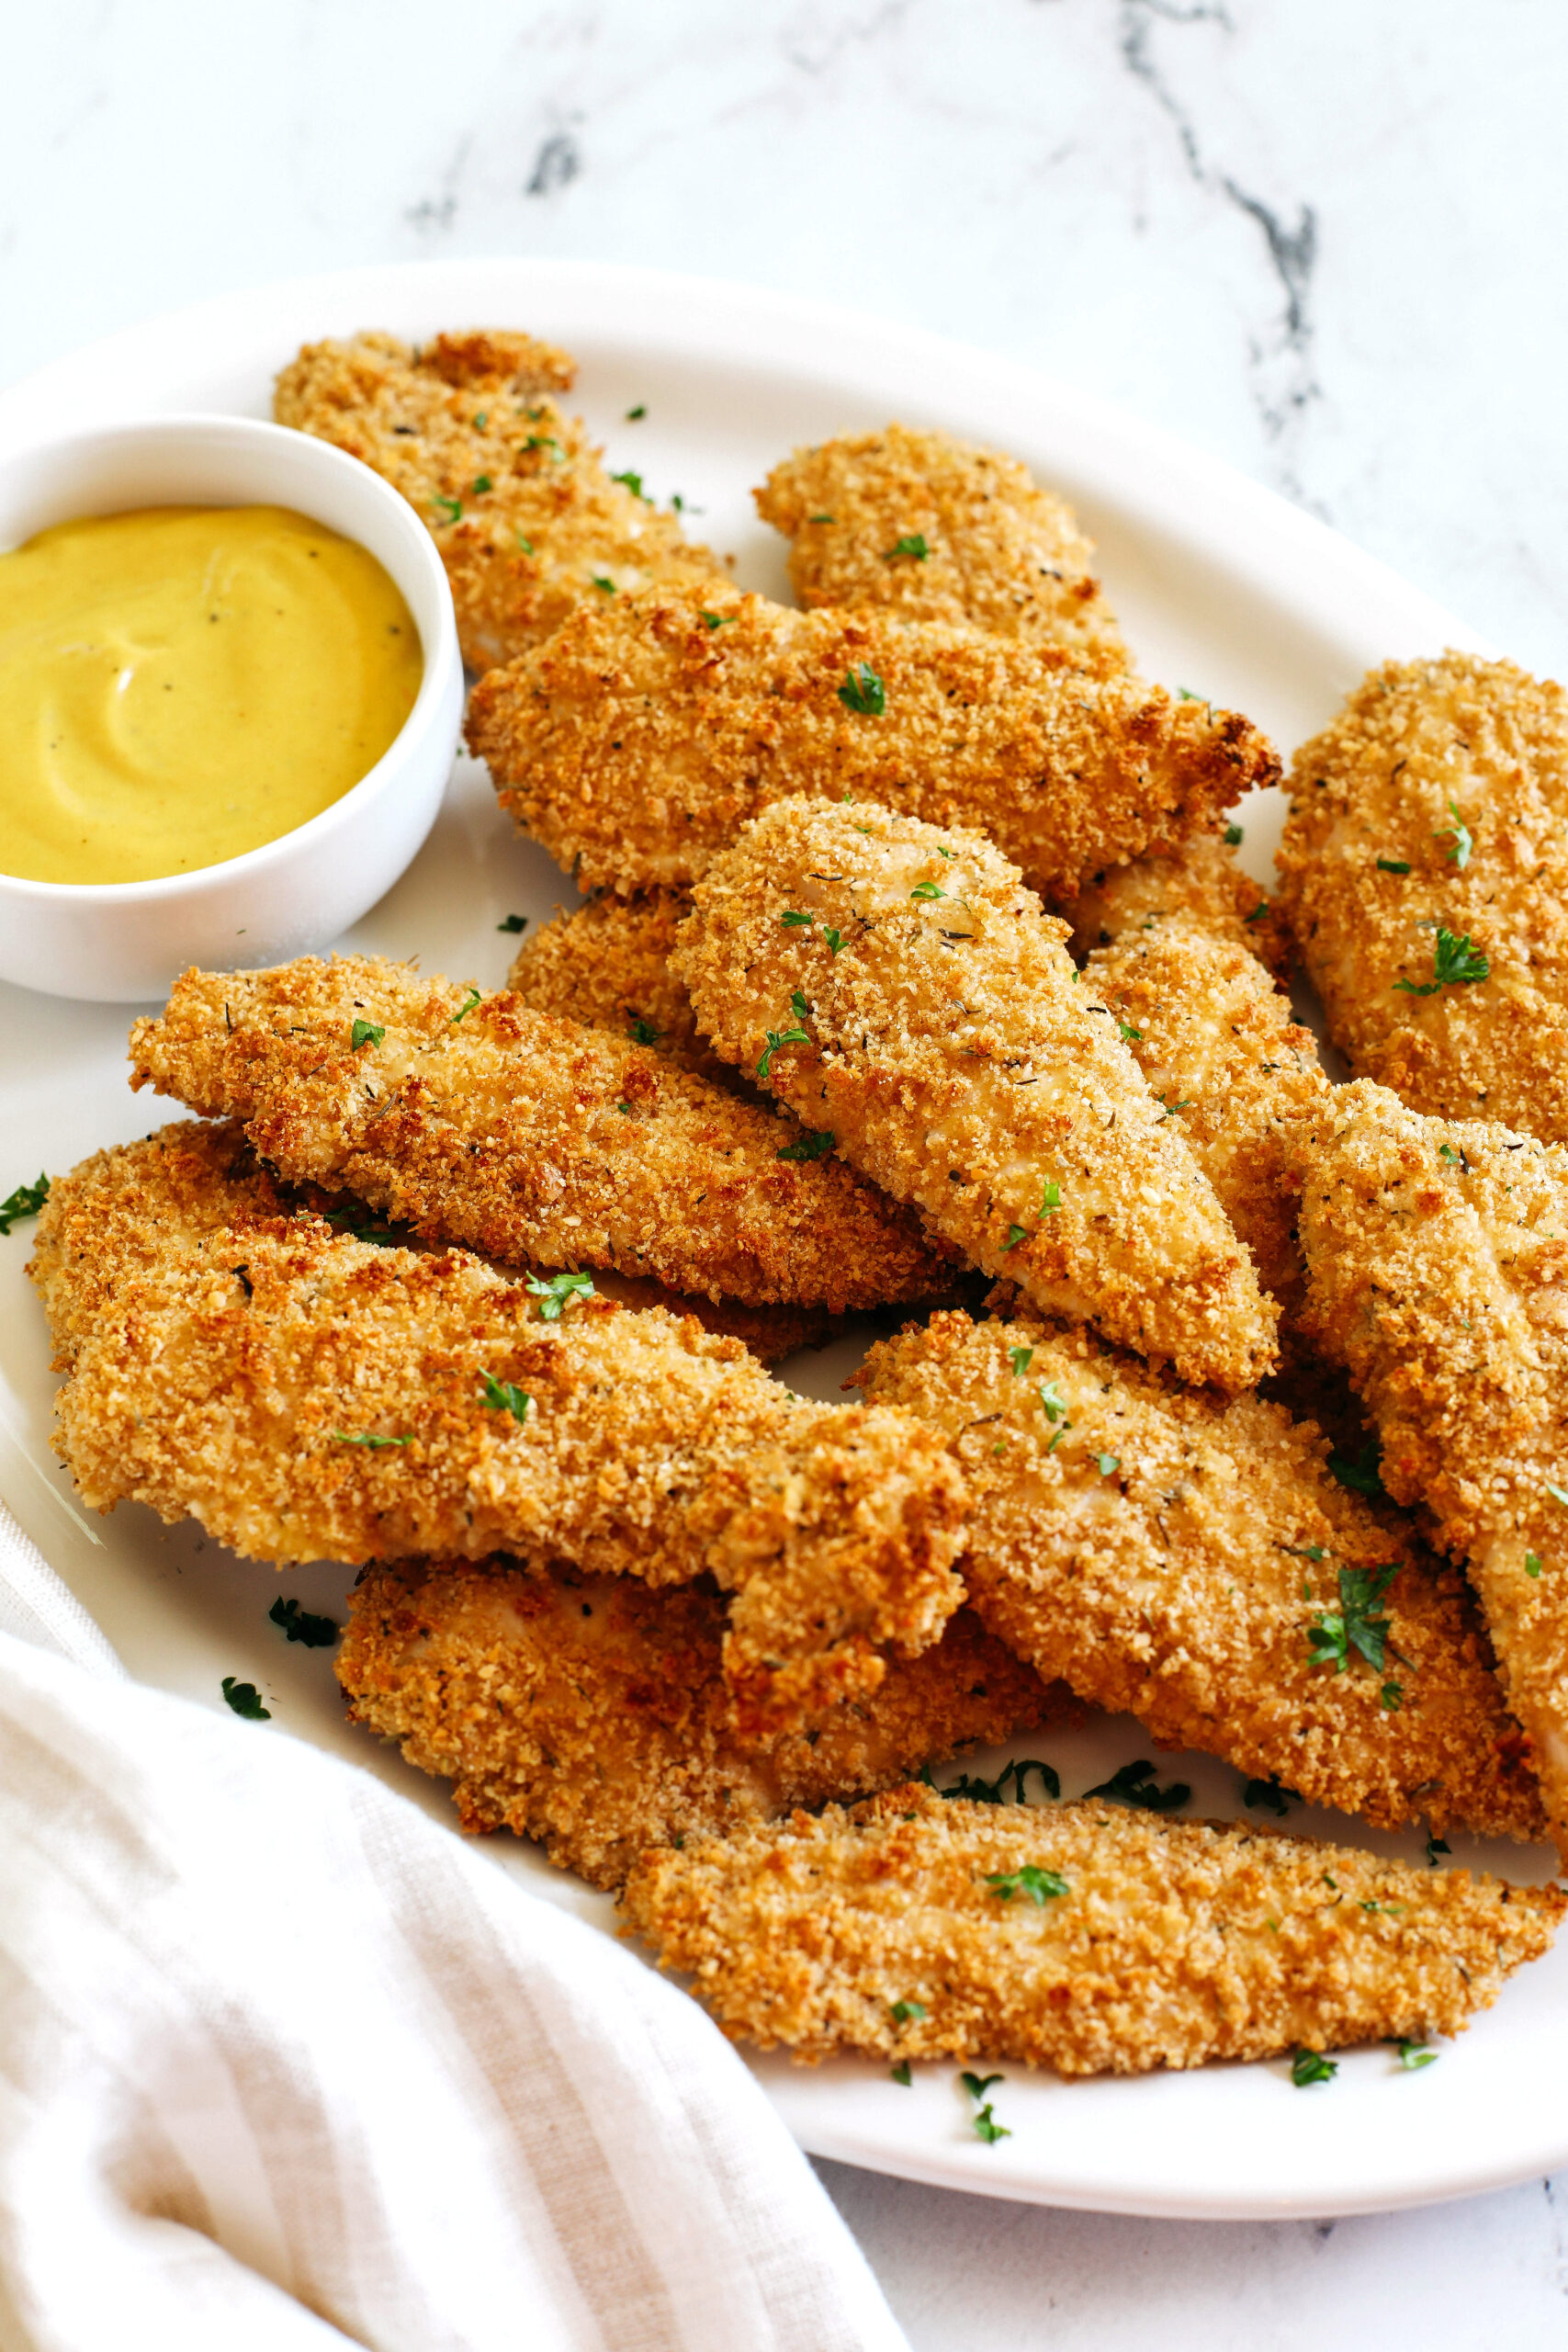
There’s is nothing better than flavorful, crispy chicken tenders and these beauties are baked (not fried!) so you can feel good about serving them to your kids and family! Chicken tenders are a classic childhood favorite, but trust me when I say that adults will absolutely love these too. Serve with your favorite dipping sauce (I highly recommend my creamy honey mustard sauce!) and enjoy with a side of sweet potato fries or even some mixed veggies.
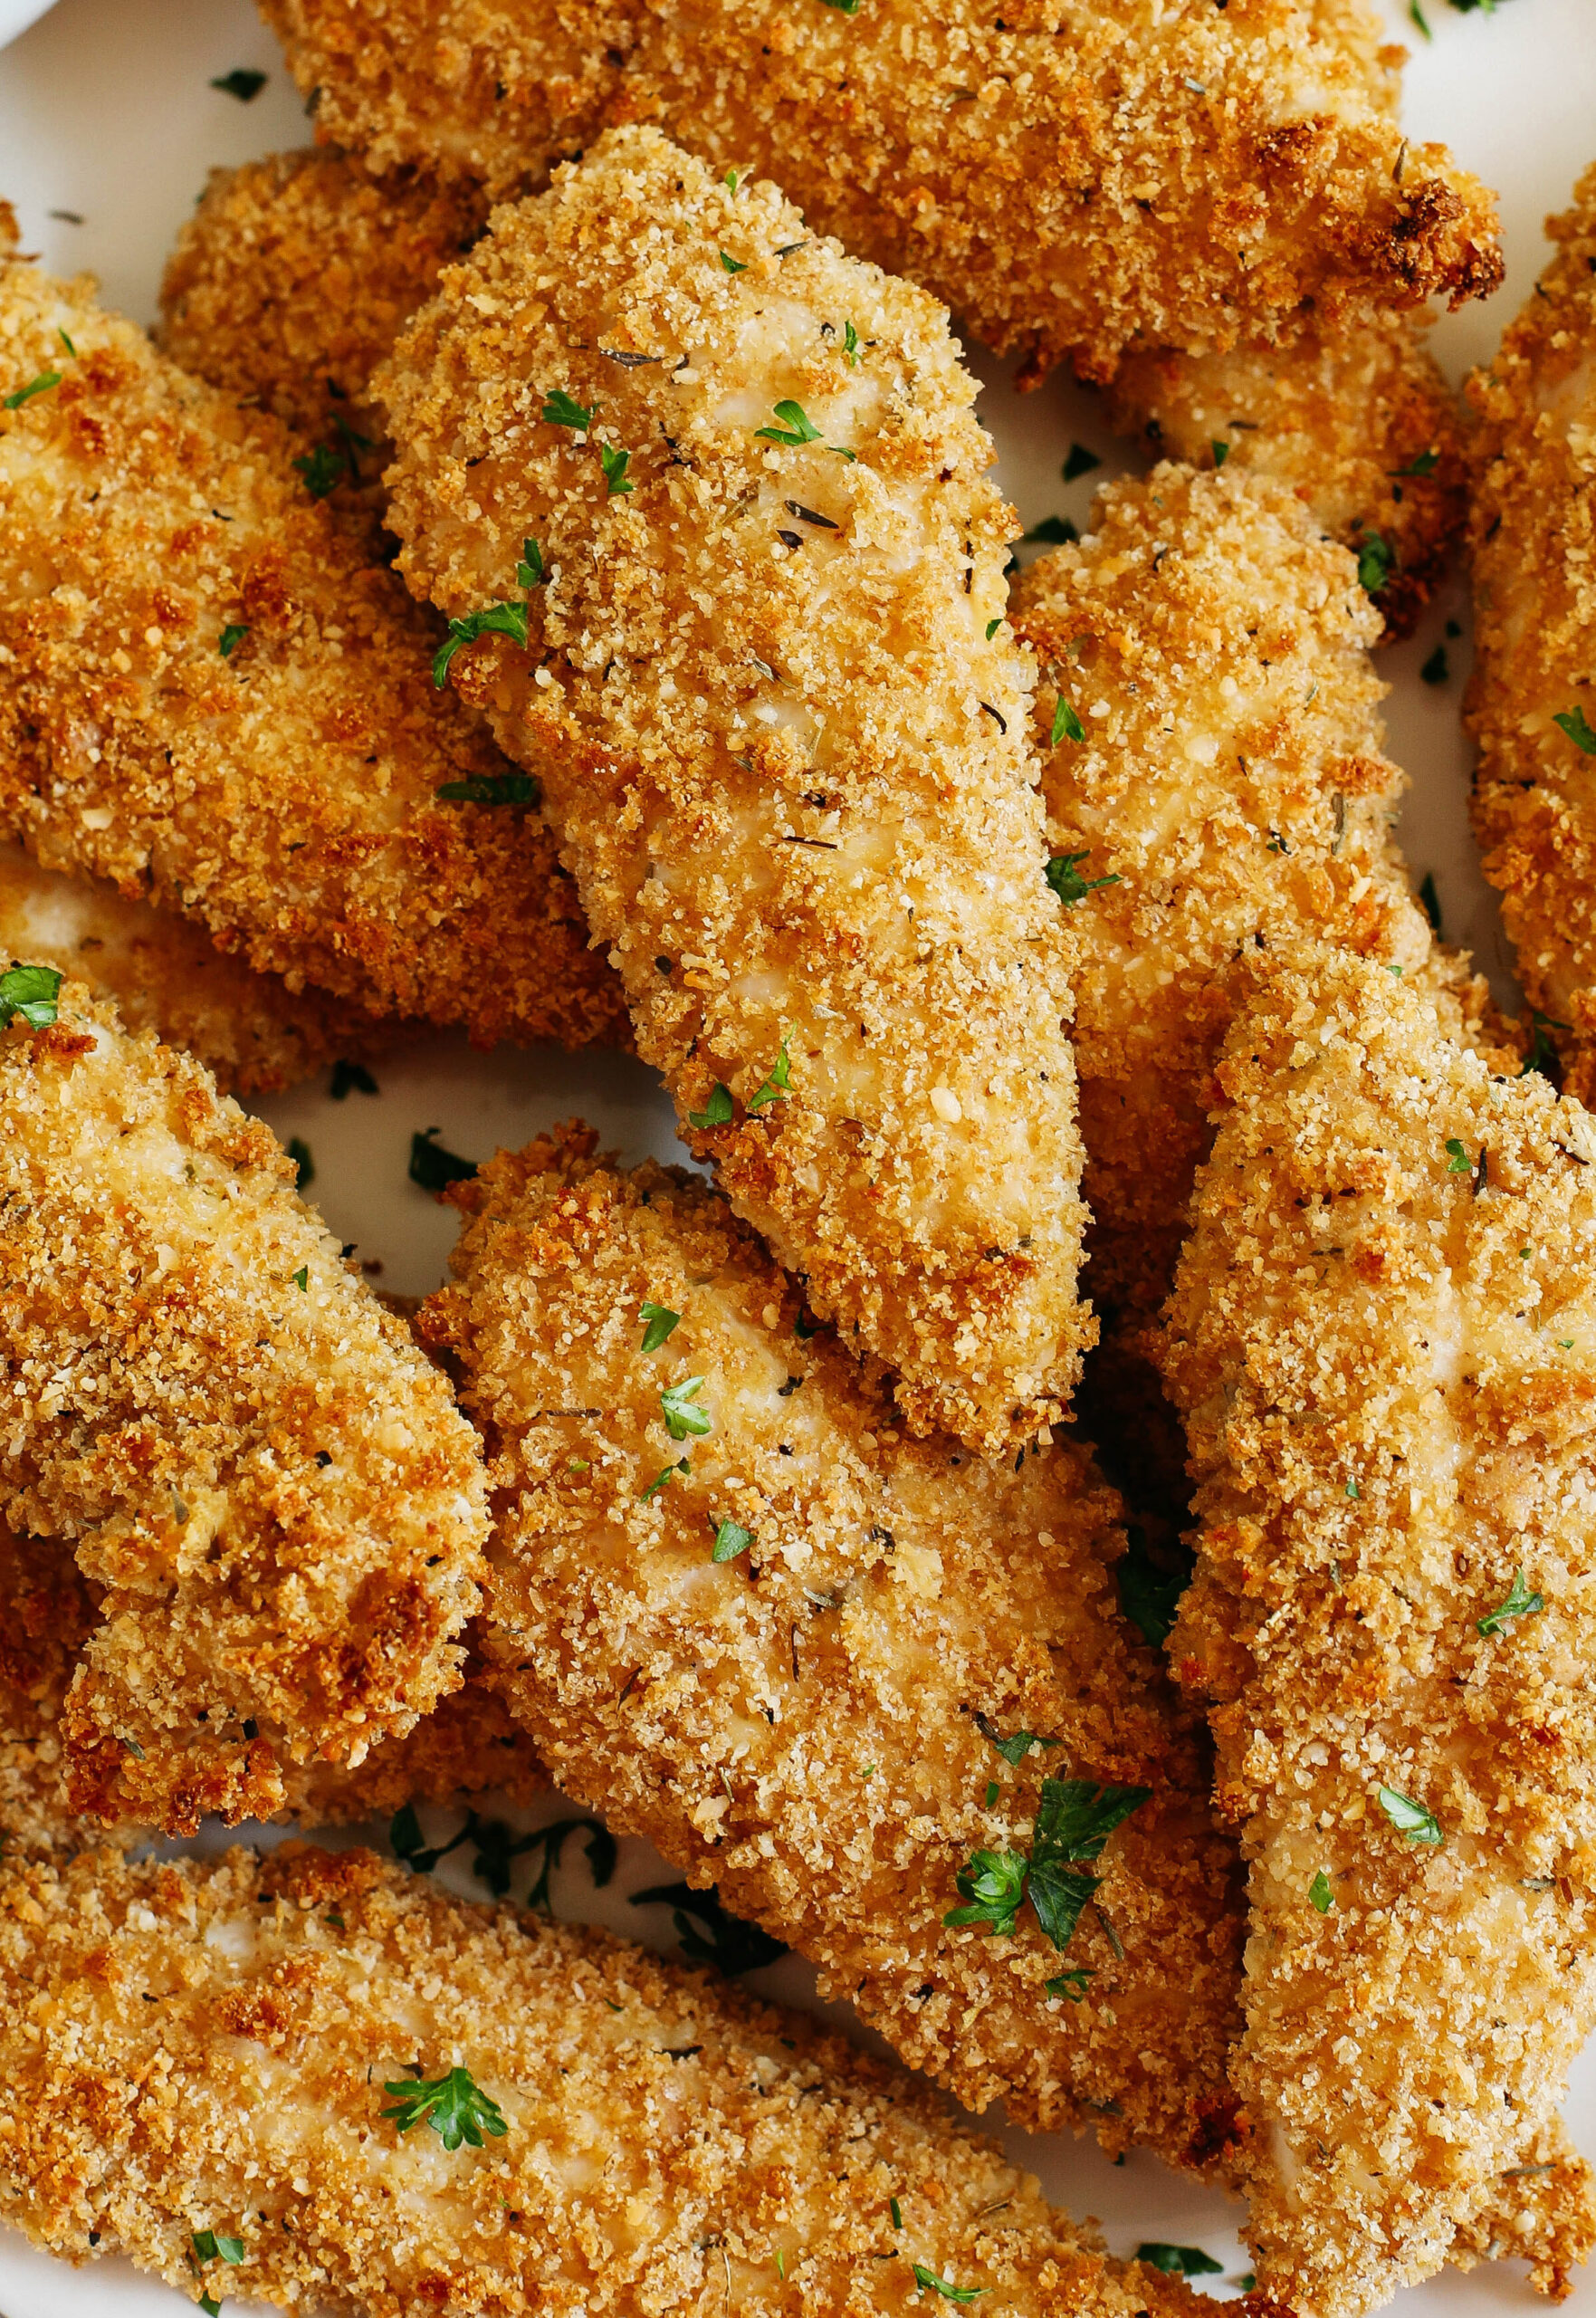
These easy baked chicken tenders are golden and perfectly crispy on the outside, juicy and flavorful on the inside, and easily made in just 20 minutes. I mean, what’s not to love??
Here’s What You’ll Need
- chicken tenderloins – I like to buy pre-cut chicken tenderloins simply because it just makes things easier, but you could also cut the chicken breasts into strips, just make sure they are all even in size
- egg – this coats the chicken and helps bind the breadcrumbs
- breadcrumbs – I used whole wheat panko breadcrumbs because I love how crunchy they are, but any type of breadcrumbs will work for this. If you are watching your carbs or want to use grain-free breading, check out my almond flour breadcrumb coating used in this recipe!
- parmesan cheese – I like to mix this in with the breadcrumbs to help coat the chicken and add even more flavor
- flaxseed meal – this adds a boost of nutrition and extra fiber to the chicken
- dijon mustard – adds more flavor and zip to the chicken!
- worcestershire sauce – yes we are ALL about flavor with these chicken tenders so adding a little splash tastes amazing
- seasonings – a combination of dried thyme (or you could use fresh), garlic powder, onion powder, kosher salt and pepper
How to Make Easy Baked Chicken Tenders
Start off by pre-heating the oven to 400 degrees F and get out two shallow bowls for the egg wash mixture and breadcrumbs. First, whisk together the egg, dijon mustard, Worcestershire sauce, salt and pepper in one bowl and in the other bowl, mix together the breadcrumbs, parmesan cheese, flaxseed meal and other seasonings.
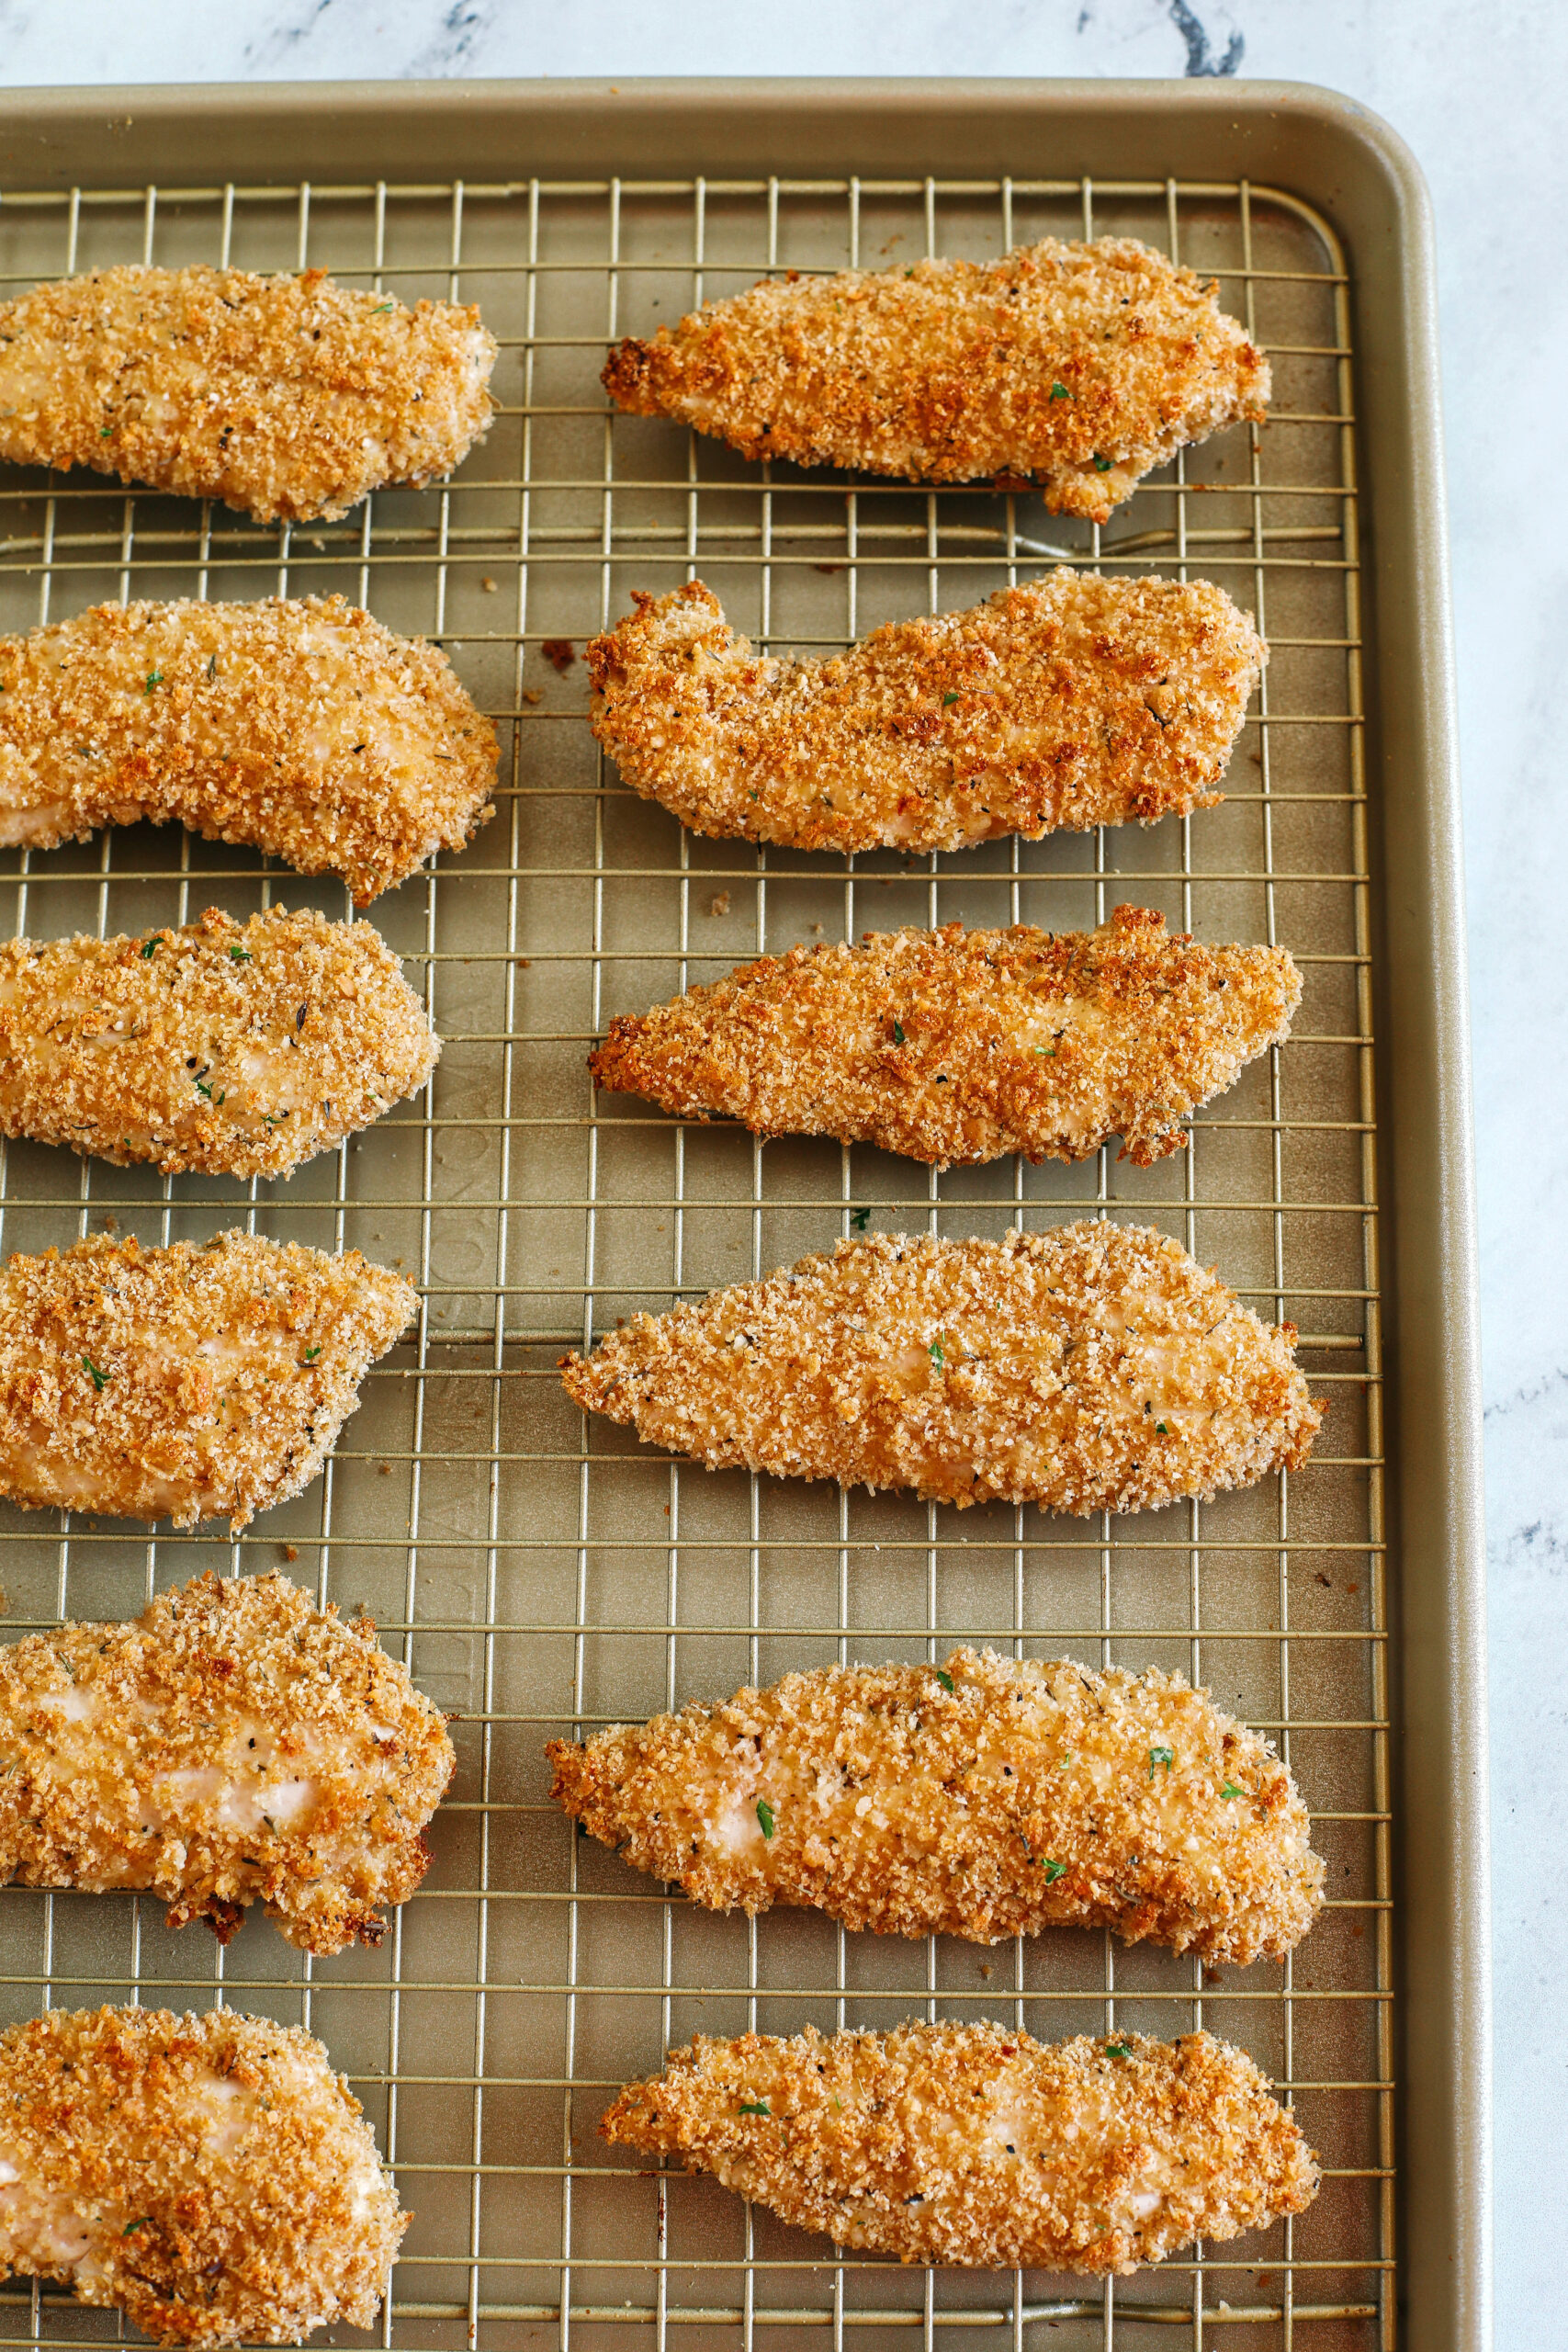
Dip the chicken in the egg wash and then into the breadcrumb mixture, lightly pressing down so that the chicken is fully coated. Transfer the chicken tender onto a baking sheet with a wire rack (or you could just use parchment paper) and repeat until all the chicken tenders are coated and ready to bake. Pro tip: the wire rack helps make the chicken crispy on both sides when baking!
Once the chicken is coated and arranged on a baking sheet, lightly spray the tops with some cooking spray and pop them in the oven for about 20 minutes until golden brown, flipping the chicken halfway through. Serve immediately with your favorite dipping sauce and enjoy!
Can These Be Made in the Air Fryer?
Absolutely and they turn out amazing! The only reason I prefer baking the chicken is that you can easily cook them all at the same time rather than air frying them in batches (depending on the size of your air fryer). To cook these in the air fryer, simply arrange the chicken tenders in the basket of your air fryer and cook at 400 degrees F for about 10 to 12 minutes until golden brown, flipping the chicken halfway through. And that’s it!
How to Serve Baked Chicken Tenders
- As a main meal with a side of sweet potato fries and your favorite dipping sauce
- Throw on a salad with my lemon dijon herb dressing
- Add to a wrap with some leafy greens, crunchy veggies and some honey mustard sauce or avocado ranch
- Serve as an appetizer on game day or a delicious after-school snack!
Pin this now to find it later
Pin ItFollow on Instagram
Prepping and Storing
These baked chicken tenders will last in a sealed, airtight container in the fridge for up to 4 days. When ready to reheat, simply pop them back in the oven, a toaster oven or even your air fryer to crisp them right back up! These chicken tenders will also freeze for up to 3 months, just make sure to thaw completely before re-heating.
More Chicken Recipes You’ll Love
- Air Fryer Sweet Potato Chicken Bites
- Crispy Chicken Parmesan
- Baked Chicken Fajita Roll-Ups
- Skinny Buffalo Chicken Bites
- Sheet Pan Lemon Rosemary Chicken
Hope you all enjoy these Easy Baked Chicken Tenders and if you love this as much as we do, please leave me ⭐️⭐️⭐️⭐️⭐️ below and don’t forget to tag me on Instagram using the hashtag #eatyourselfskinny! I love seeing all your delicious recreations!
Easy Baked Chicken Tenders

Ingredients
- 1 lb chicken tenderloins
For the egg wash mixture:
- 1 egg
- 1 tsp dijon mustard
- 1 tsp Worcestershire sauce
- Salt and pepper, to taste
For the breadcrumb mixture:
- 1 cup whole wheat panko breadcrumbs
- 1/4 cup grated parmesan cheese
- 2 Tbsp flaxseed meal
- 1 tsp dried thyme
- 1/2 tsp garlic powder
- 1/4 tsp onion powder
Instructions
- Preheat oven to 400 degrees F.
- Using two shallow bowls, whisk together the egg, dijon mustard, Worcestershire sauce, salt and pepper in one bowl and in the other bowl, mix together the breadcrumbs, parmesan cheese, flaxseed meal and other seasonings.
- Dredge the chicken in the egg wash and then into the breadcrumb mixture, lightly pressing down so that the chicken is fully coated. Then transfer the chicken tender onto a baking sheet with a wire rack (or you could line the sheet with parchment paper) and repeat until all the chicken tenders are coated and ready to bake. Pro tip: the wire rack helps make the chicken crispy on both sides when baking!
- Once the chicken is coated and arranged on the baking sheet, lightly spray the tops with some cooking spray and pop them in the oven for about 20 minutes until golden brown, flipping the chicken halfway through. Serve immediately with your favorite dipping sauce and enjoy!
Notes
Nutrition
Nutrition information is automatically calculated, so should only be used as an approximation.


What a fantastic find! When I get home from work tonight, I will try these. Is the white tendon removed?
Delicious
Easy and tasty recipe! Served with green beans for a meal. Since chicken tenders vary in size, it would be helpful if the serving size was given in weight (grams or ounces).
Where do you buy the whole wheat bread crumbs?
I get mine at my local Wegmans, but most grocery stores should have whole wheat breadcrumbs 🙂 Here’s a link to some on Amazon: https://amzn.to/3G5aBlX
These look great! I’m going to give these a try tonight. Do you remove the white tendon?
Nope, no need to remove the tendon as you won’t even notice it once it’s cooked and trying to remove it may cause the chicken tender to fall apart. Hope you enjoy these! 🙂